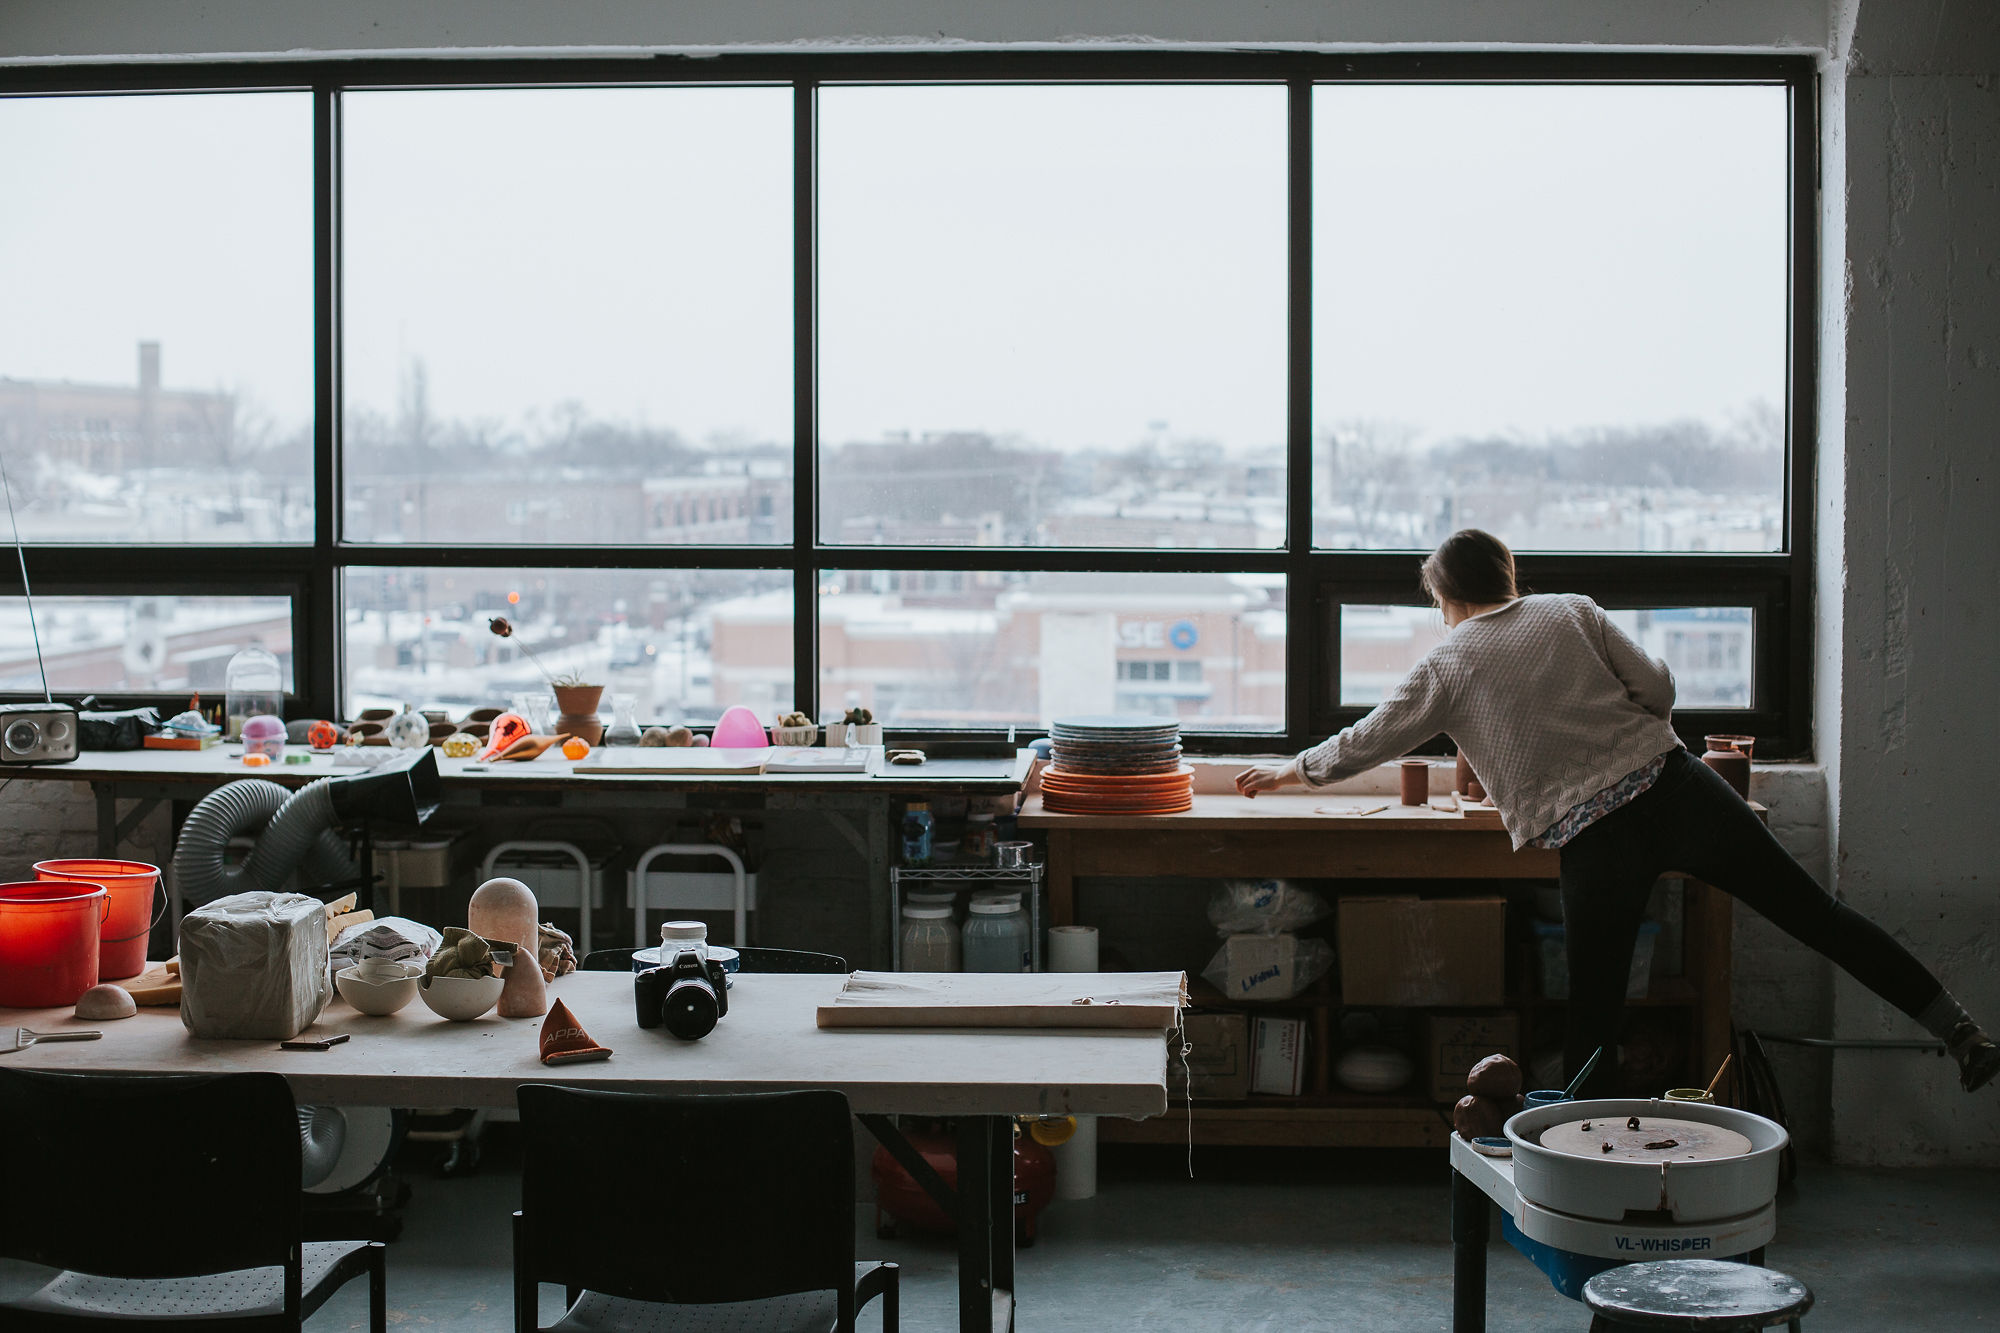
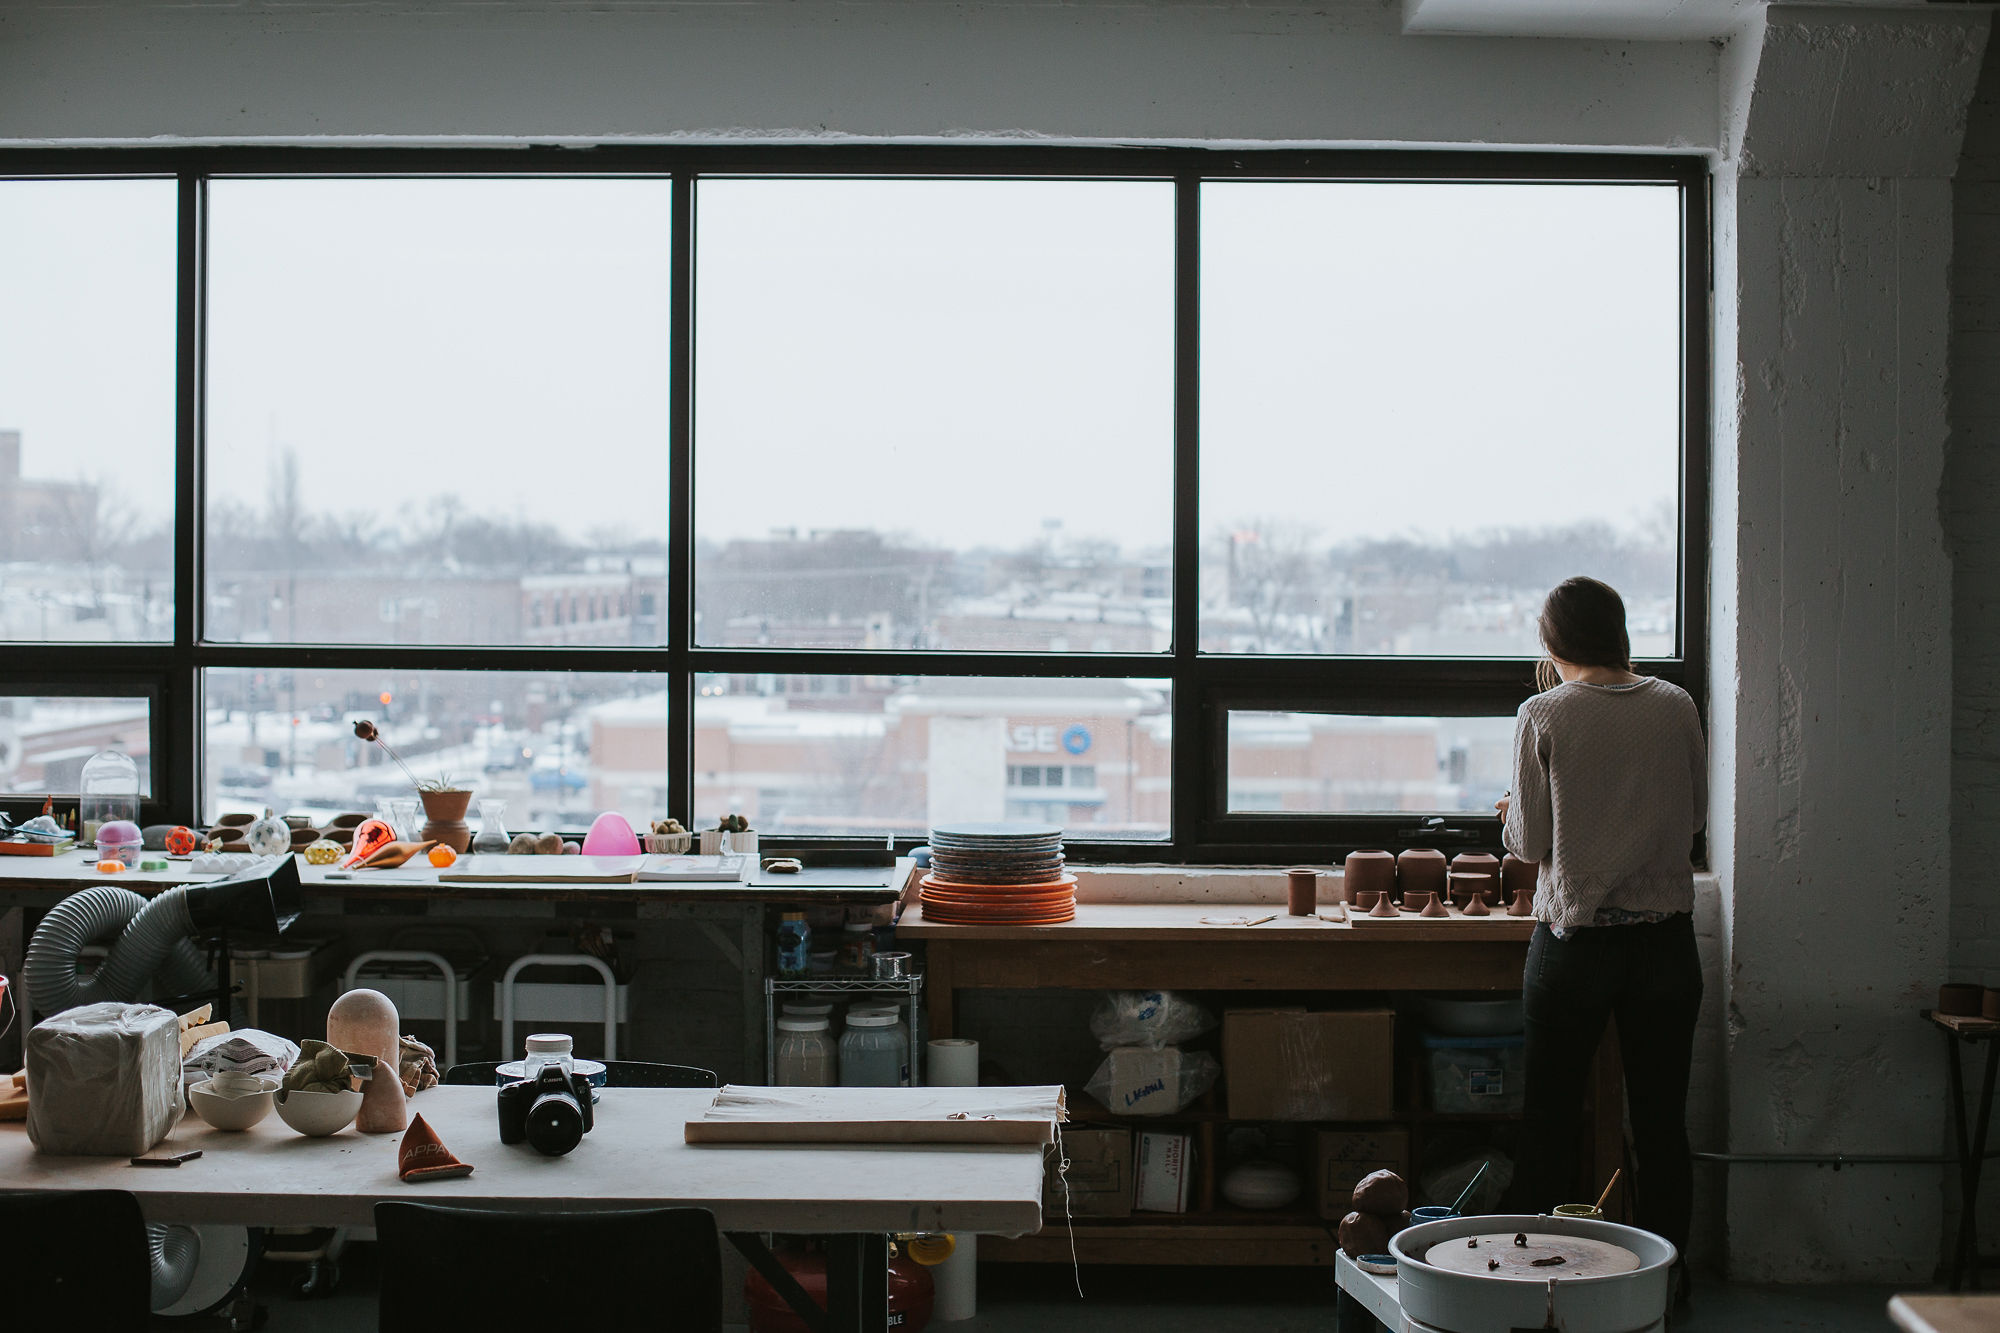
IN THE STUDIO
THE PROCESS BEHIND EACH PIECE


Step 1: exploring!
The creative process that feeds all of Angela’s work begins with consistent stoke for nature that she maintains through regular hiking, biking and exploring in and around Chicago. Mountain biking in Palos, kayaking the lagoons, or exploring icy beaches- play and exploration are key to cultivating a productive imagination. Exploring drives her focus, curiosity and joy in the studio.

Step 2: Wedging
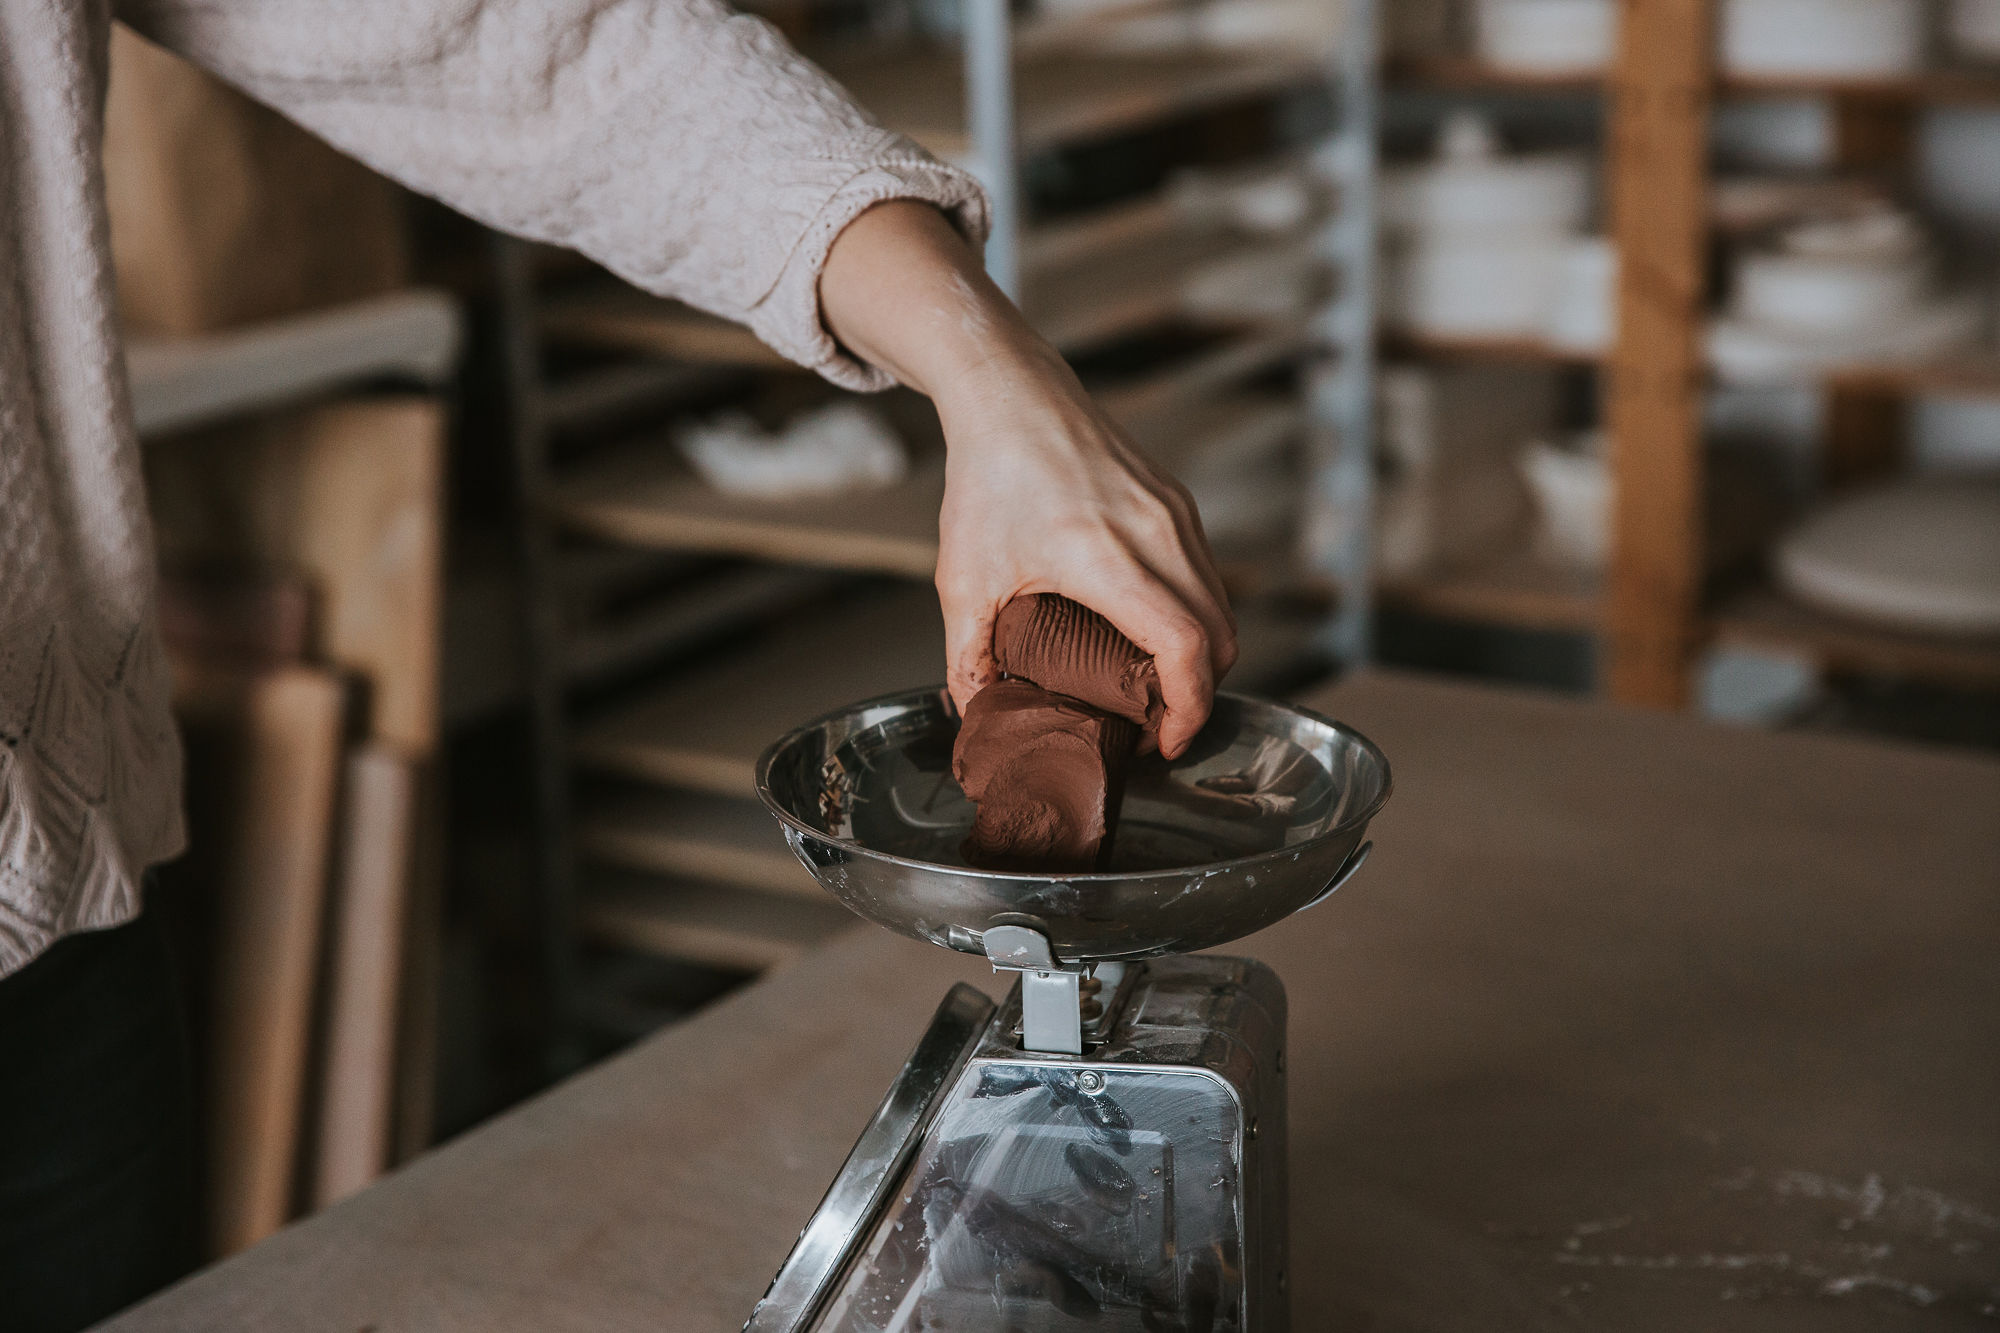
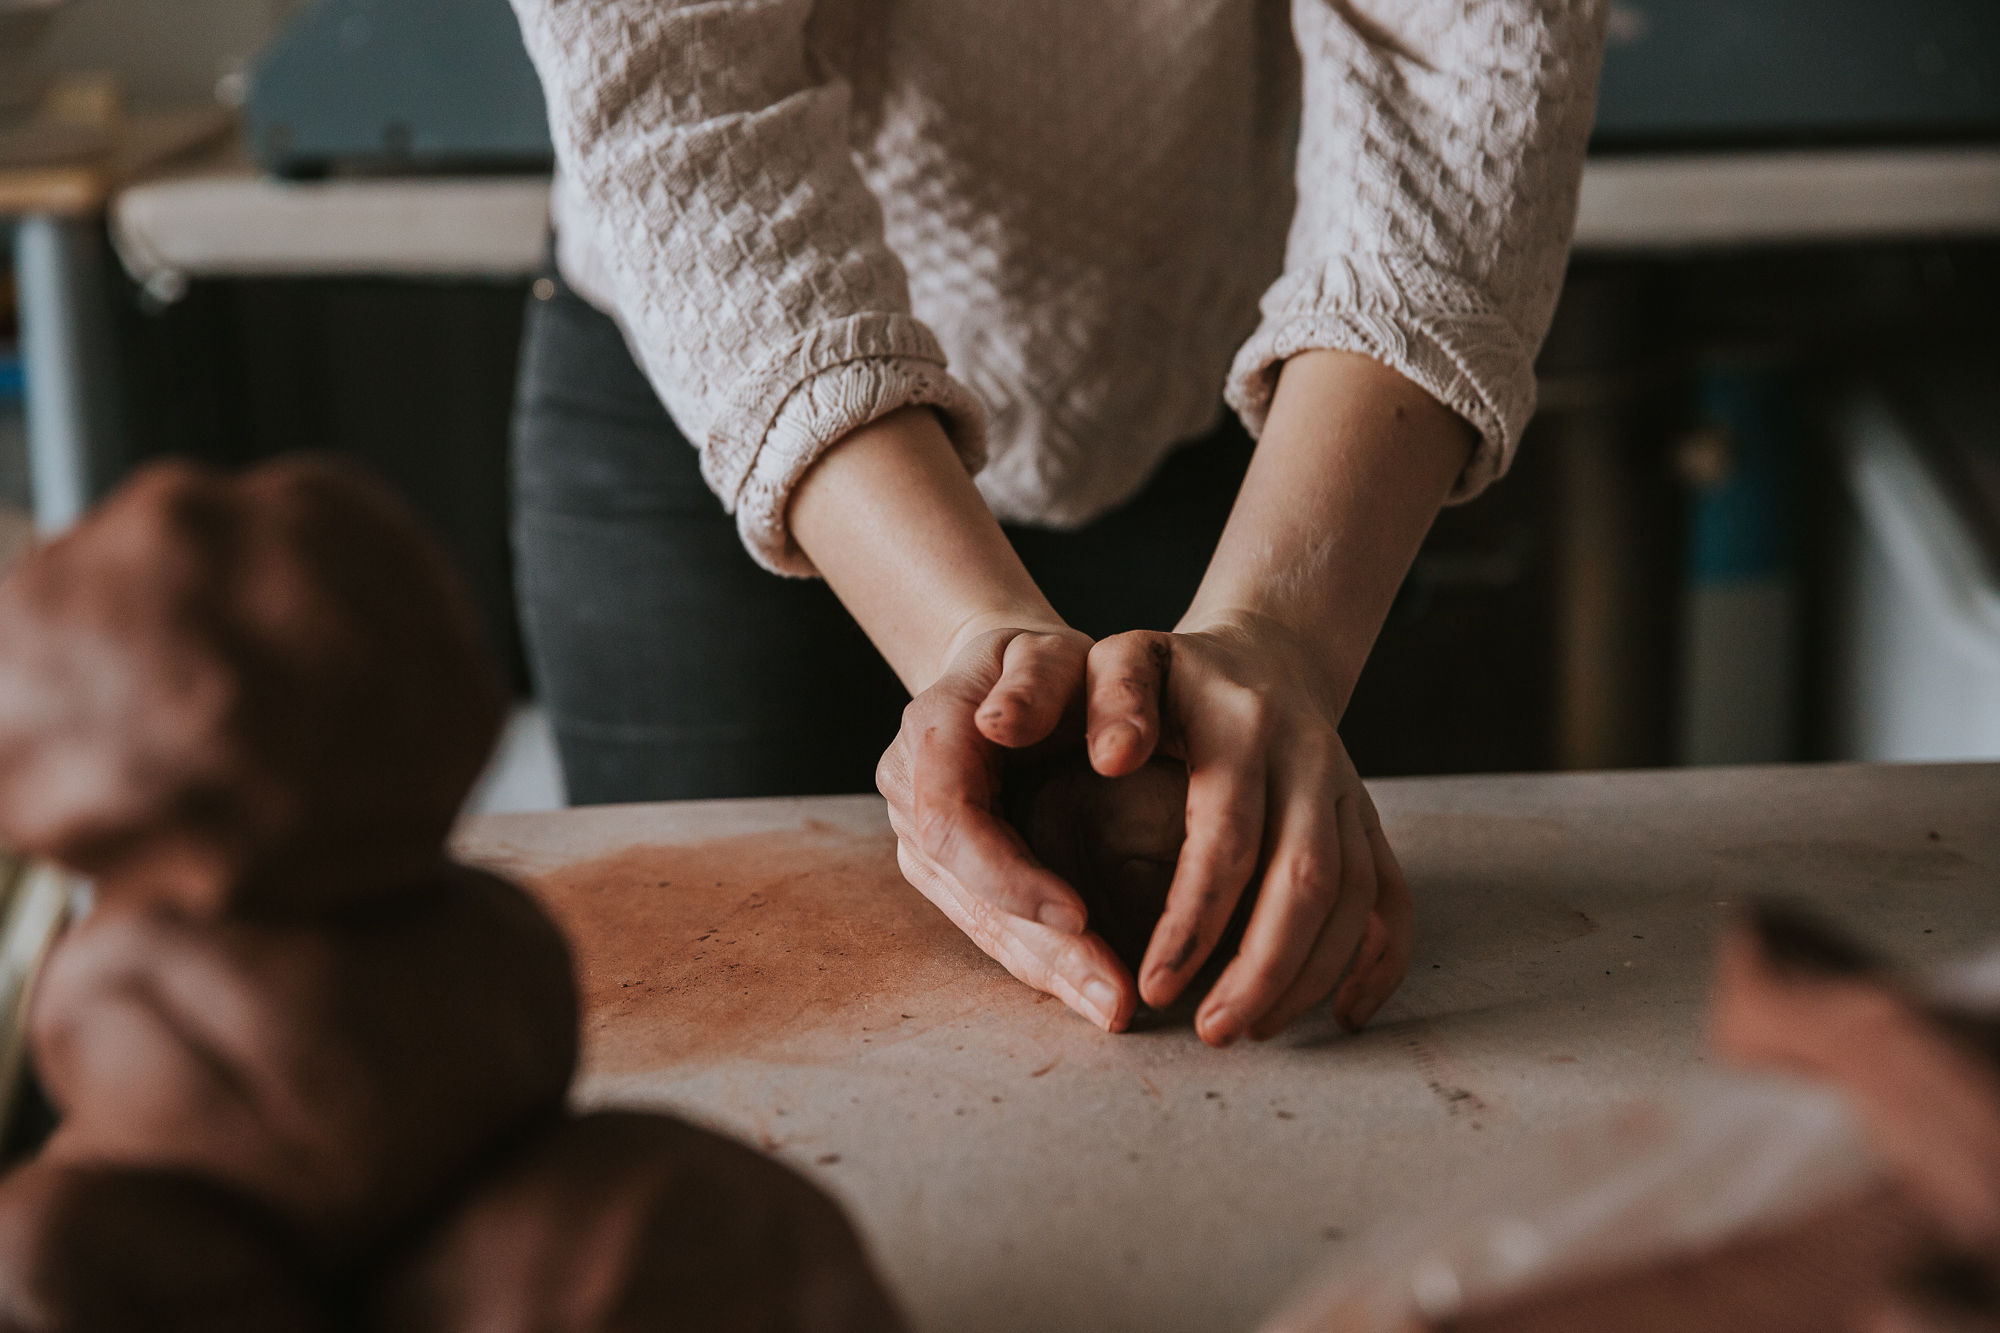
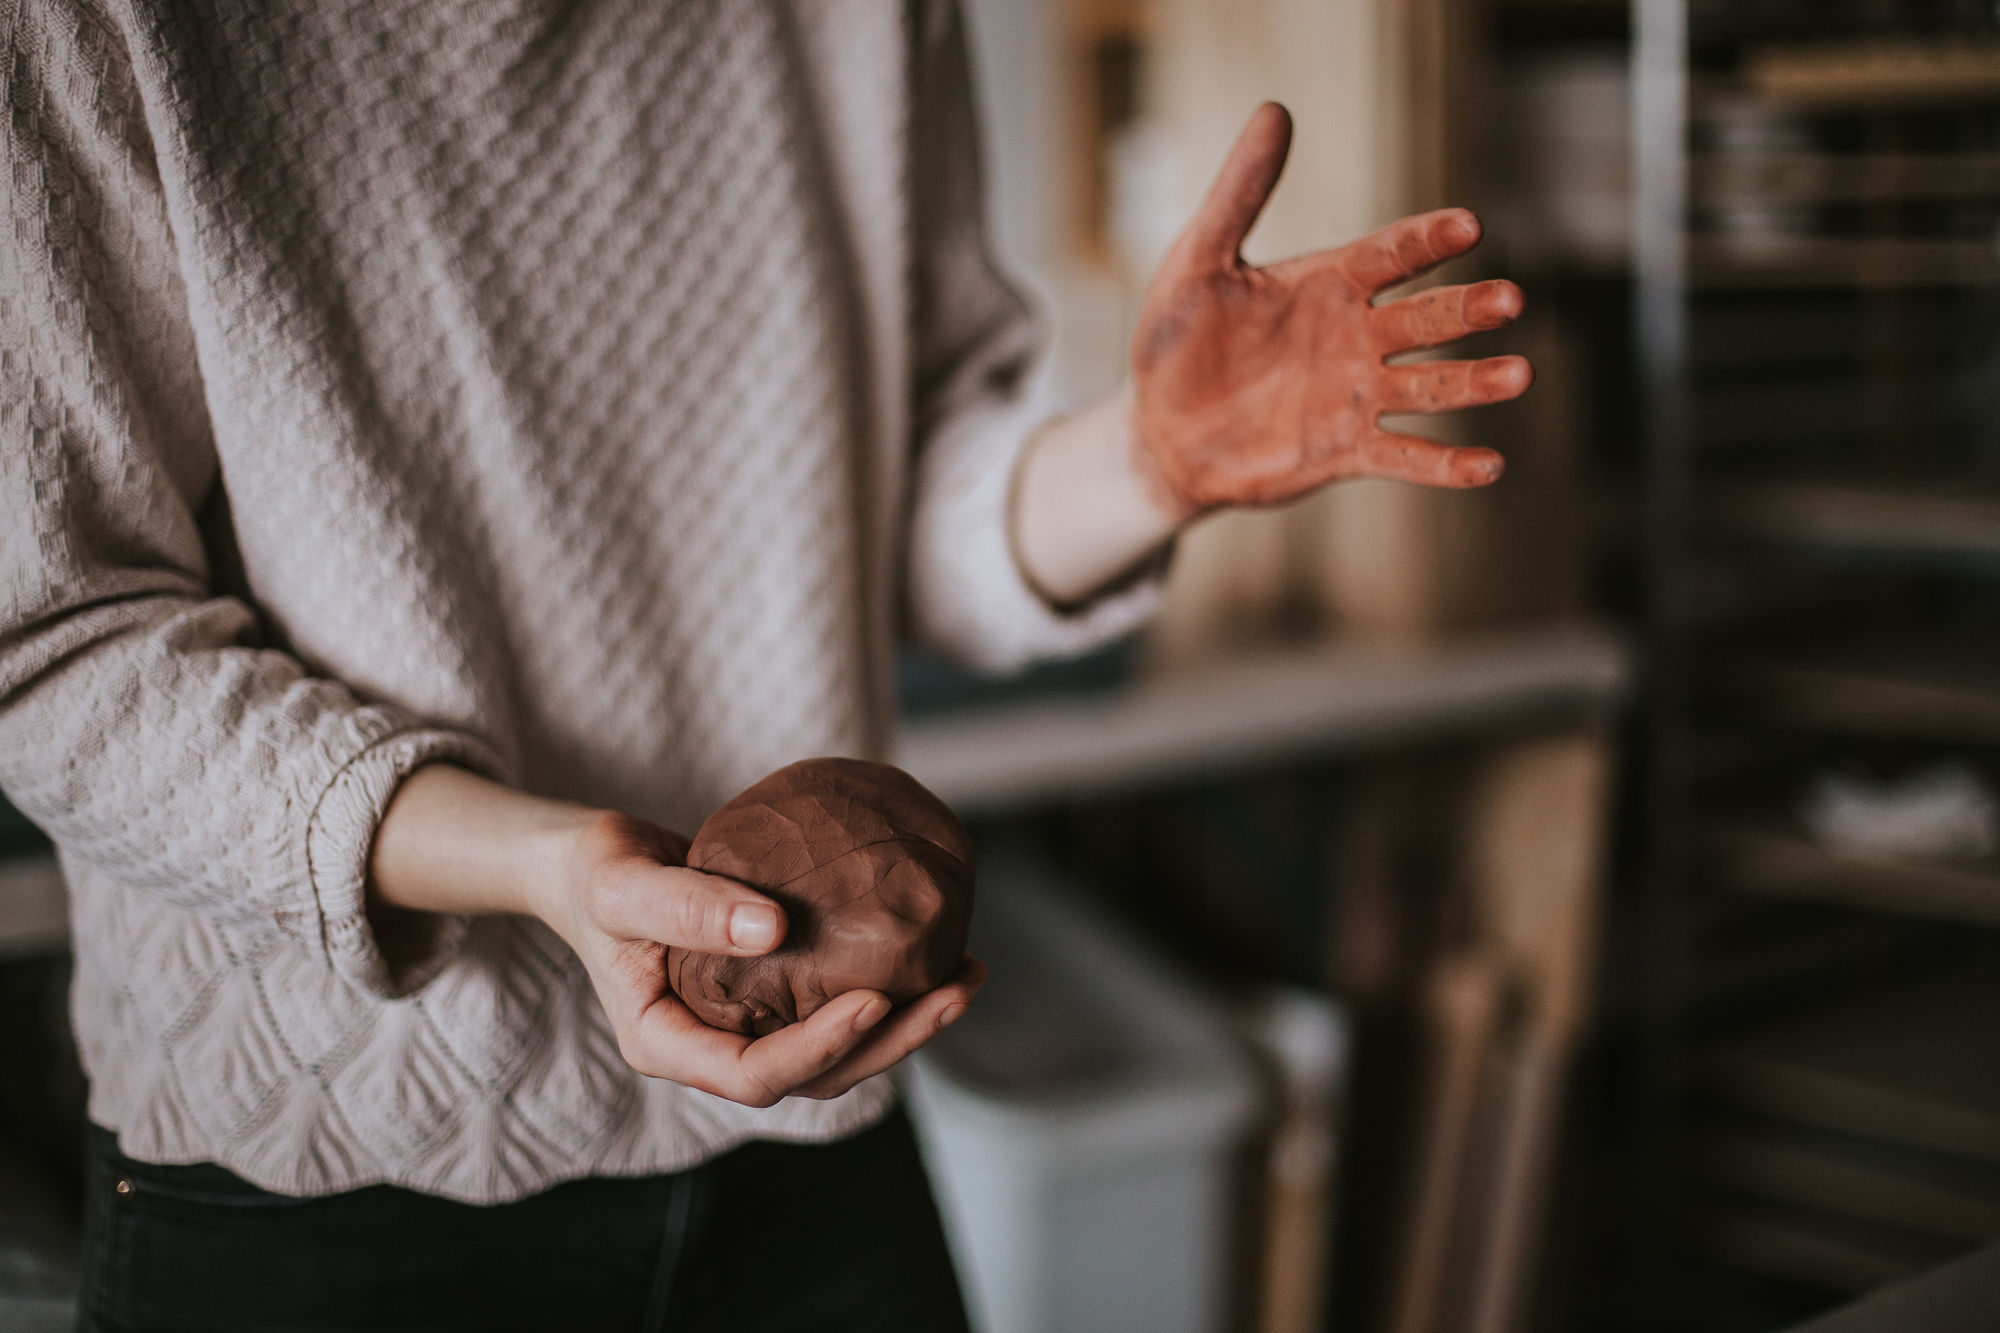
To ensure consistency and remove air bubbles every ball of clay needs to be wedged before it becomes a pot. This involves kneading and rolling the clay in a spiral pattern in many rotations until the clay particles are aligned. Air bubbles will cause issues when throwing on the wheel and if they remain in the clay during the firing, they can cause the clay body to break or even explode . A tedious first step, wedging is a crucial preventative task.

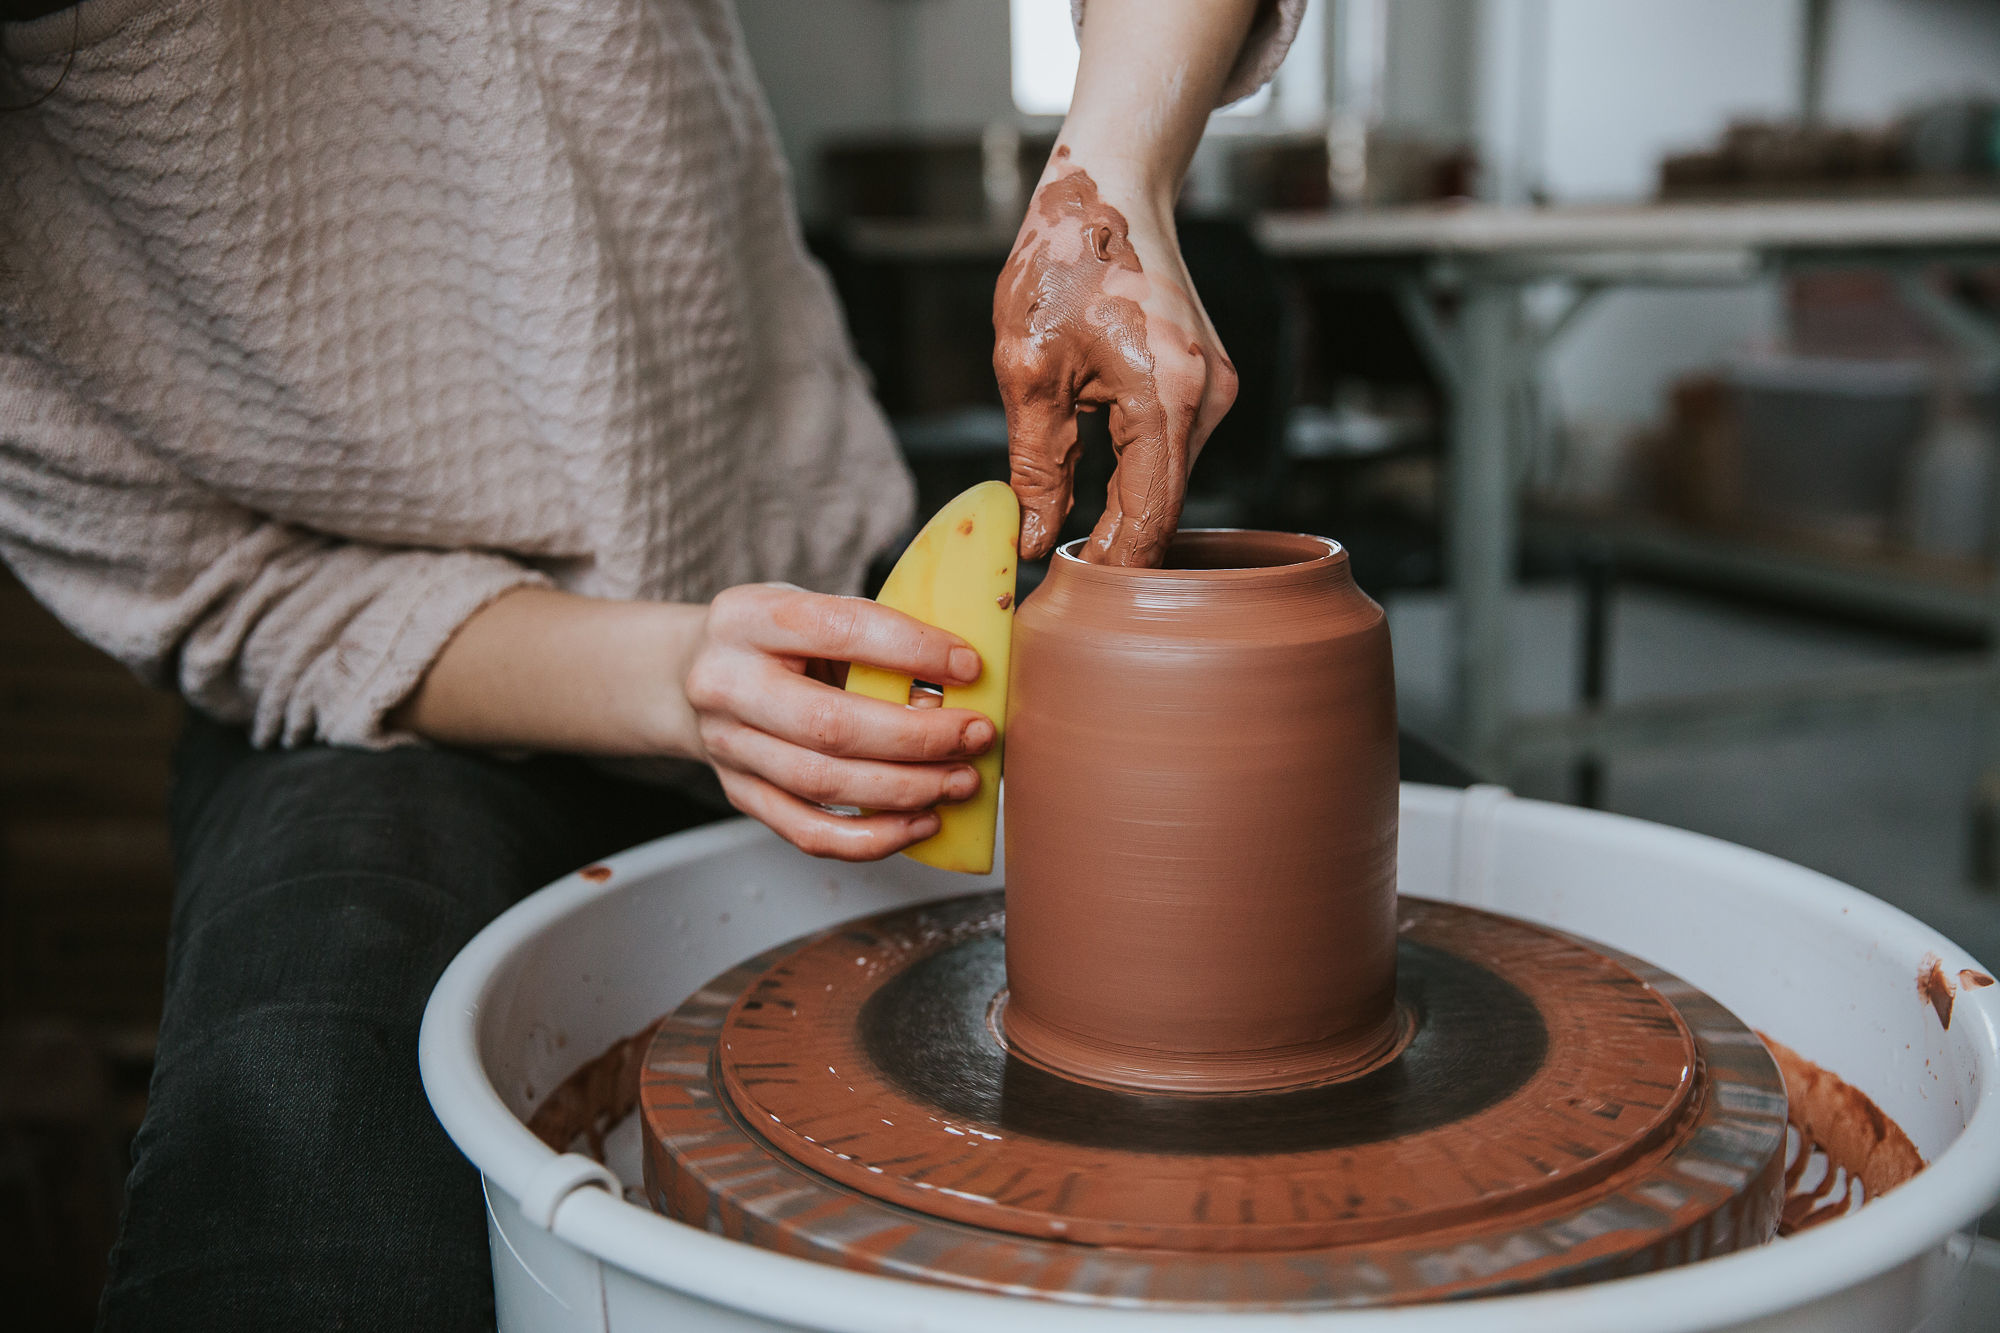
Step 3: throwing
No step is more important than the others, but wheel-throwing is the deepest, most complex and most magical of them all. This is where balls of mud transform into vessels of home and hearth and art. This phase requires gentle strength, consistent force, a steady hand and mastery of many techniques. The artists true intentions are expressed as forms take shape and devotion, training, obedience, and thousands (and thousands) of hours at the wheel provide a roadmap for excellence and execution.

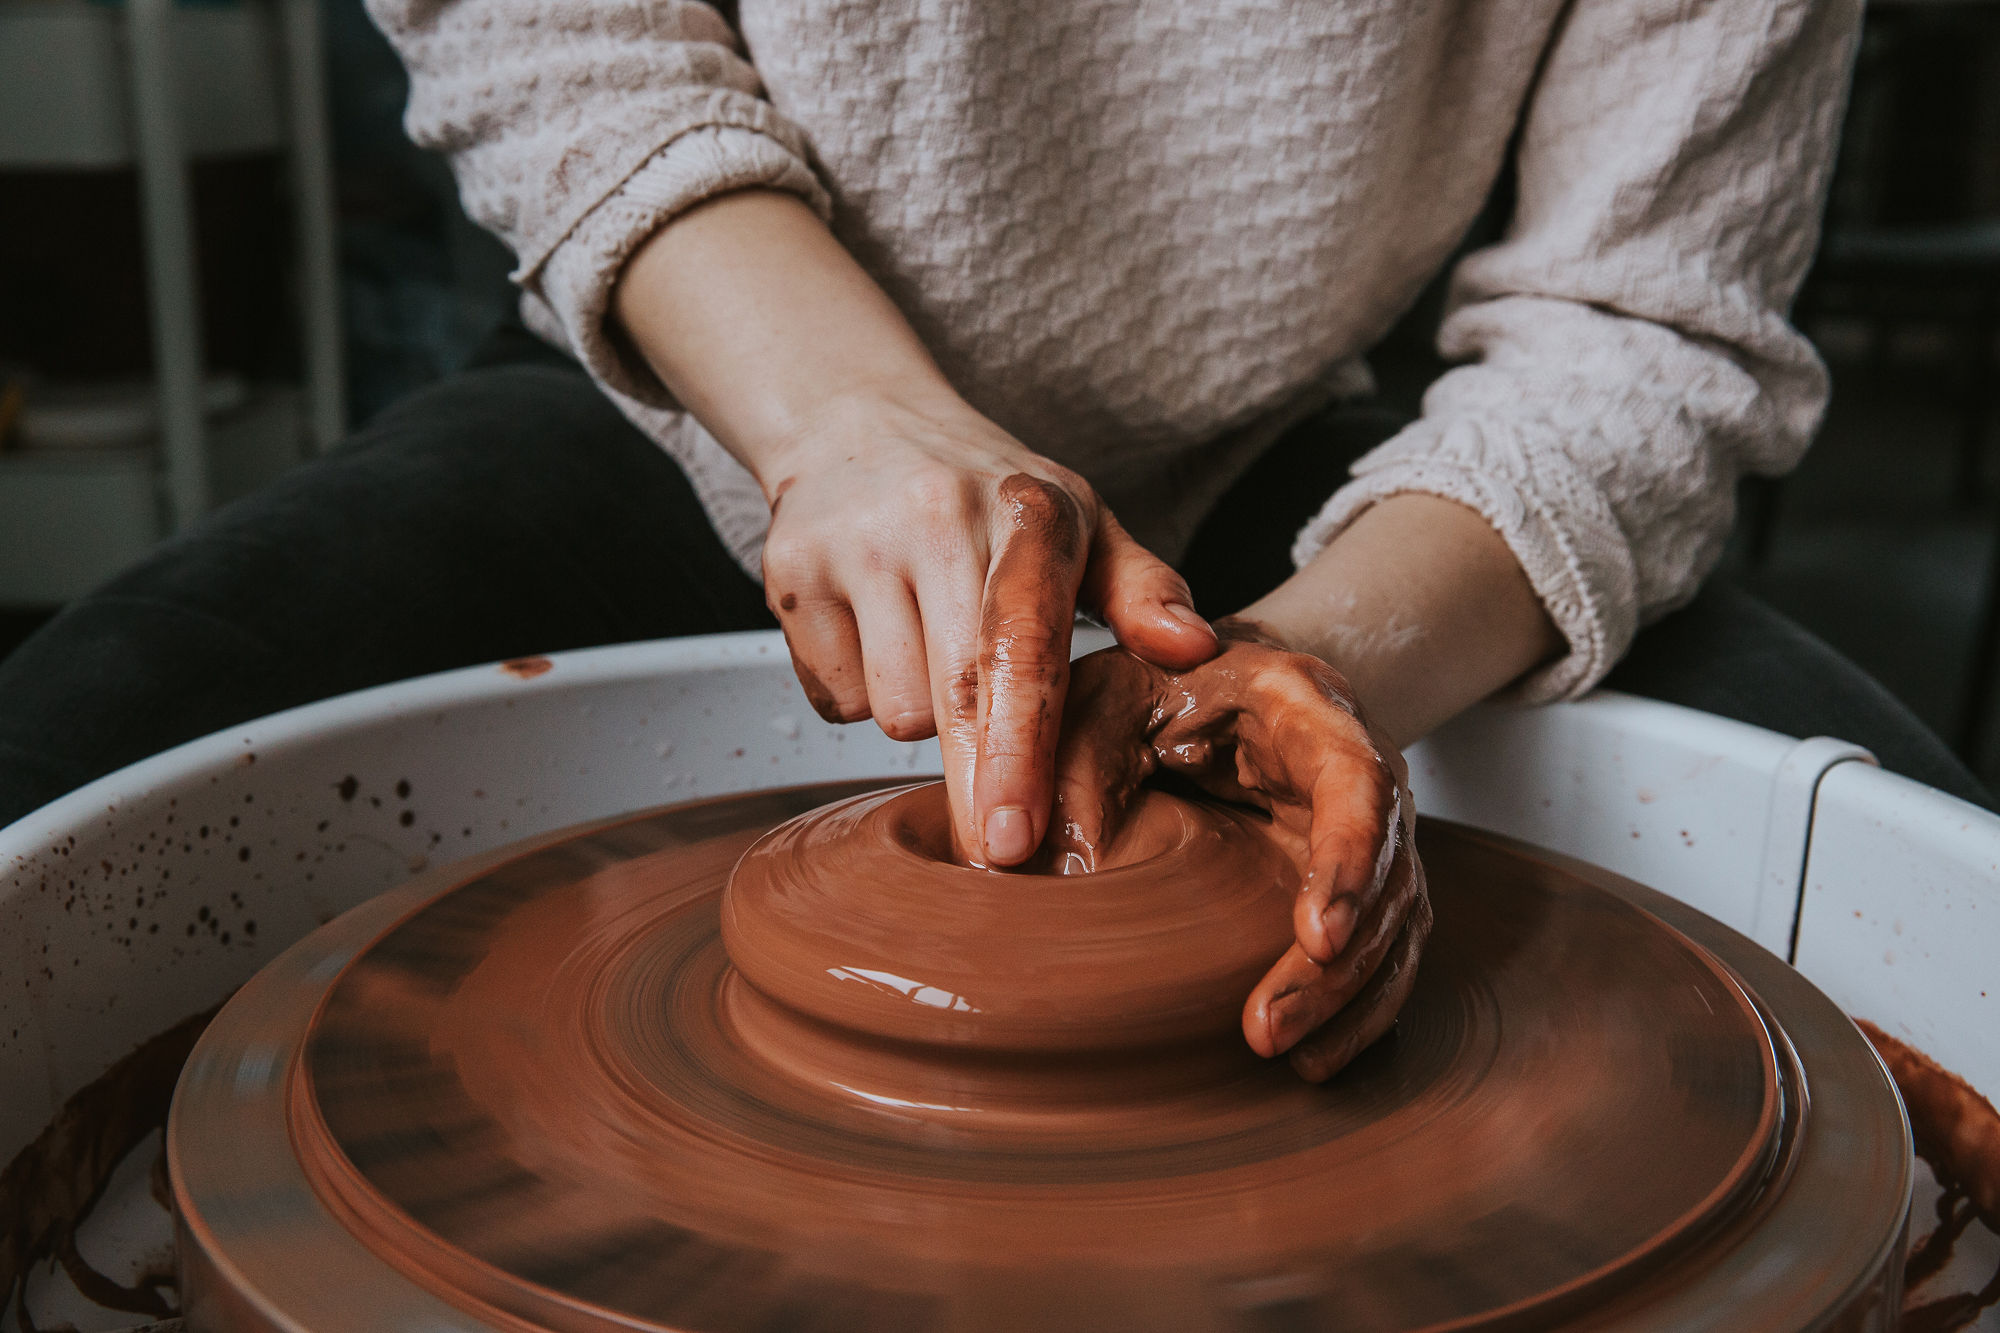
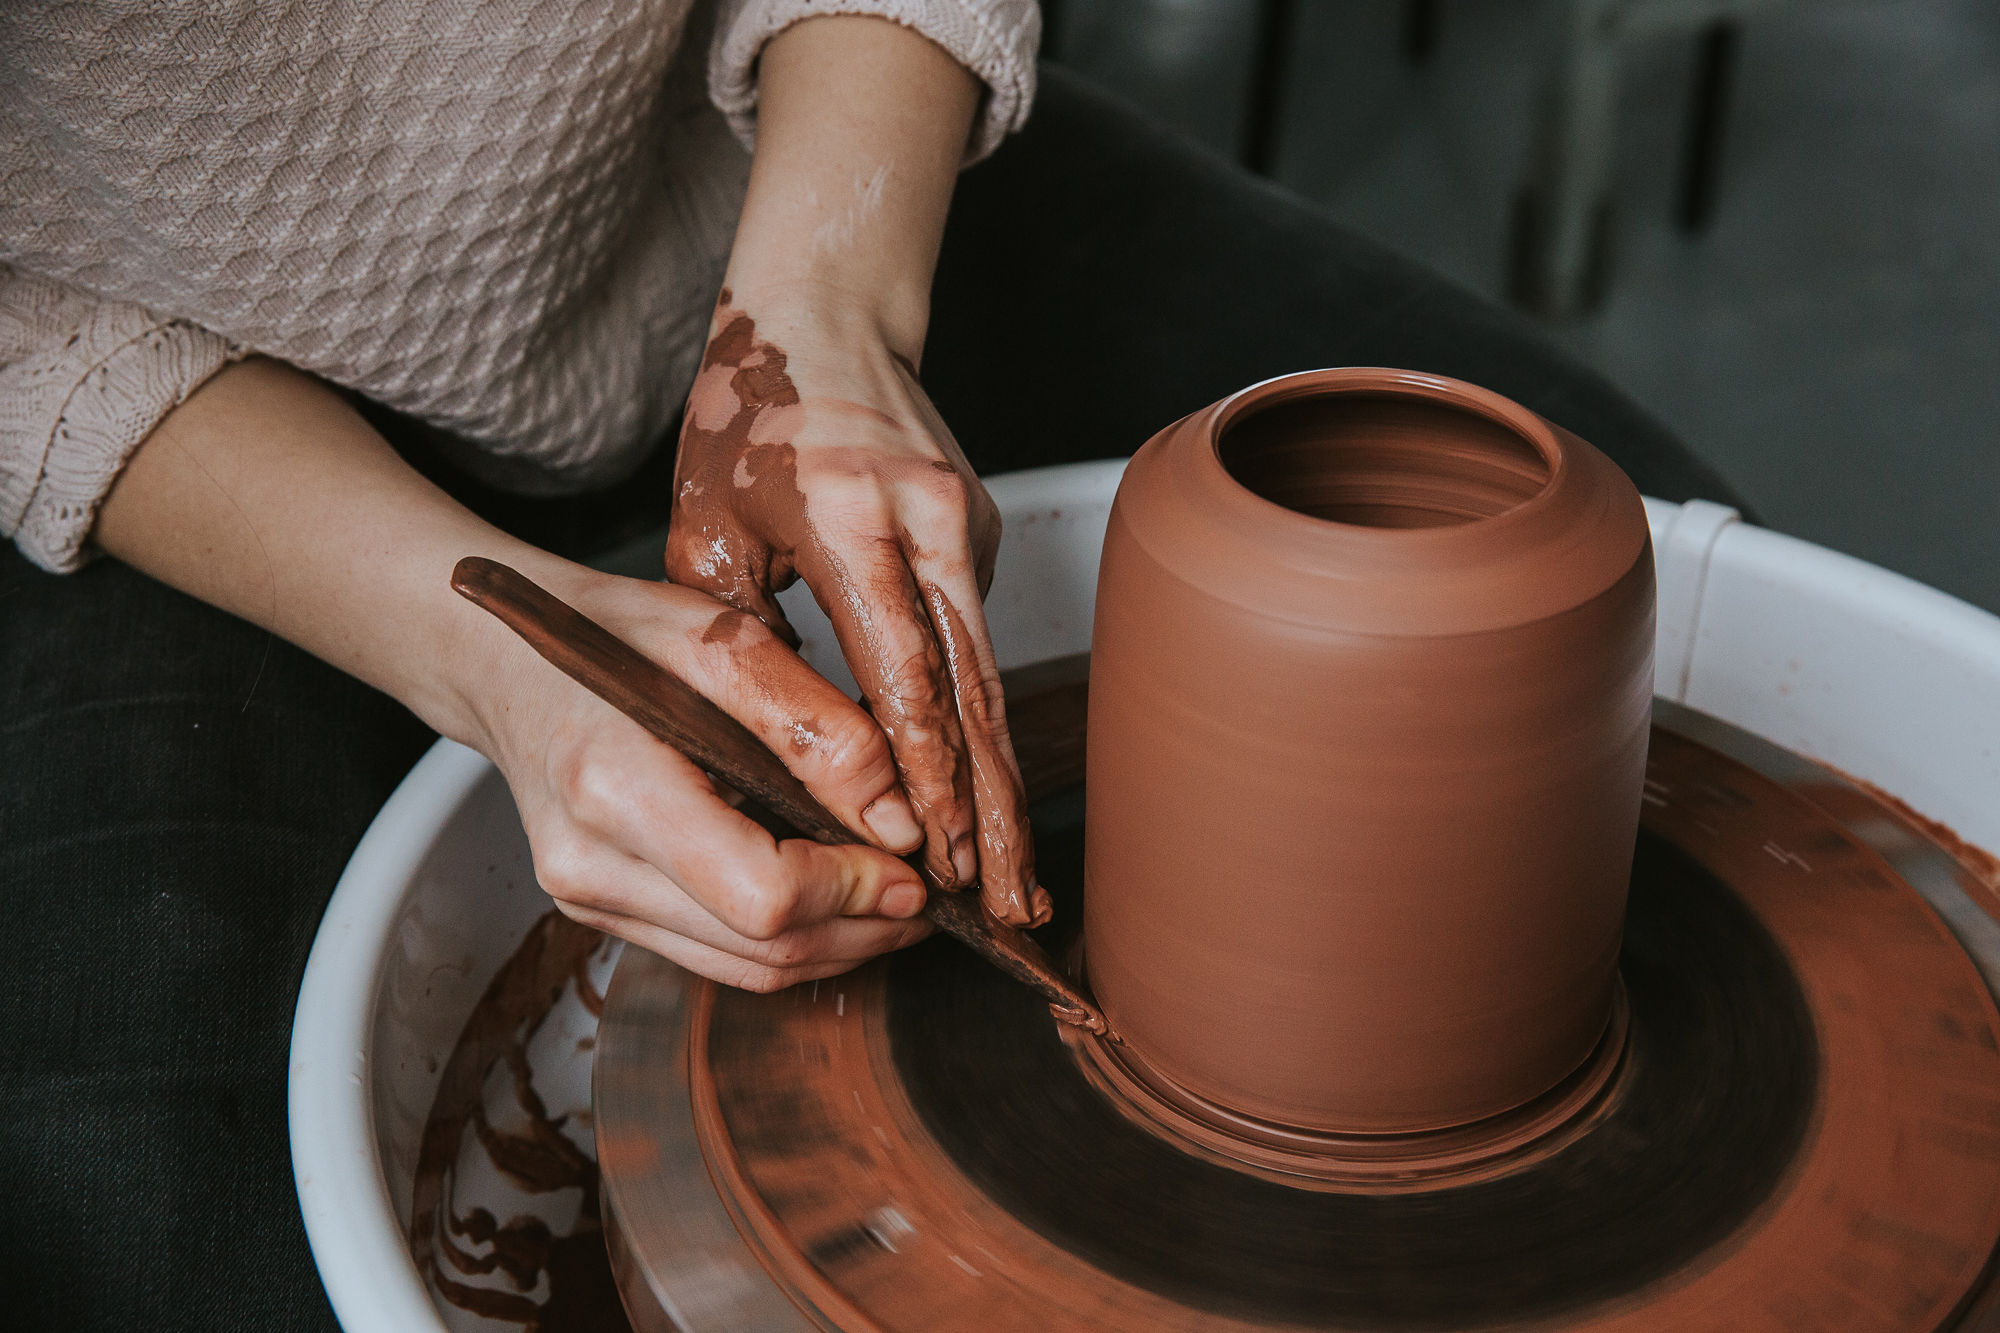
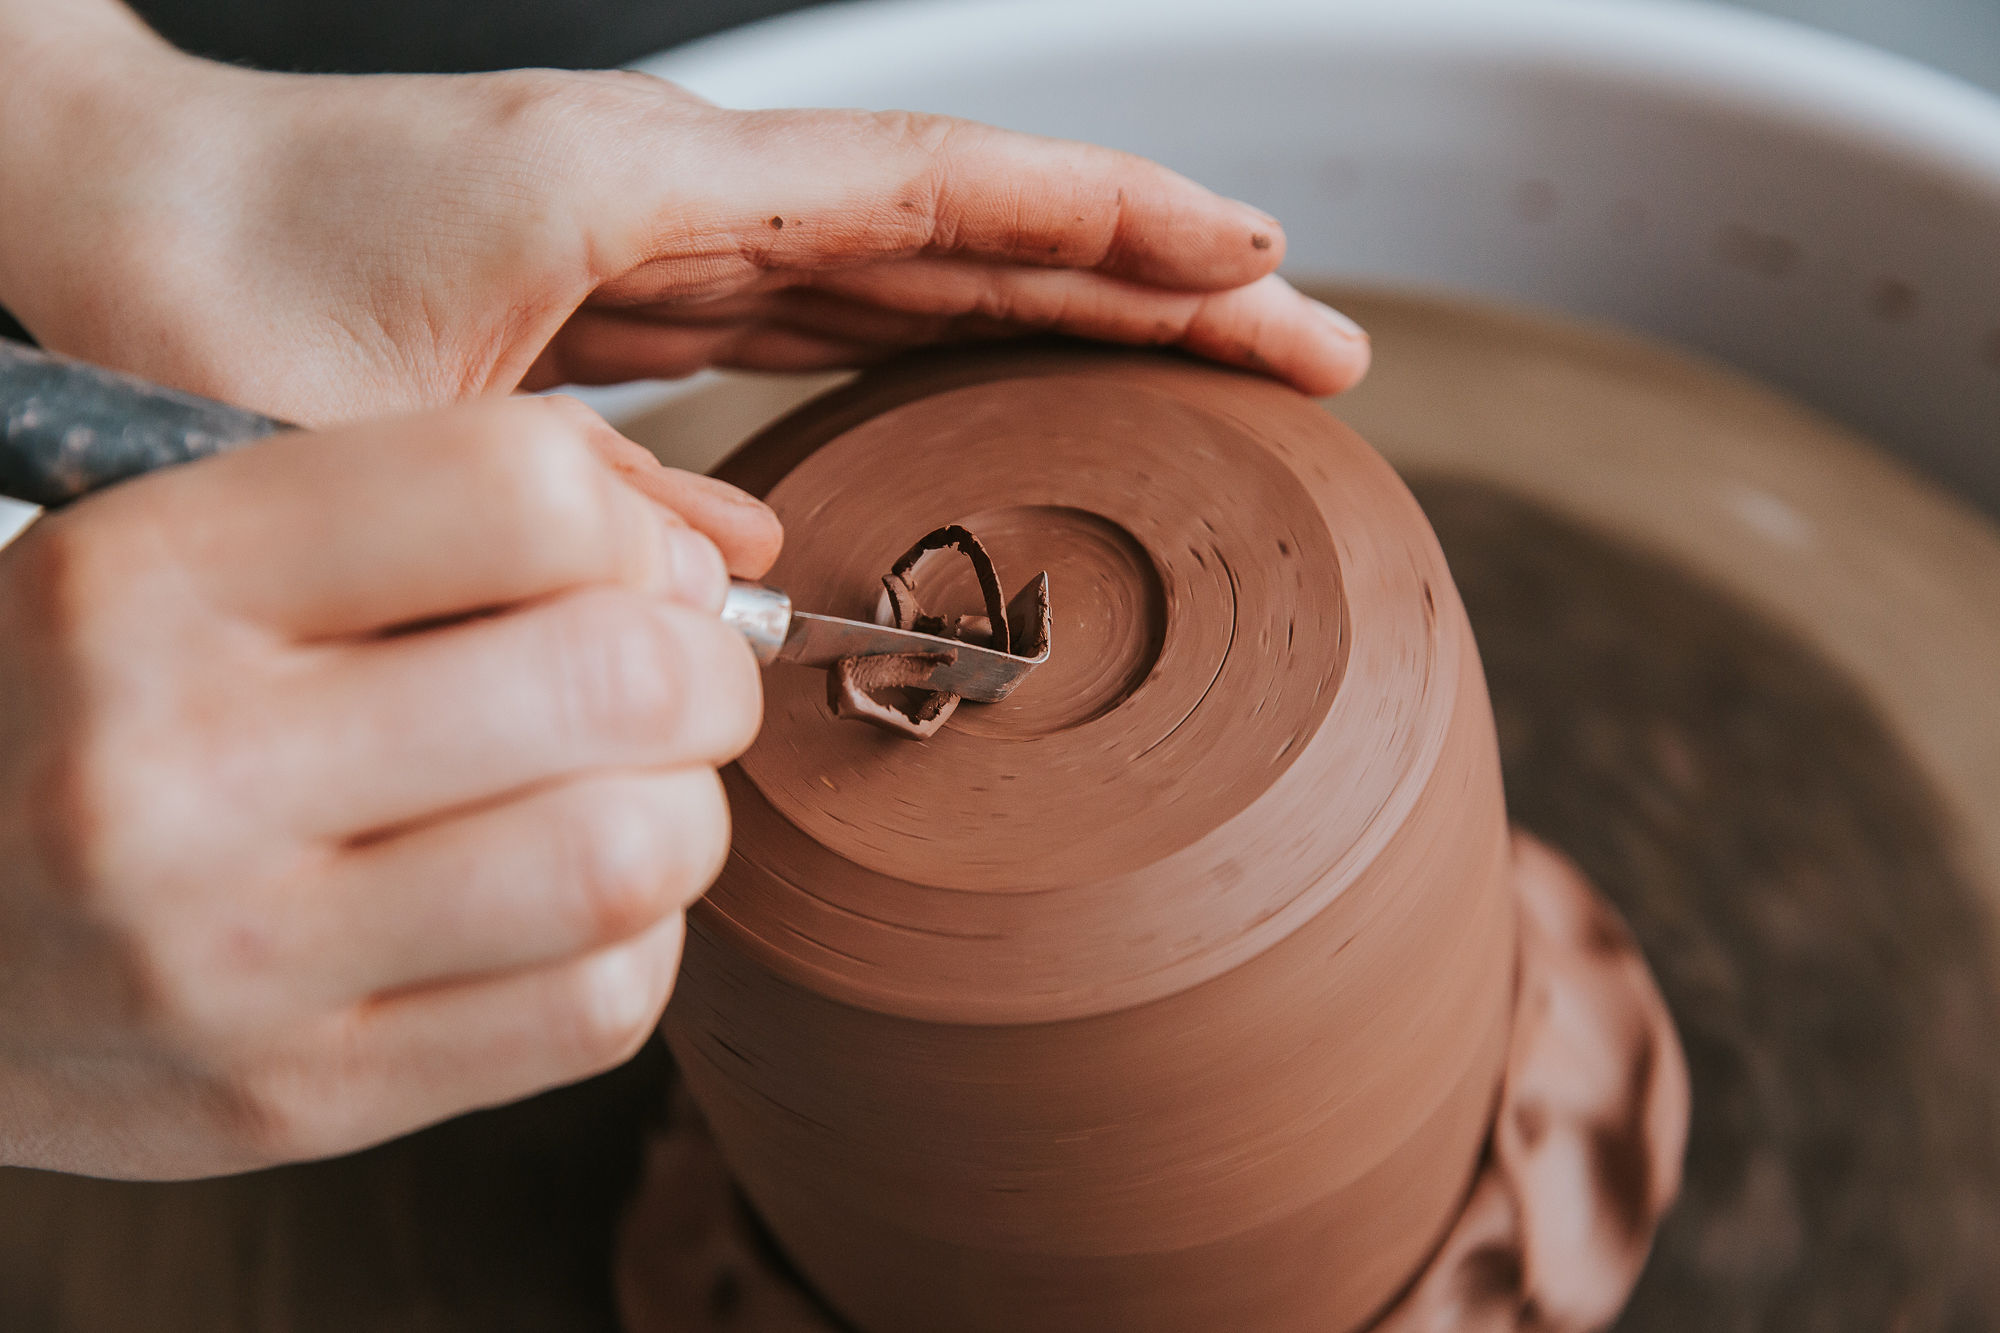
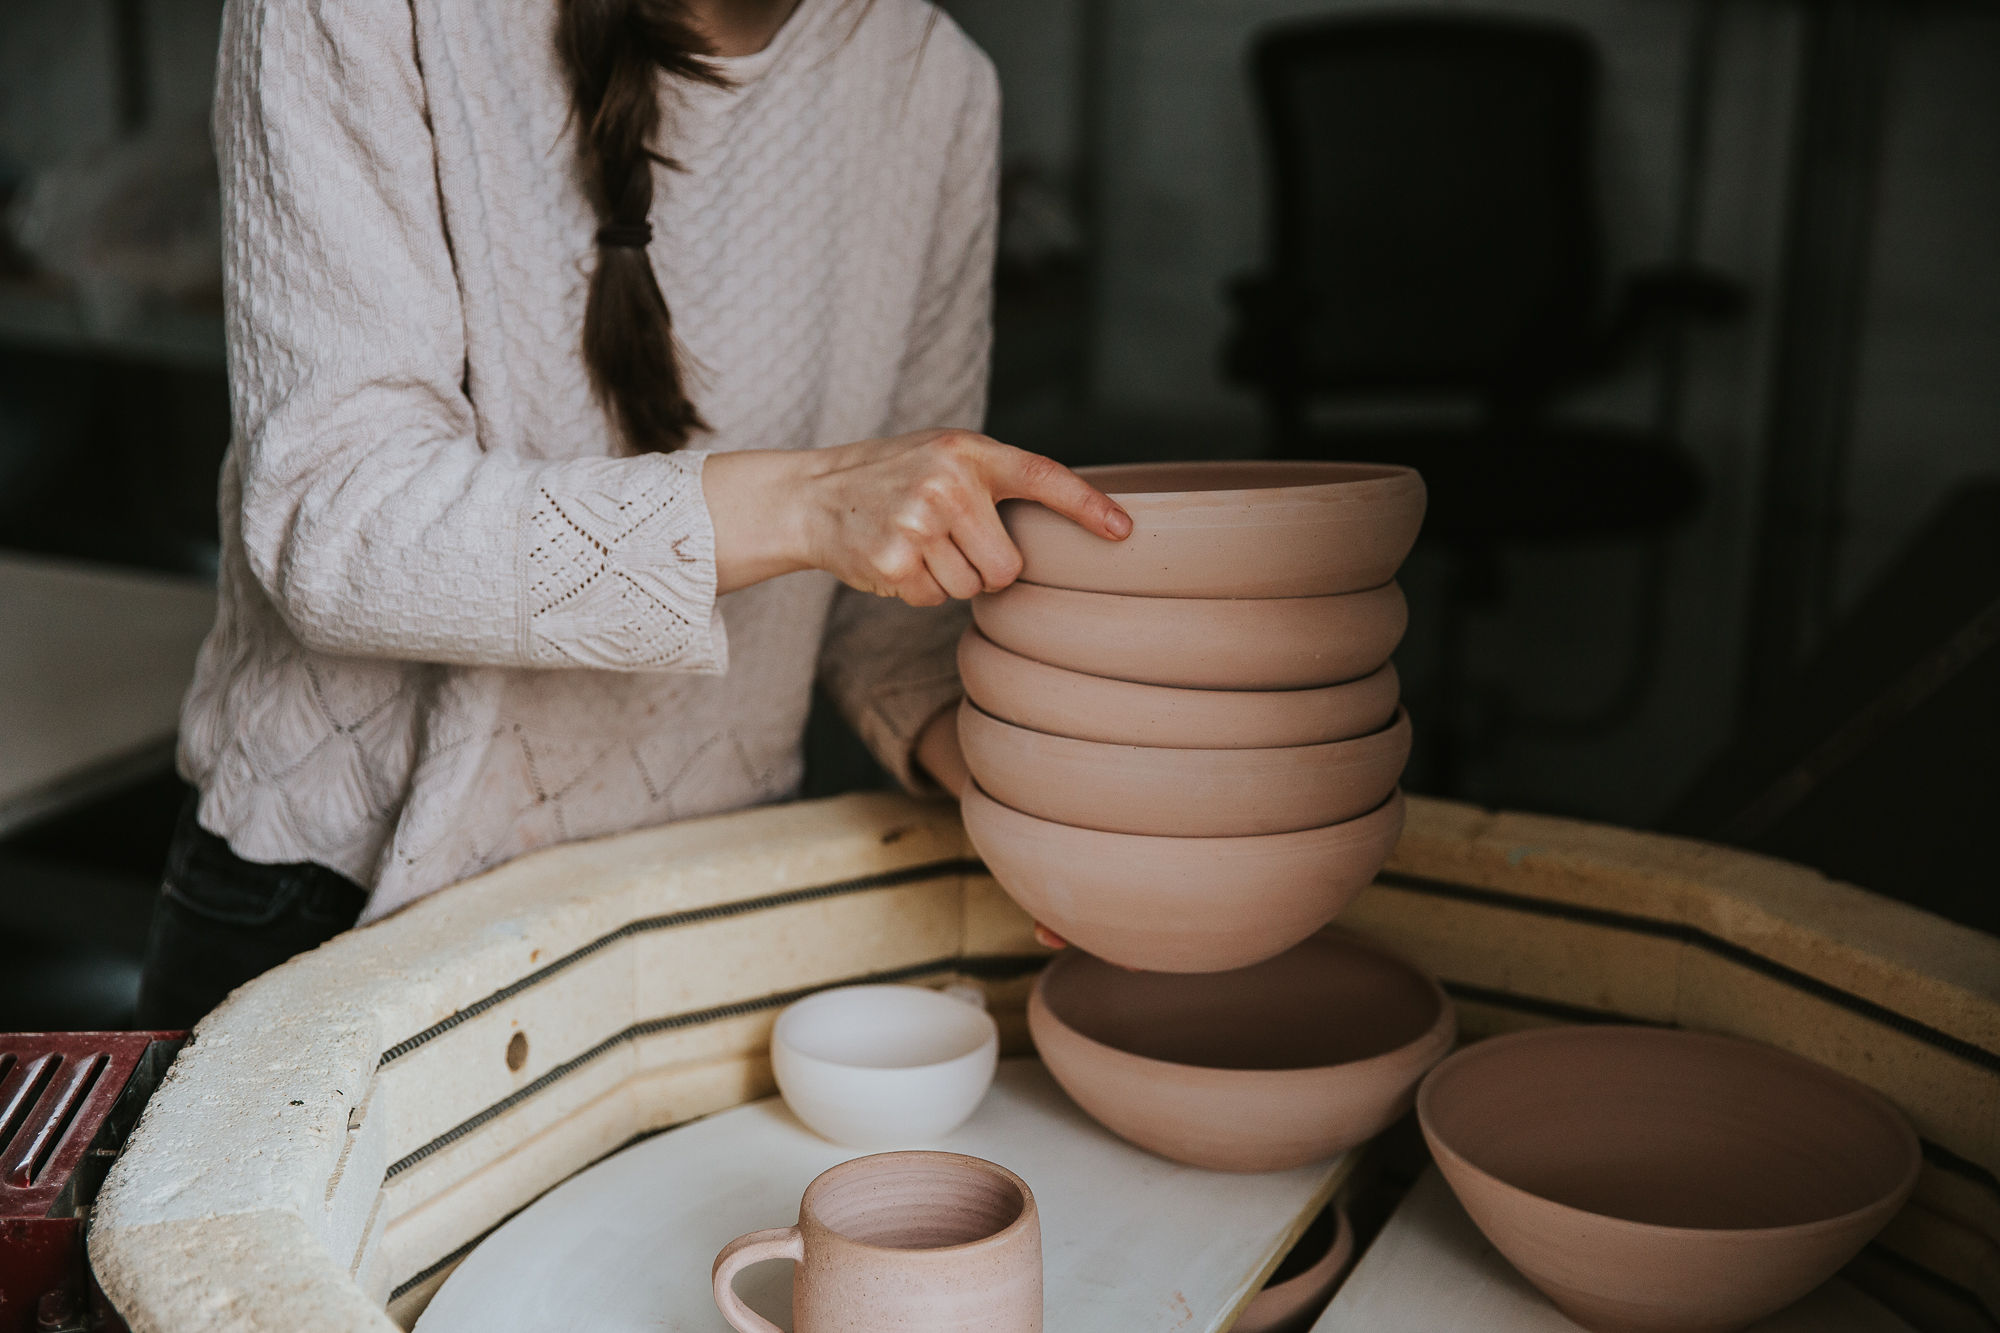
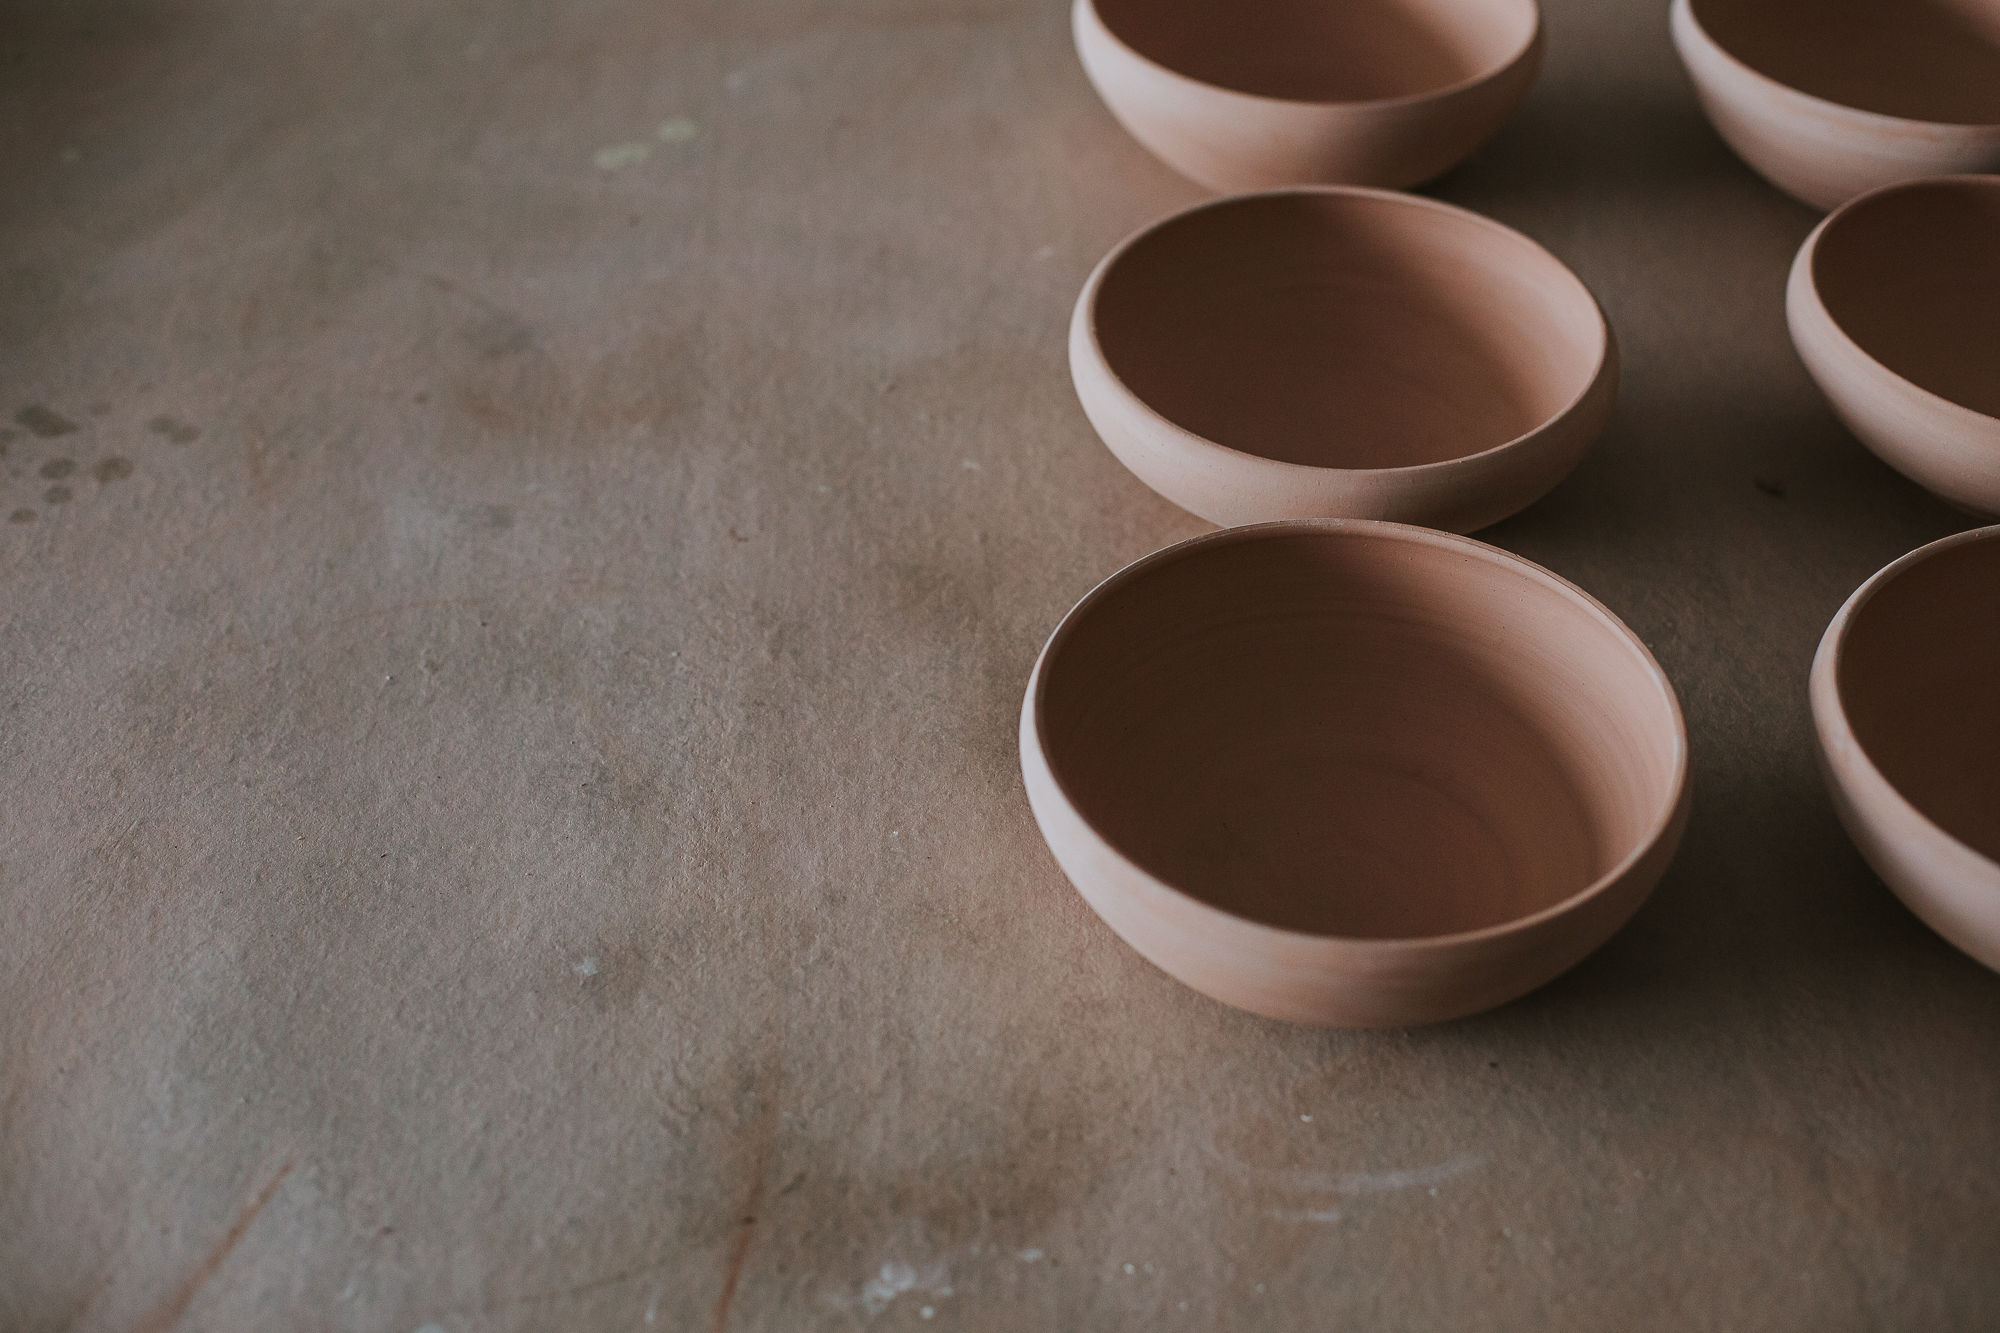
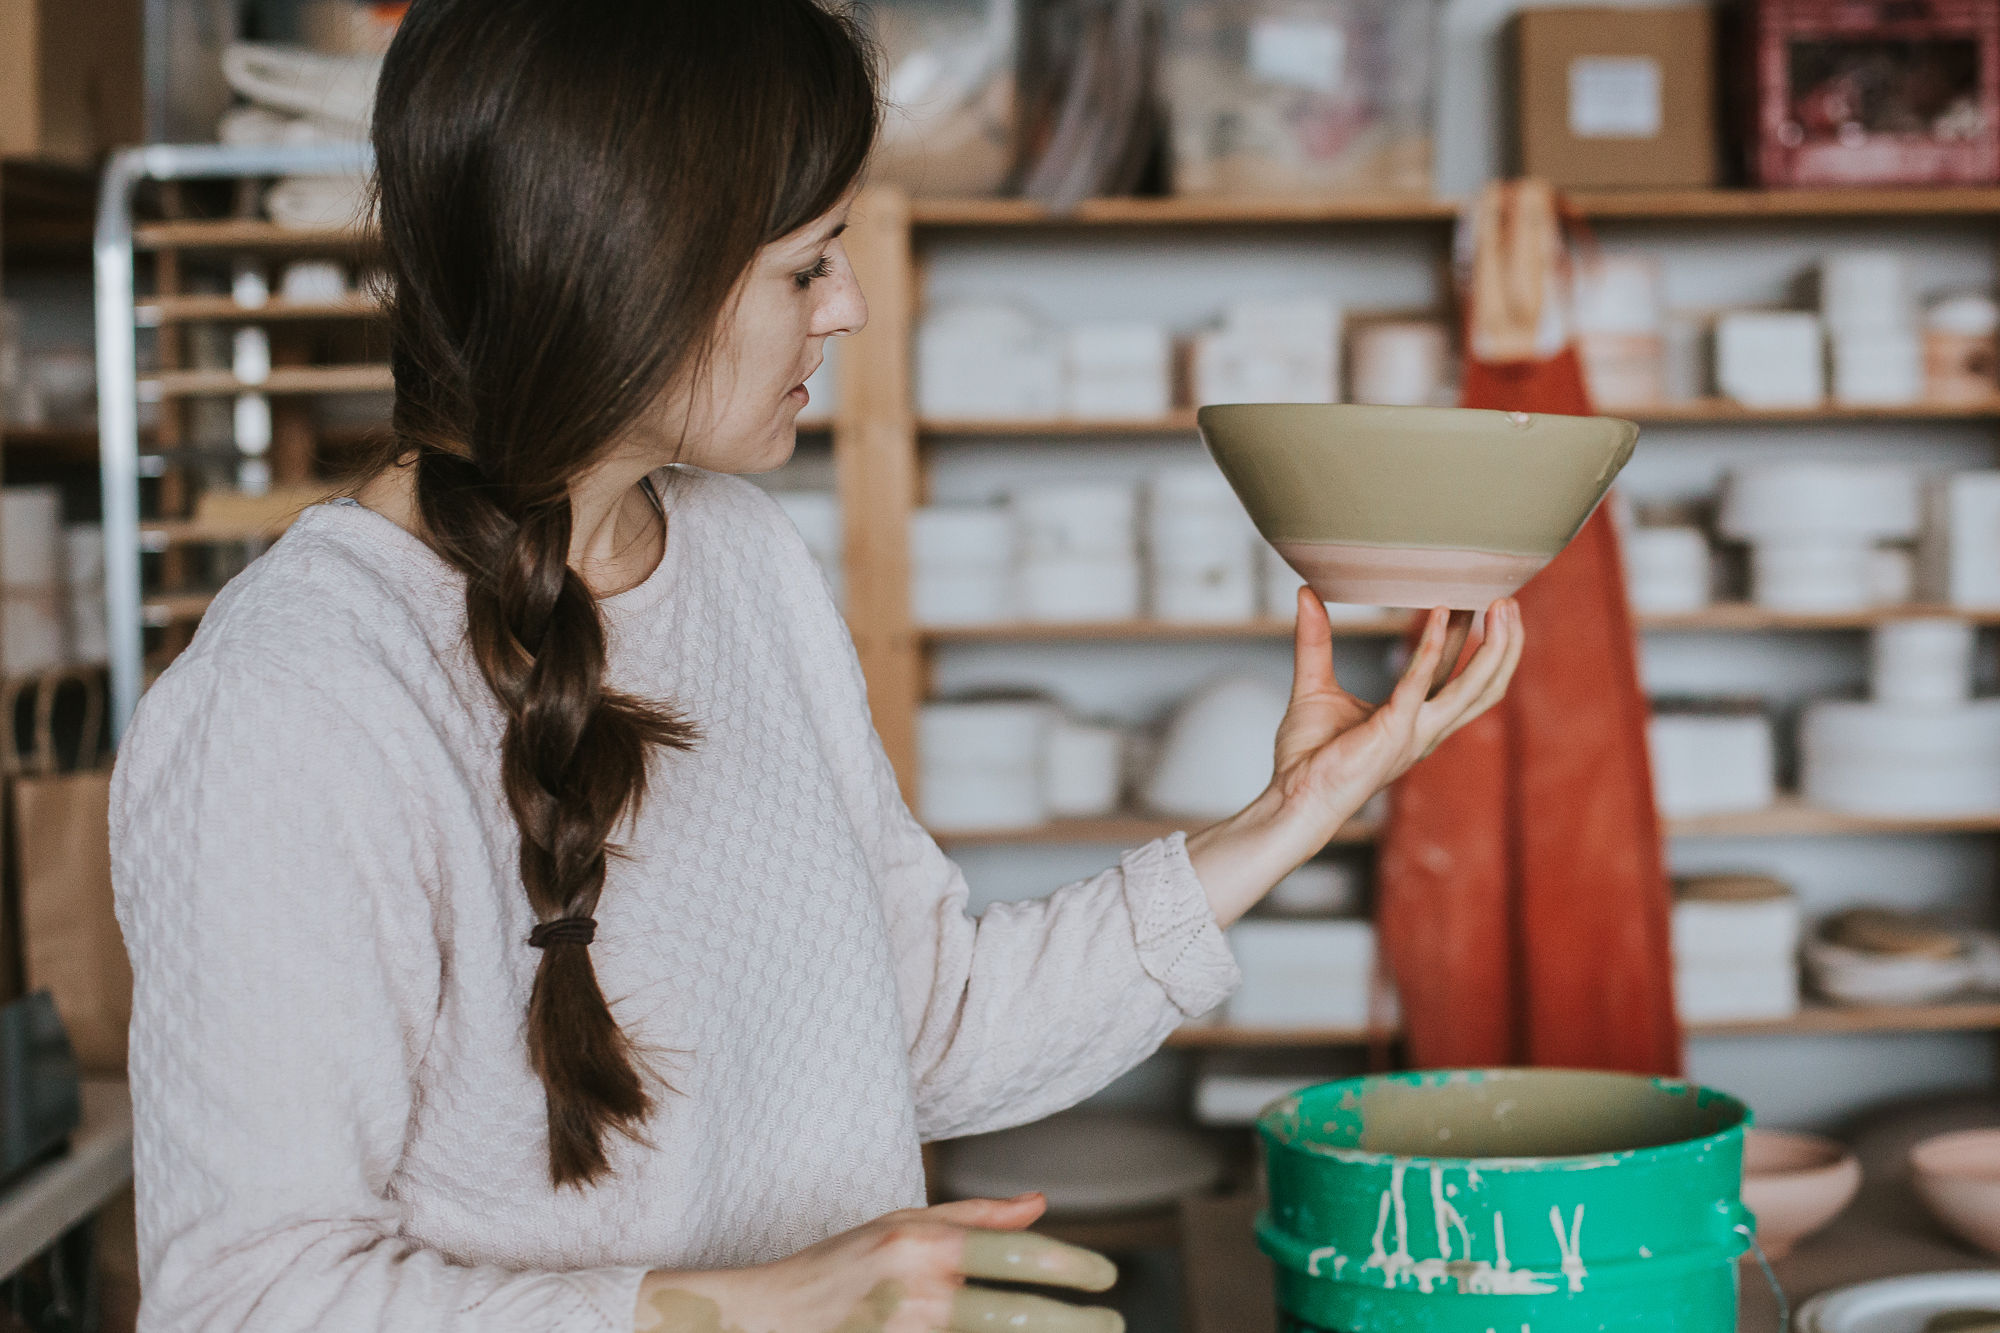
Step 4: trimming
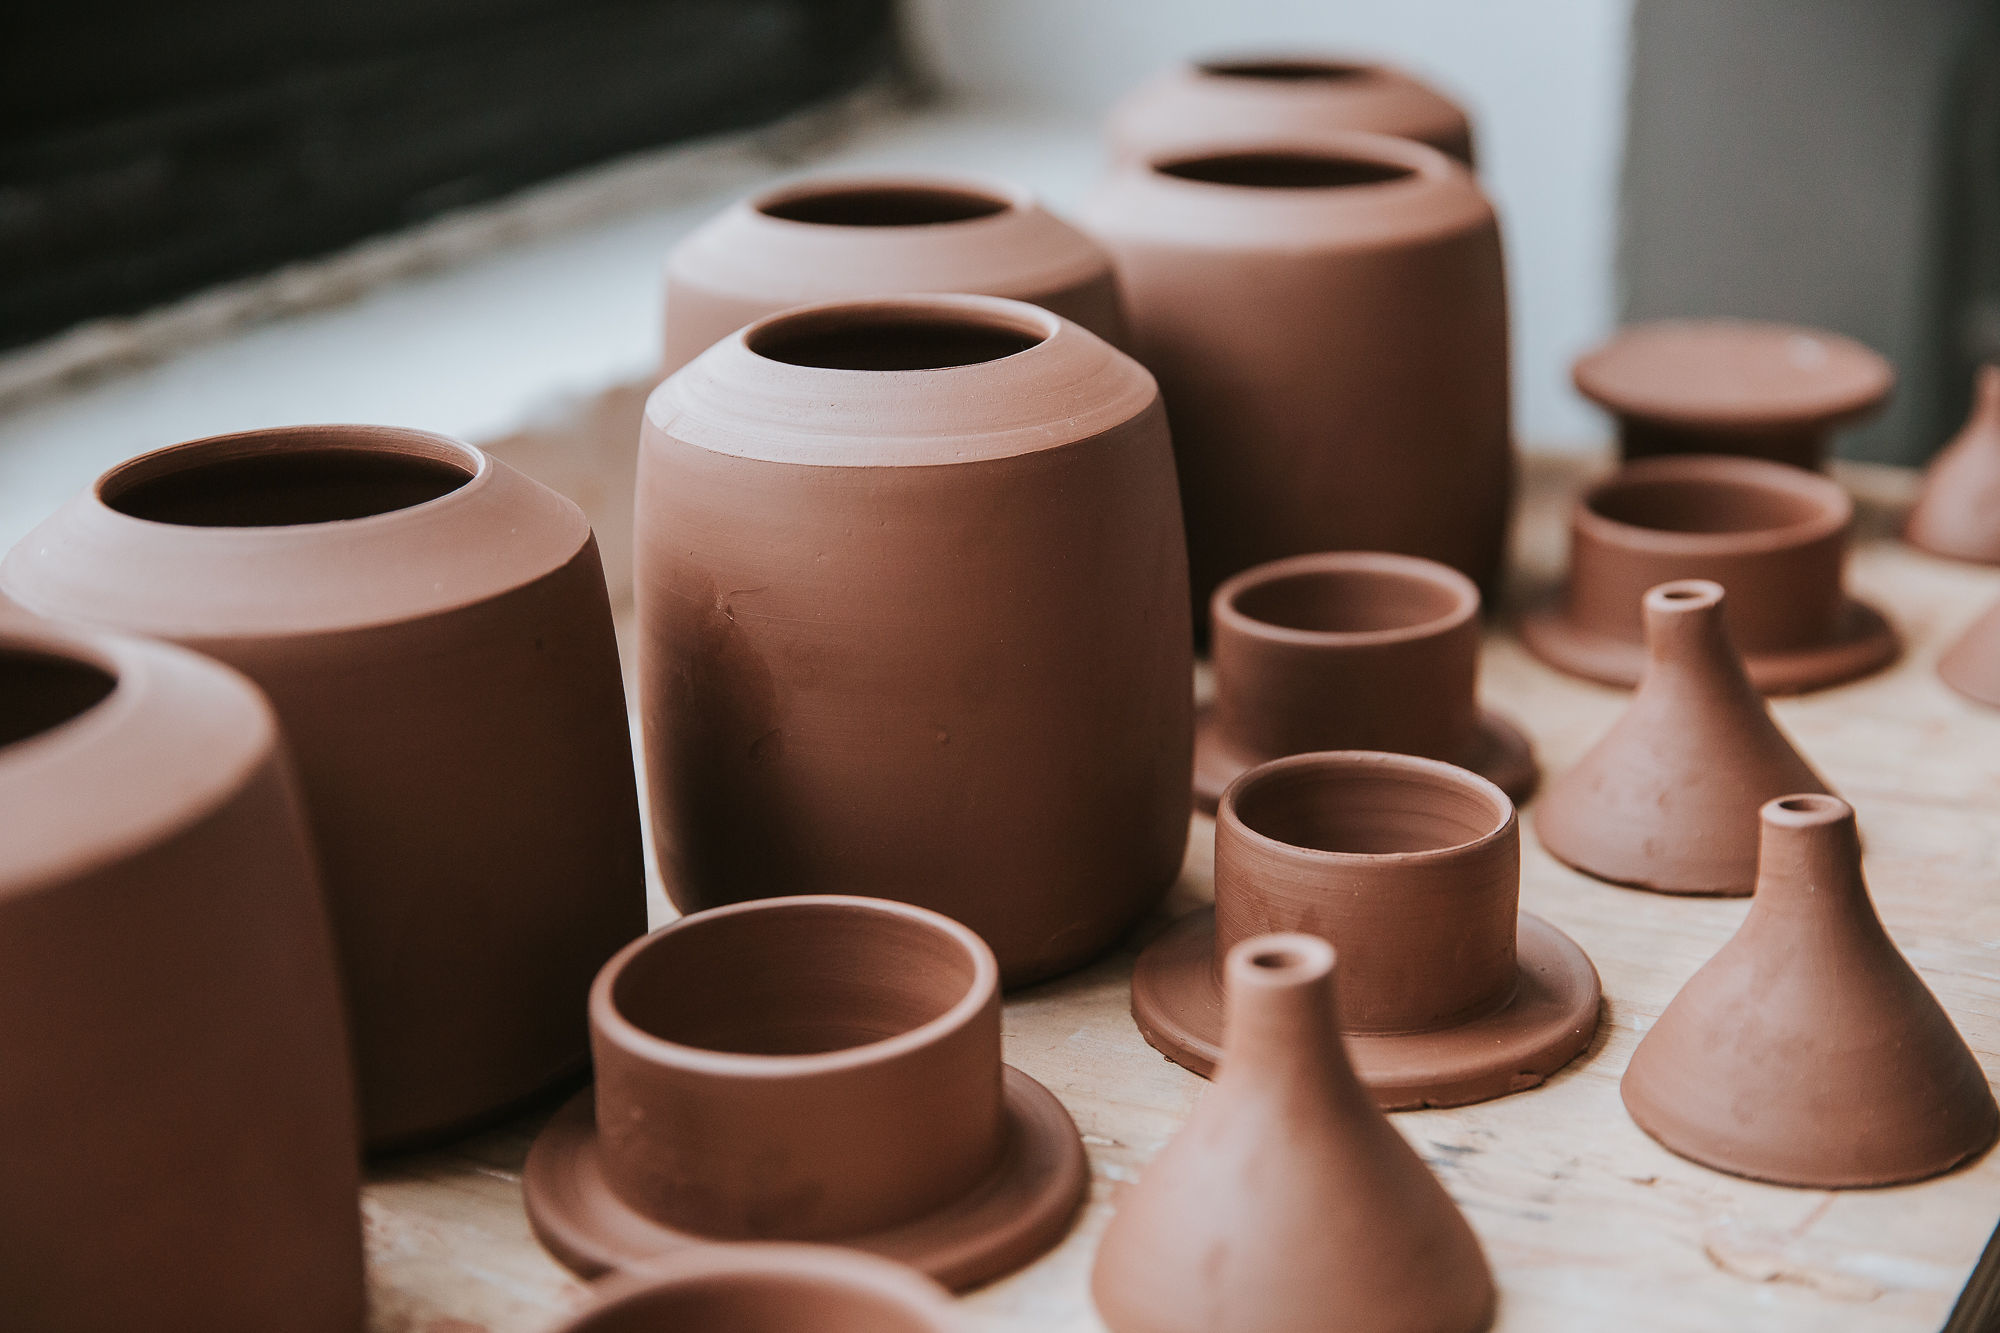
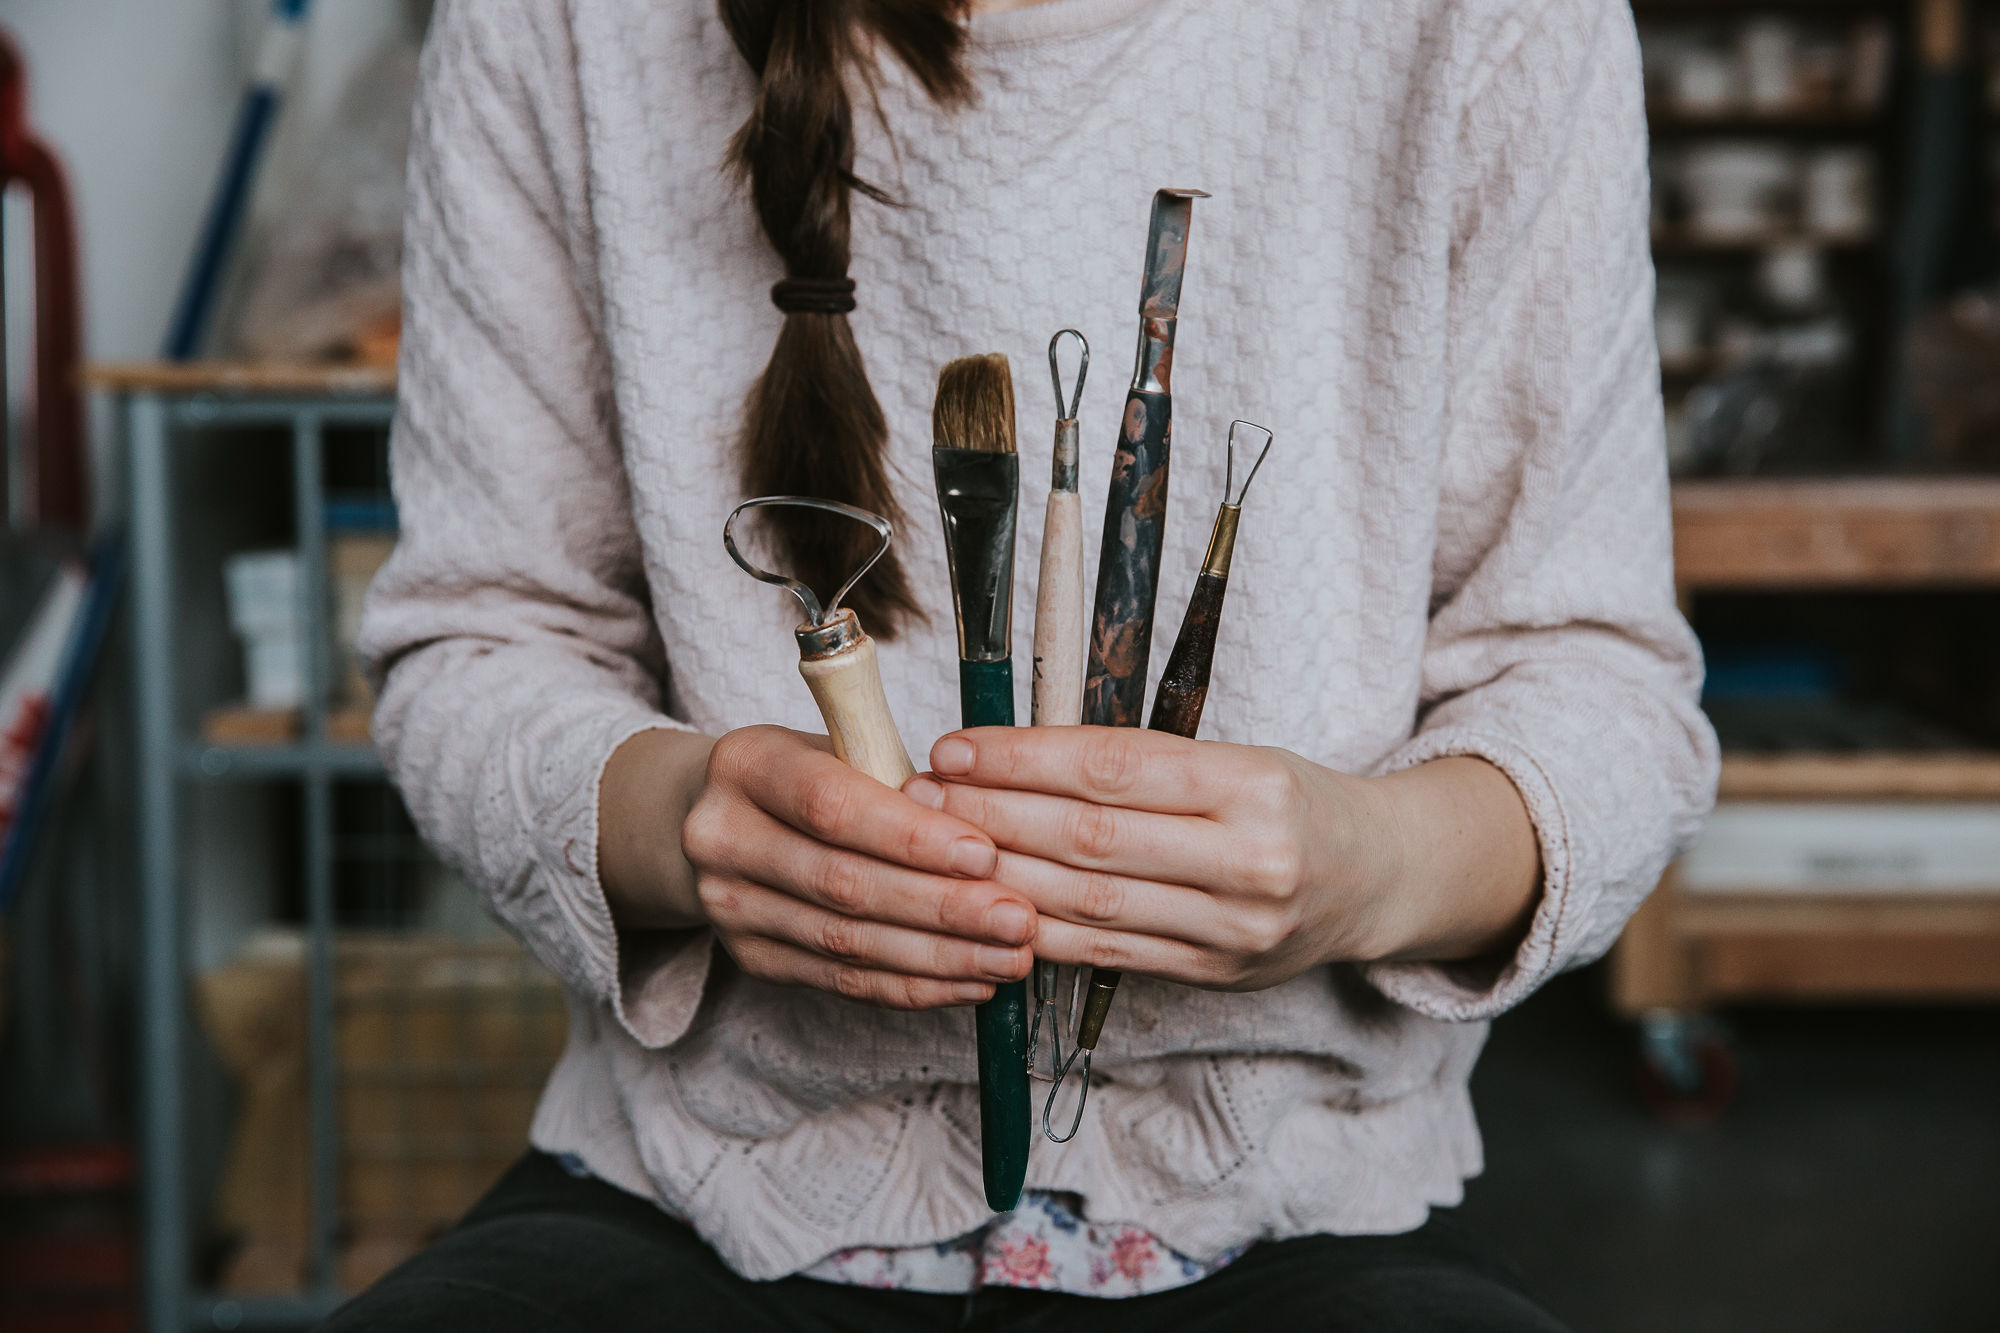
Once the clay is leather-hard, a level of dryness that is stiff enough to hold it’s form but soft enough to carve into, it is time to set it back on the wheel for trimming and finishing. As the wheel spins, the sharp trimming tools carve away ribbons of clay, finalizing the shape and cleaning up the bottom of the piece. Different sized tools are used to add a foot and then brush on underglaze (colored clay) to carve the logo.
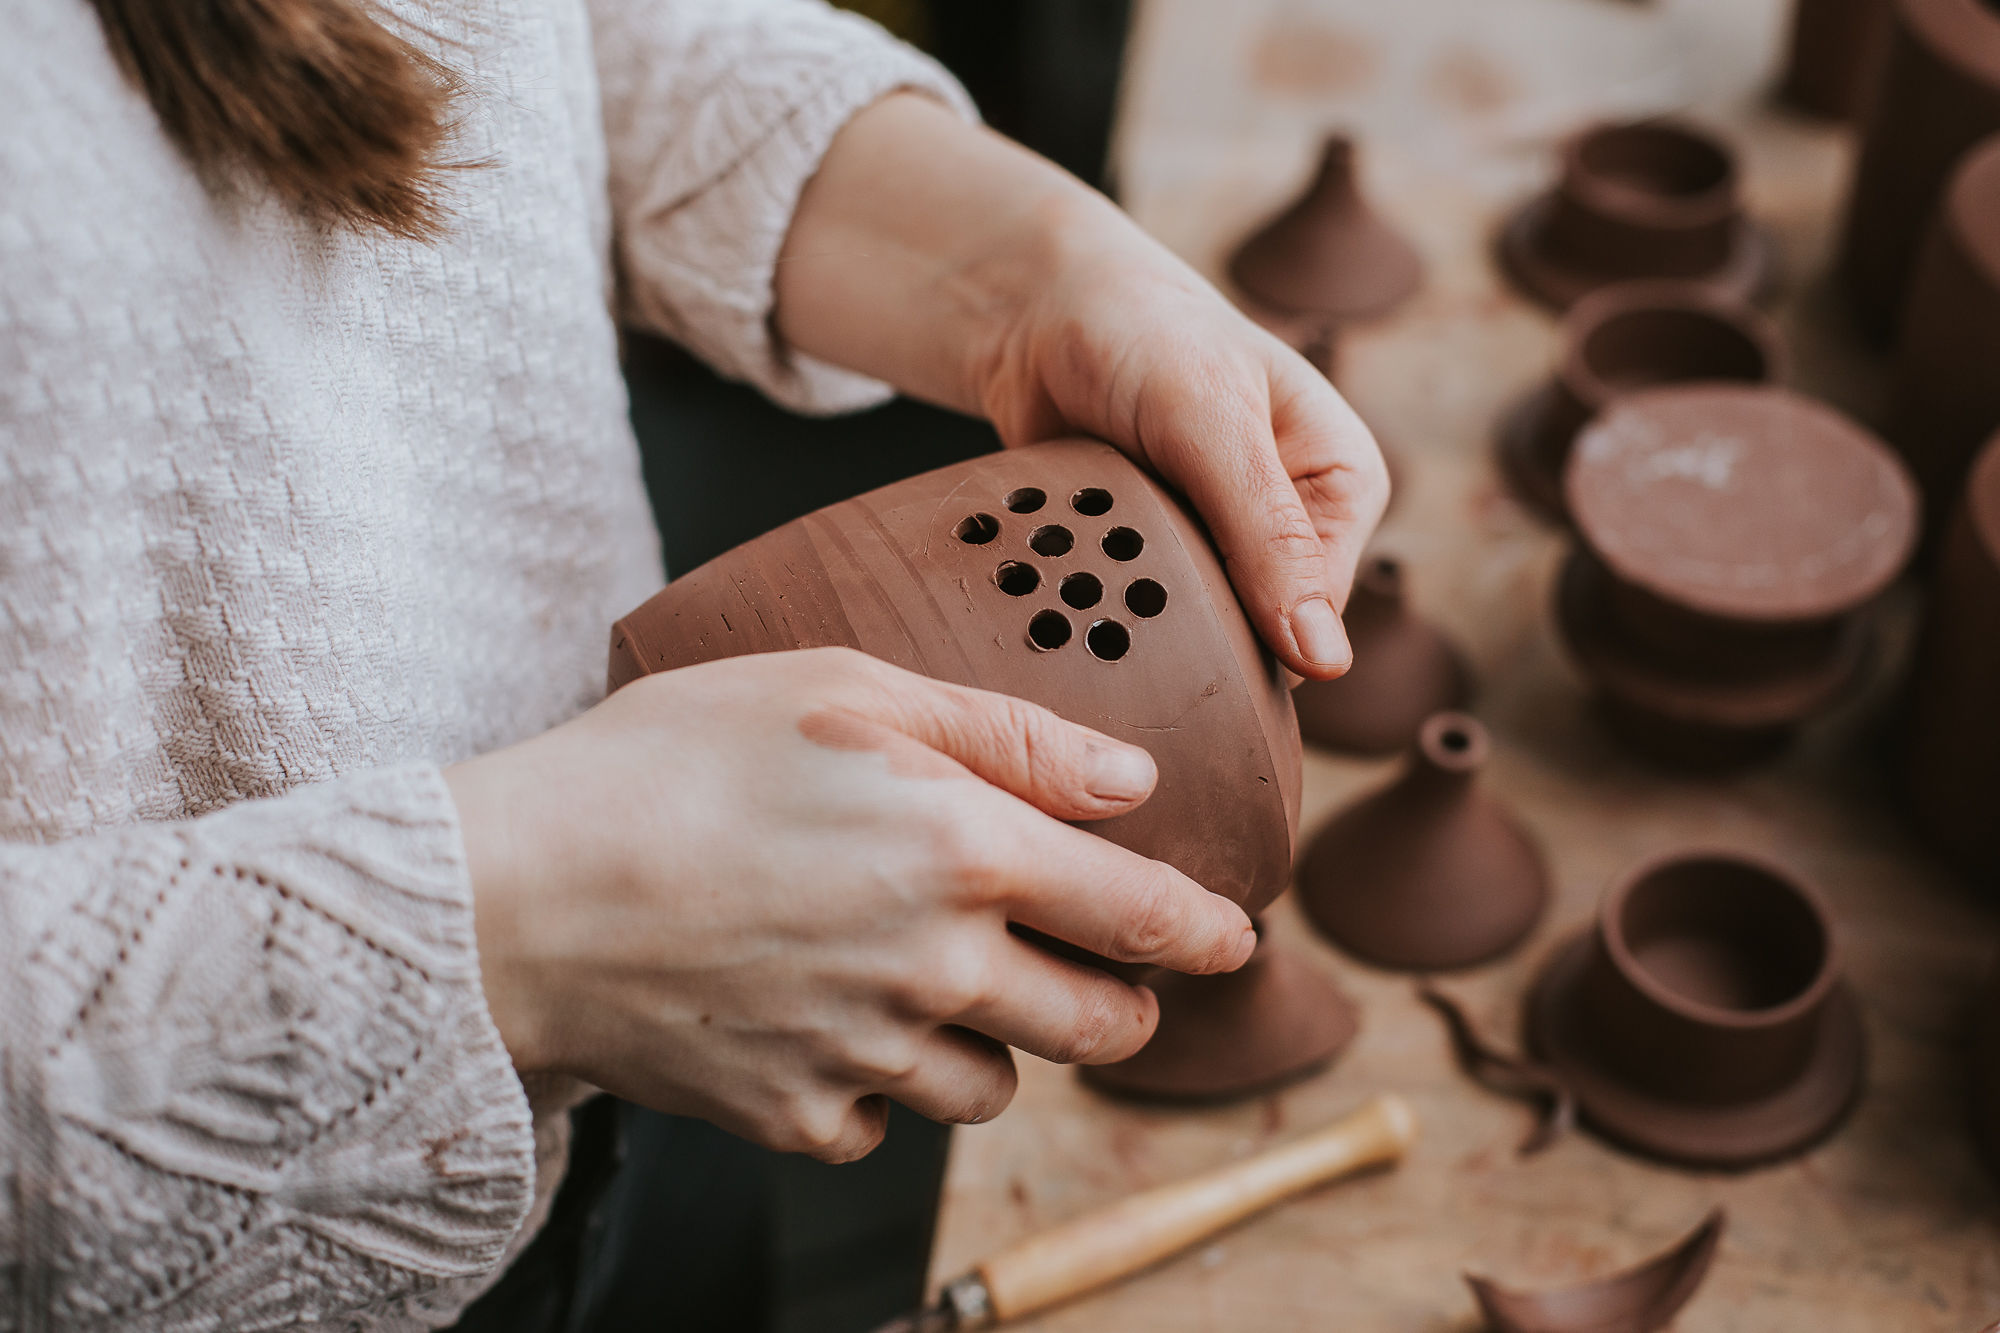
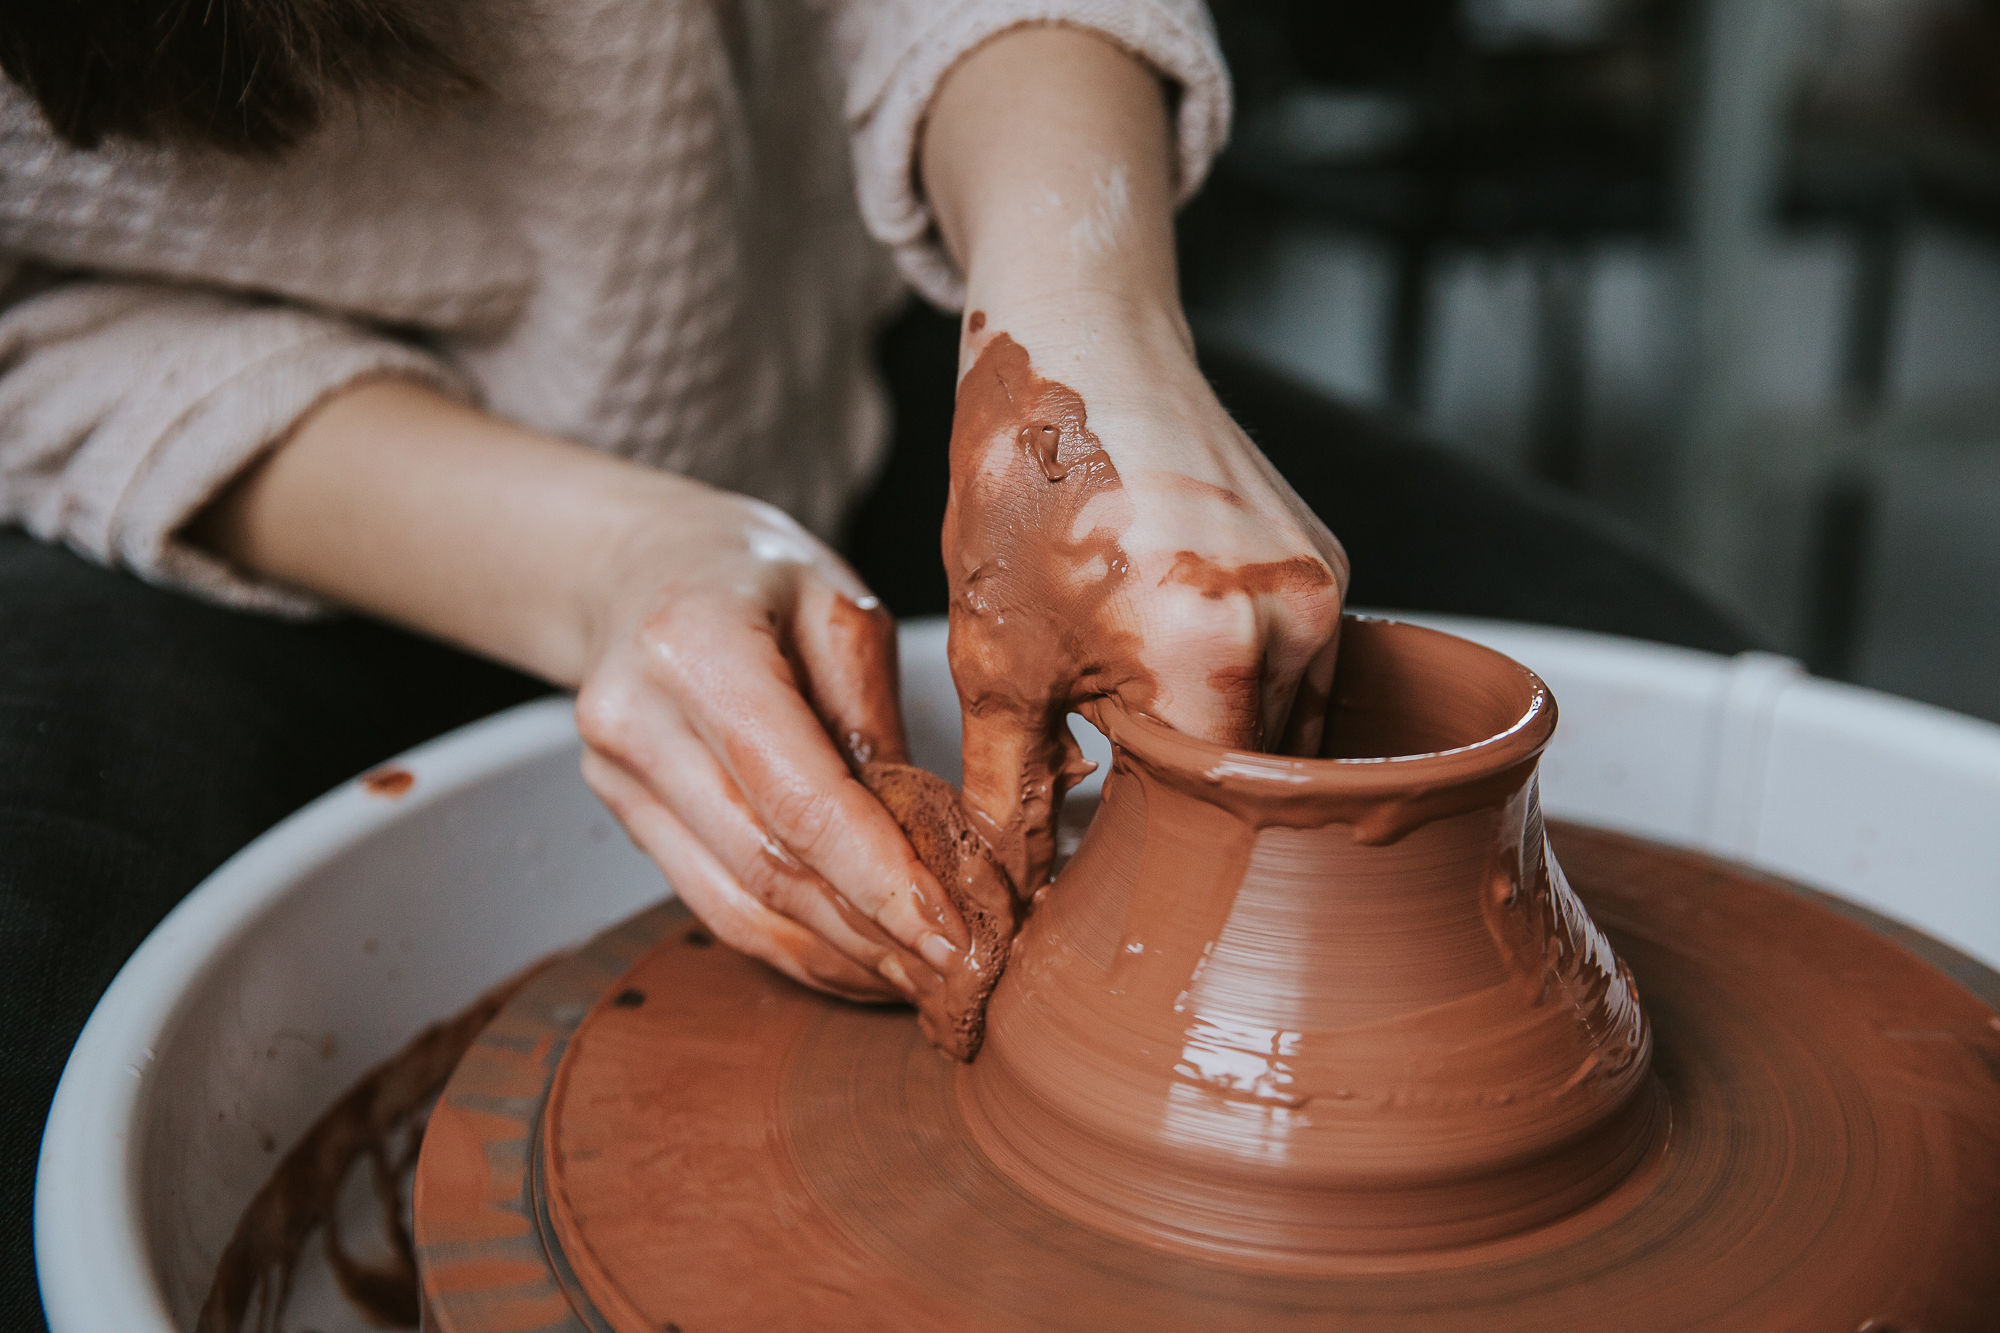
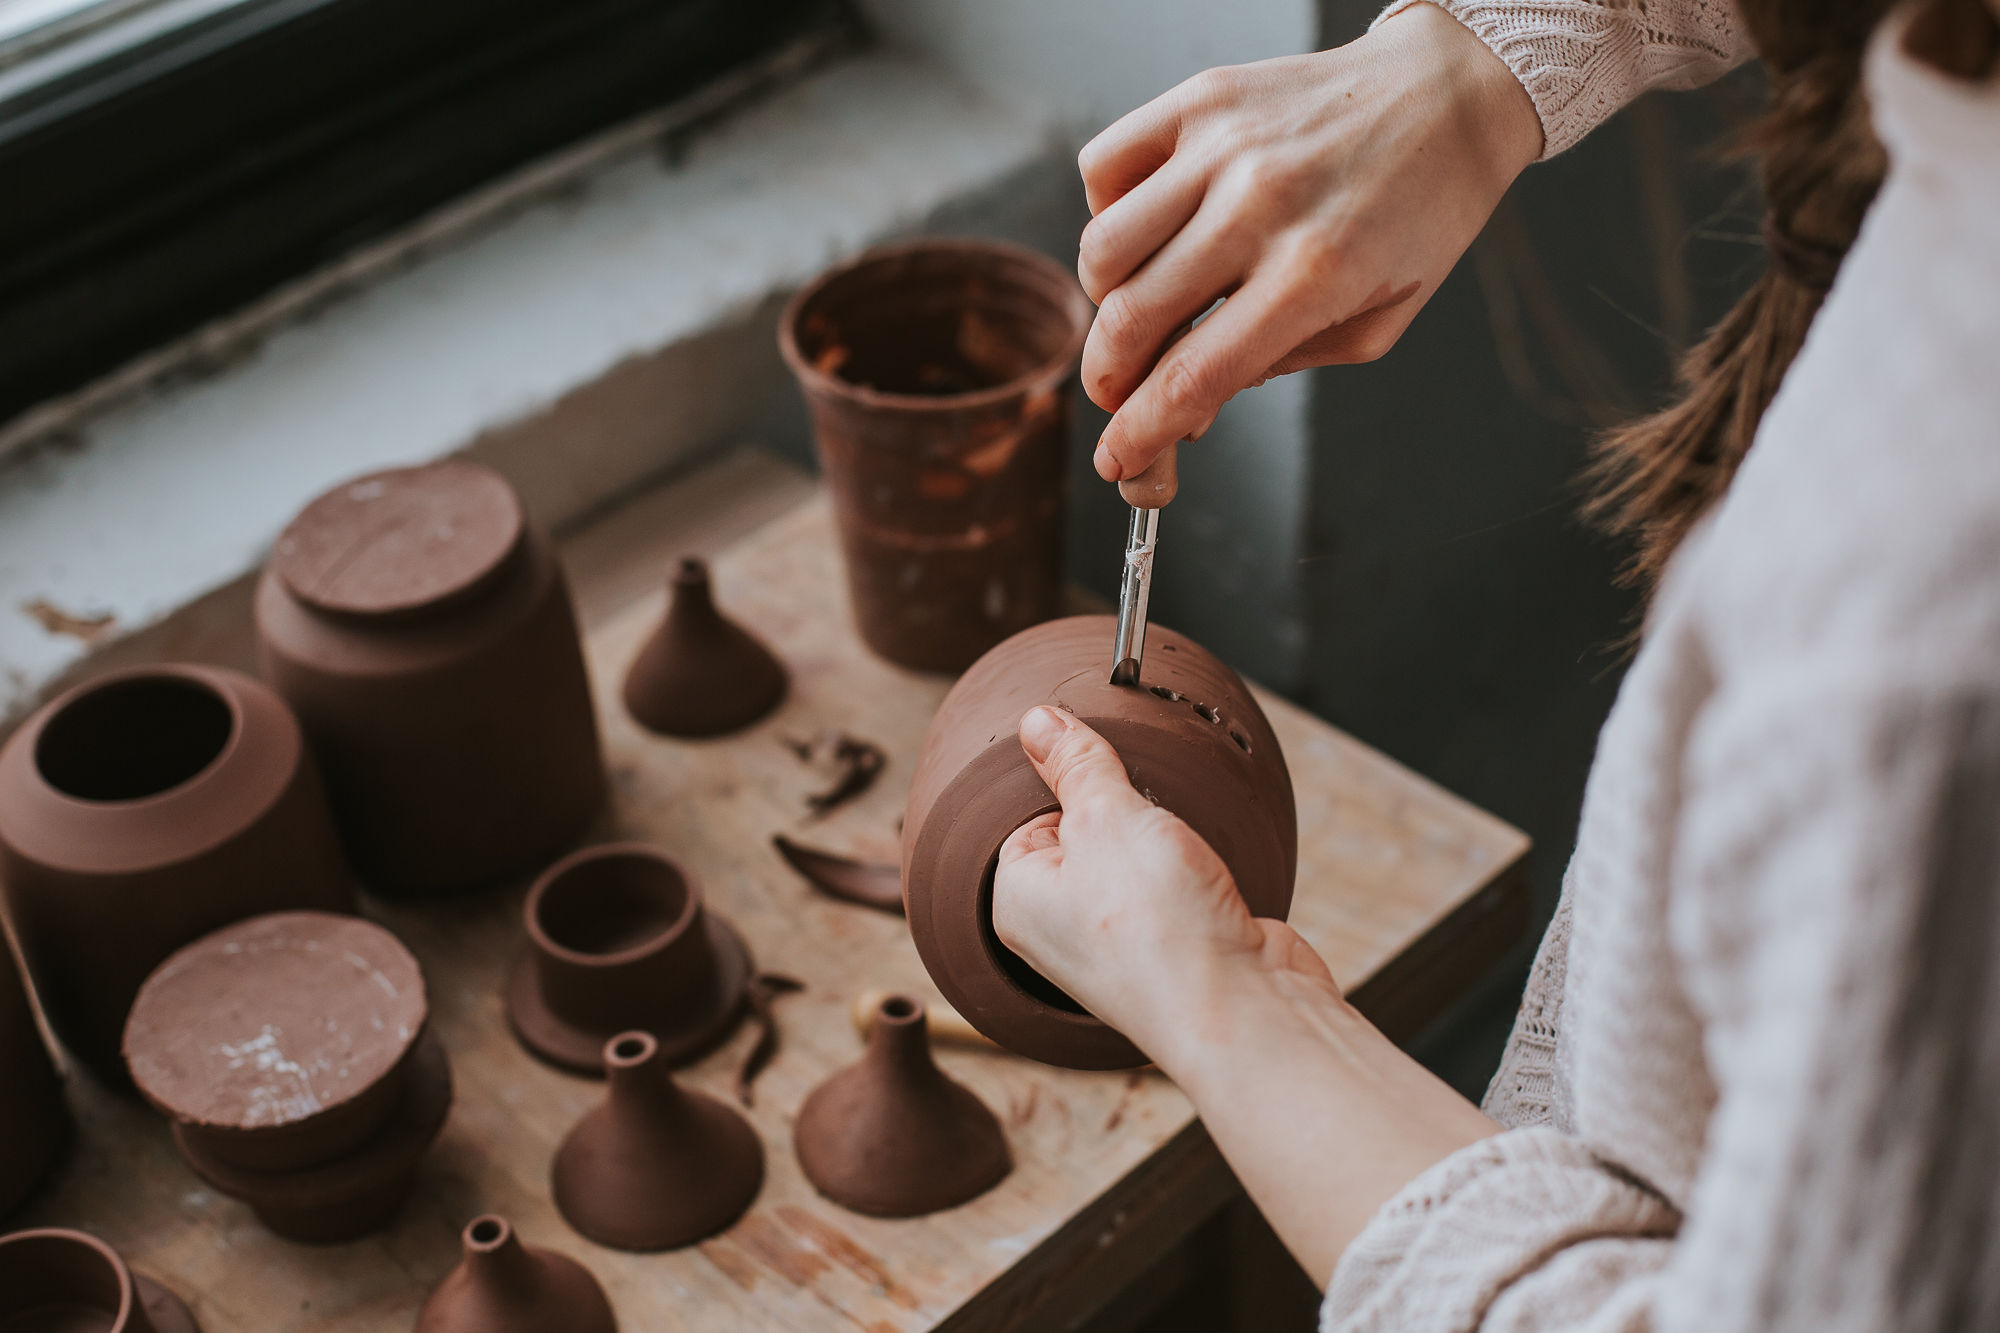
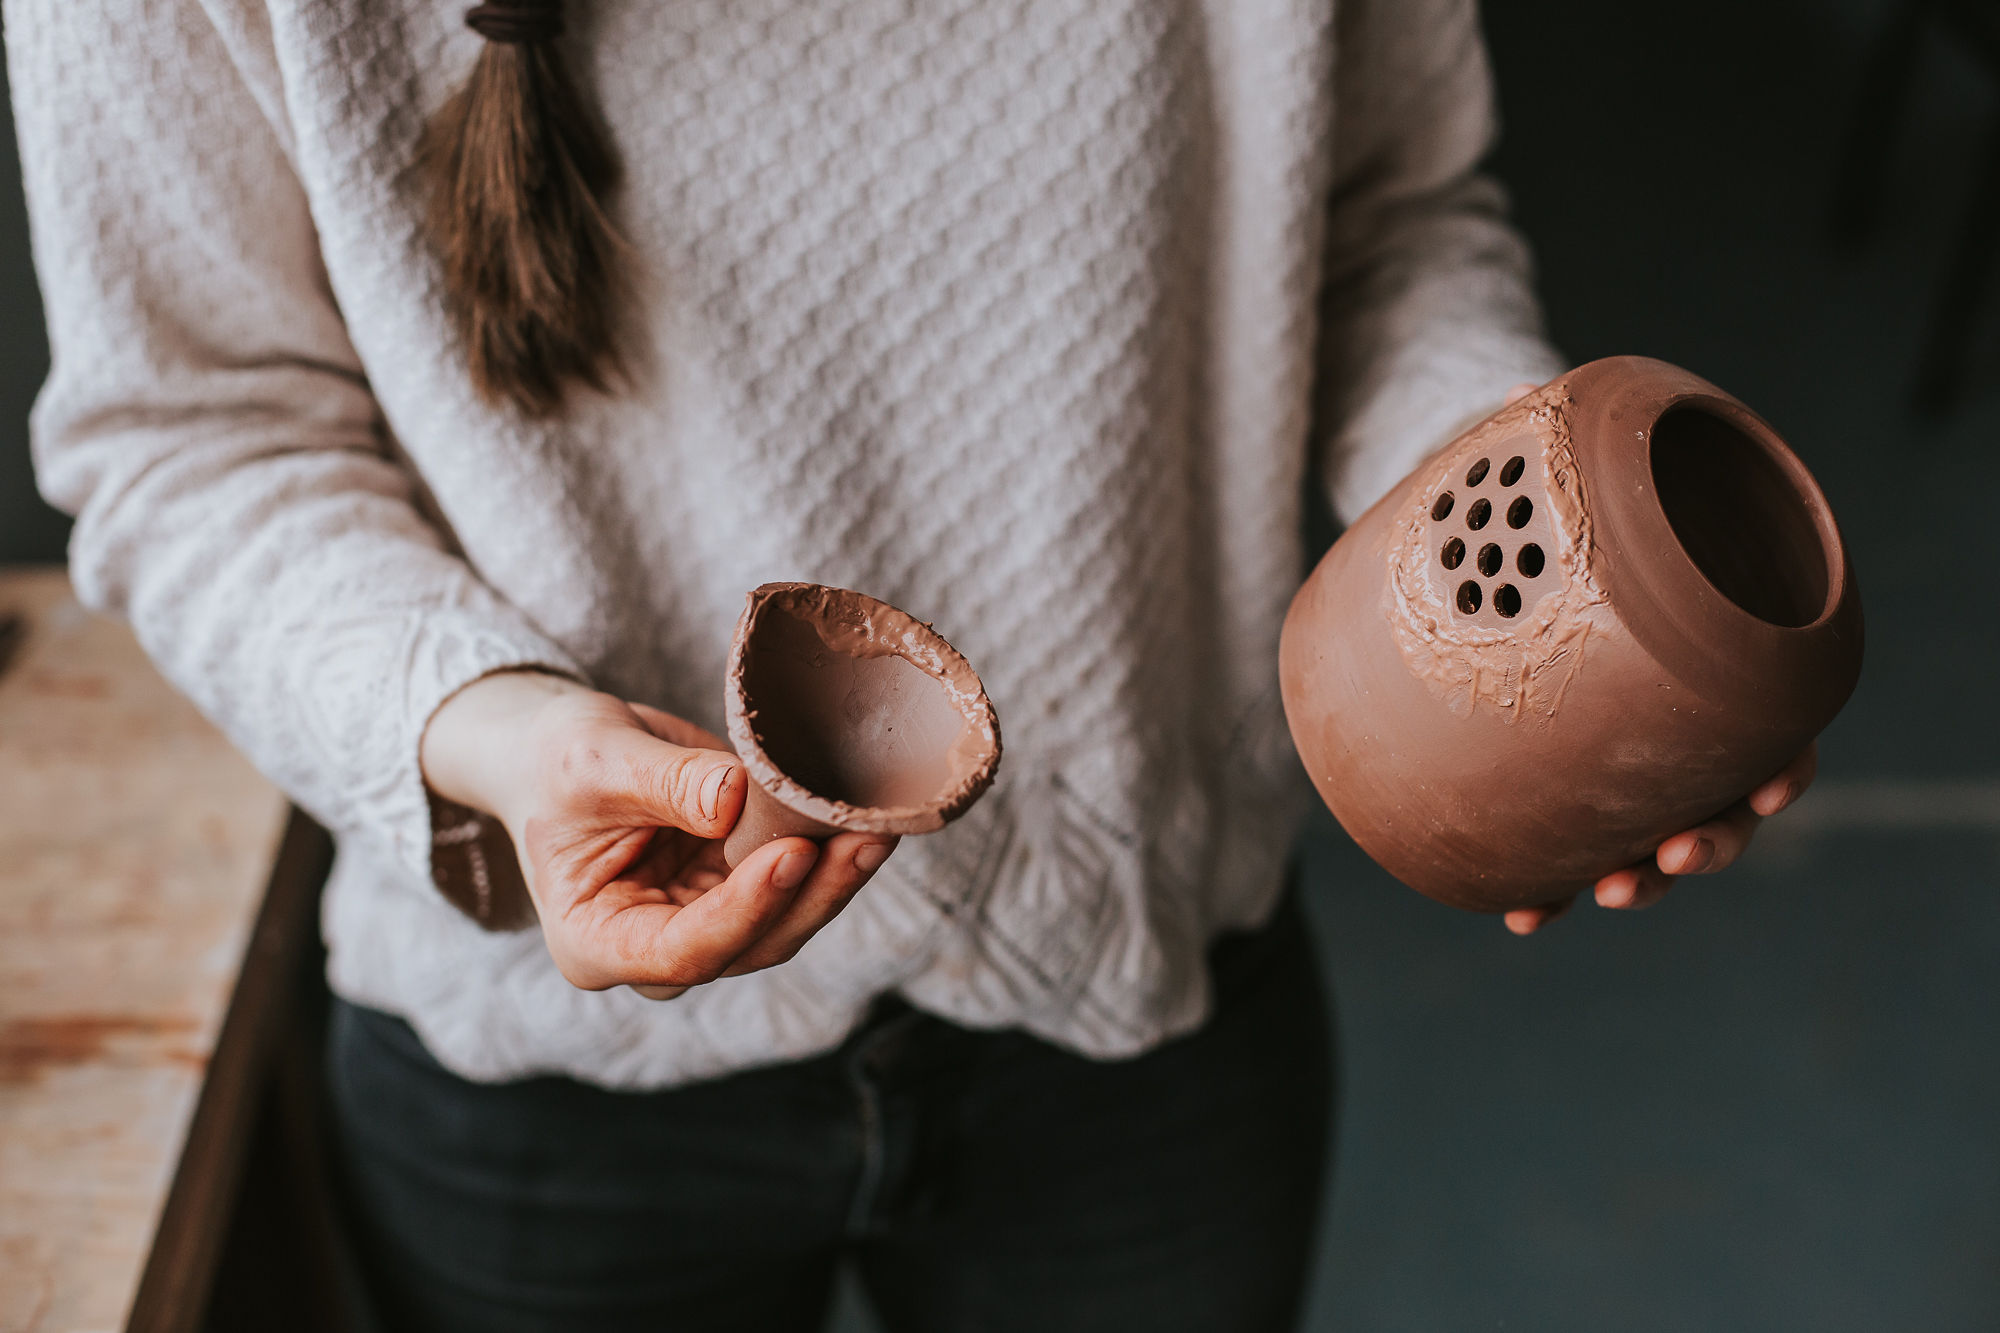
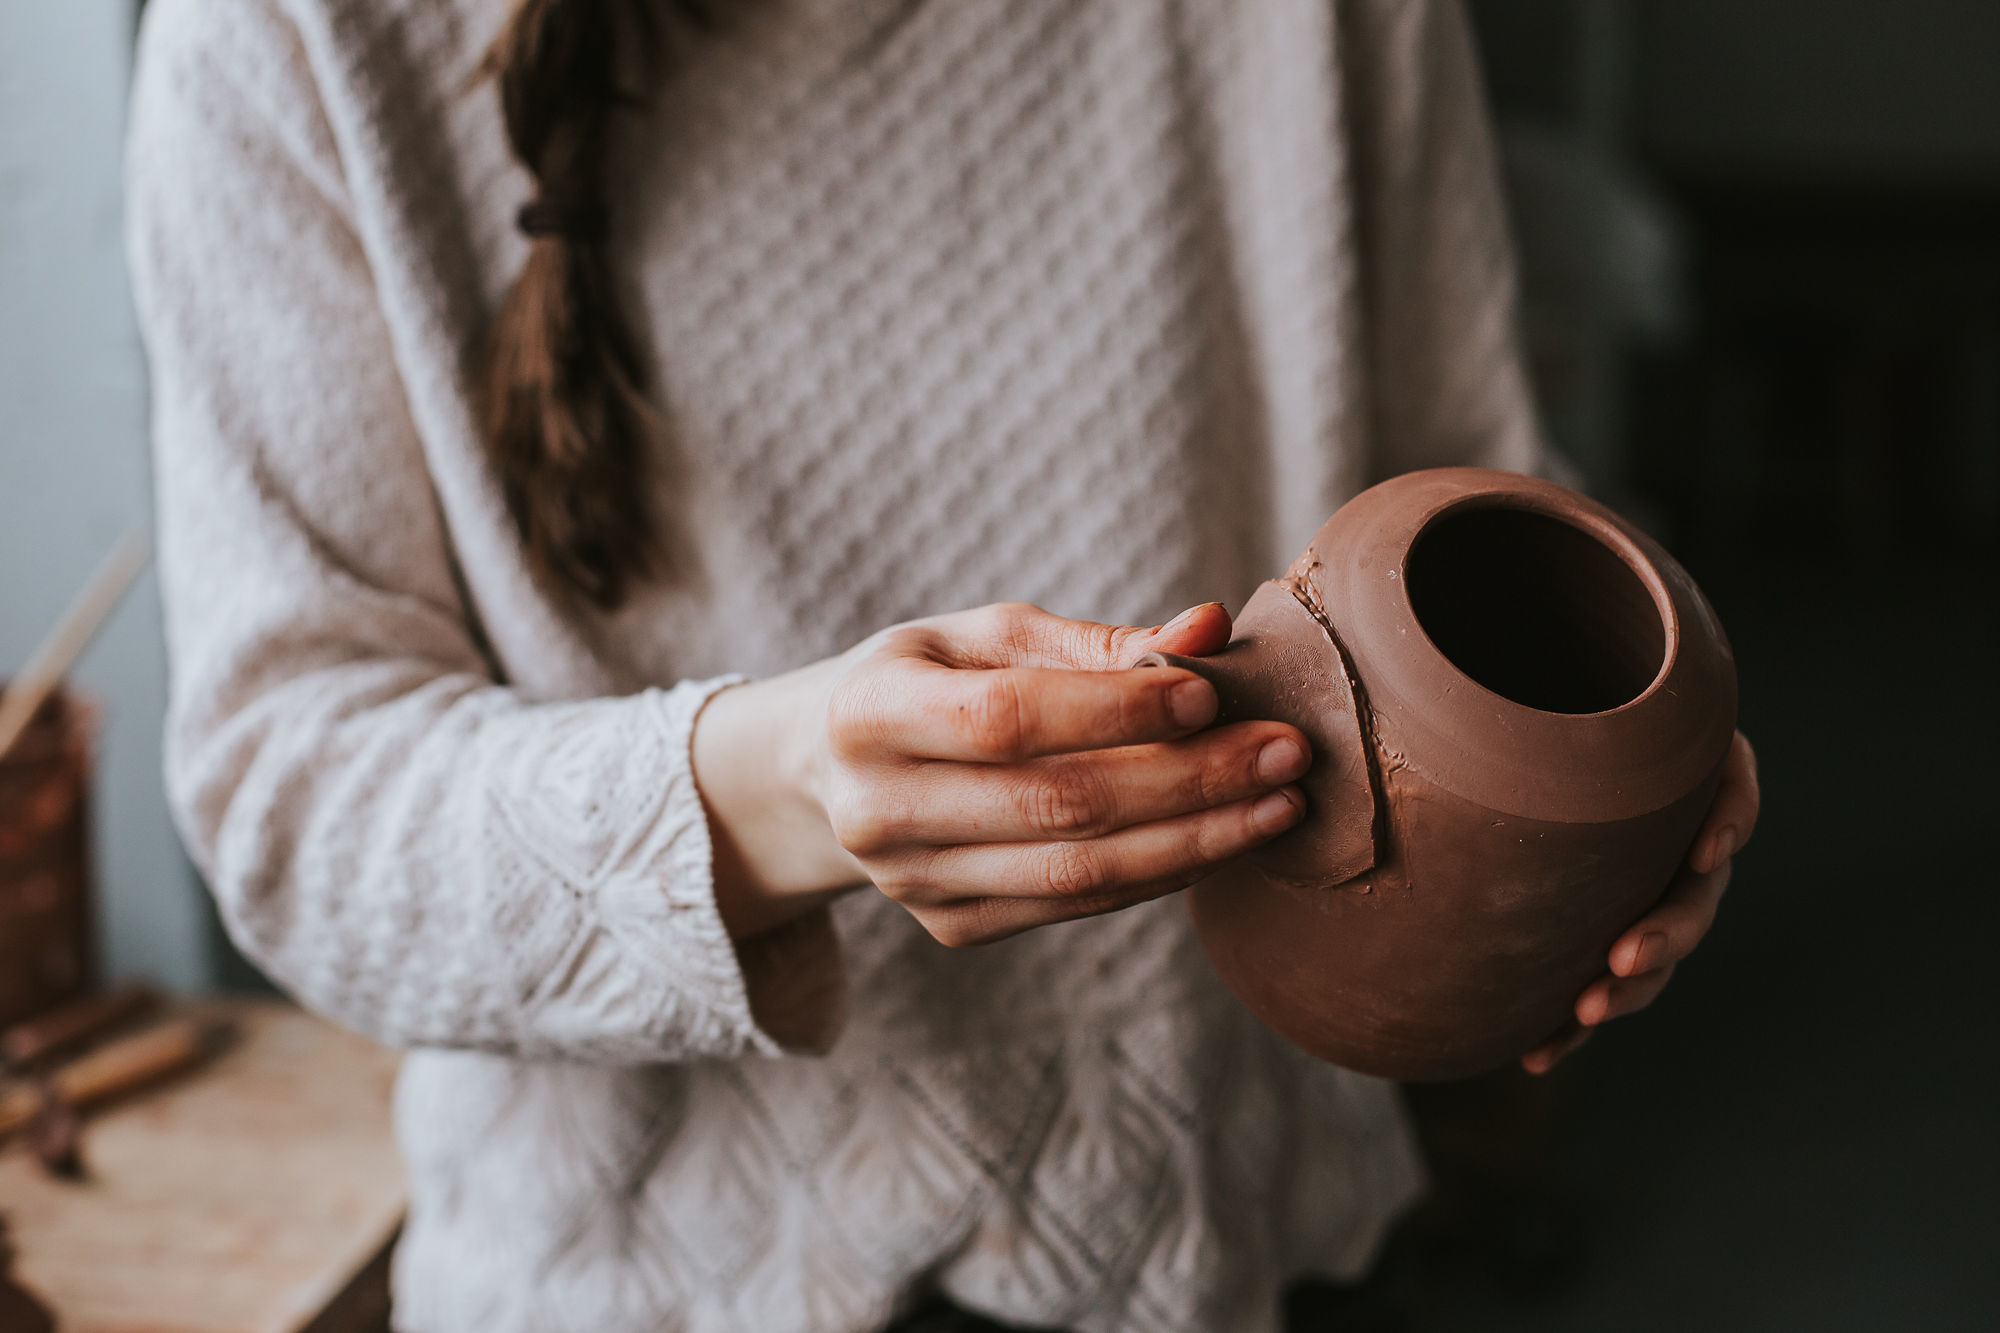
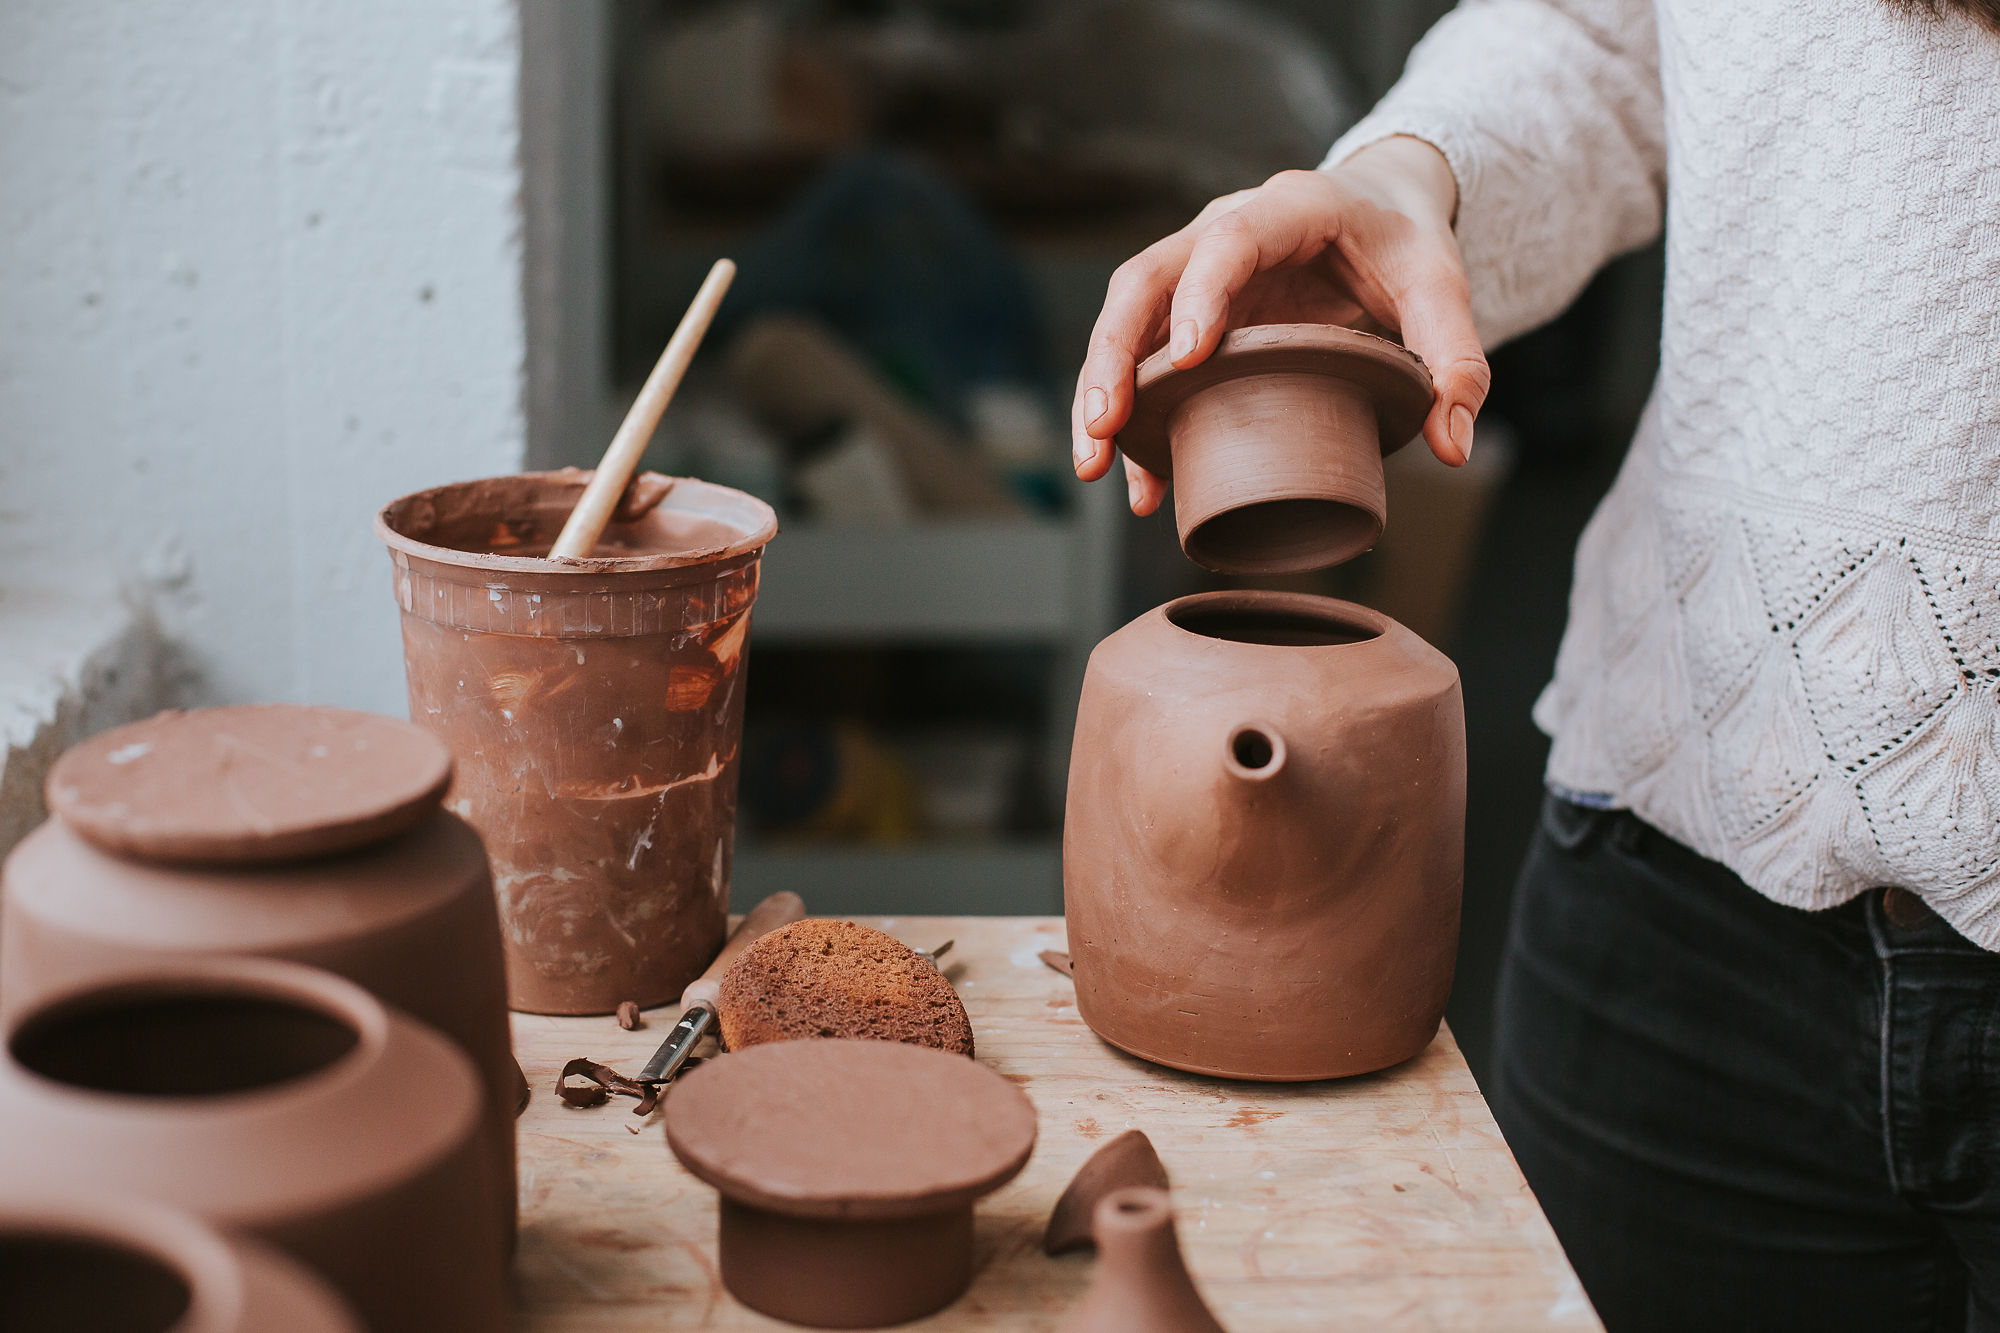
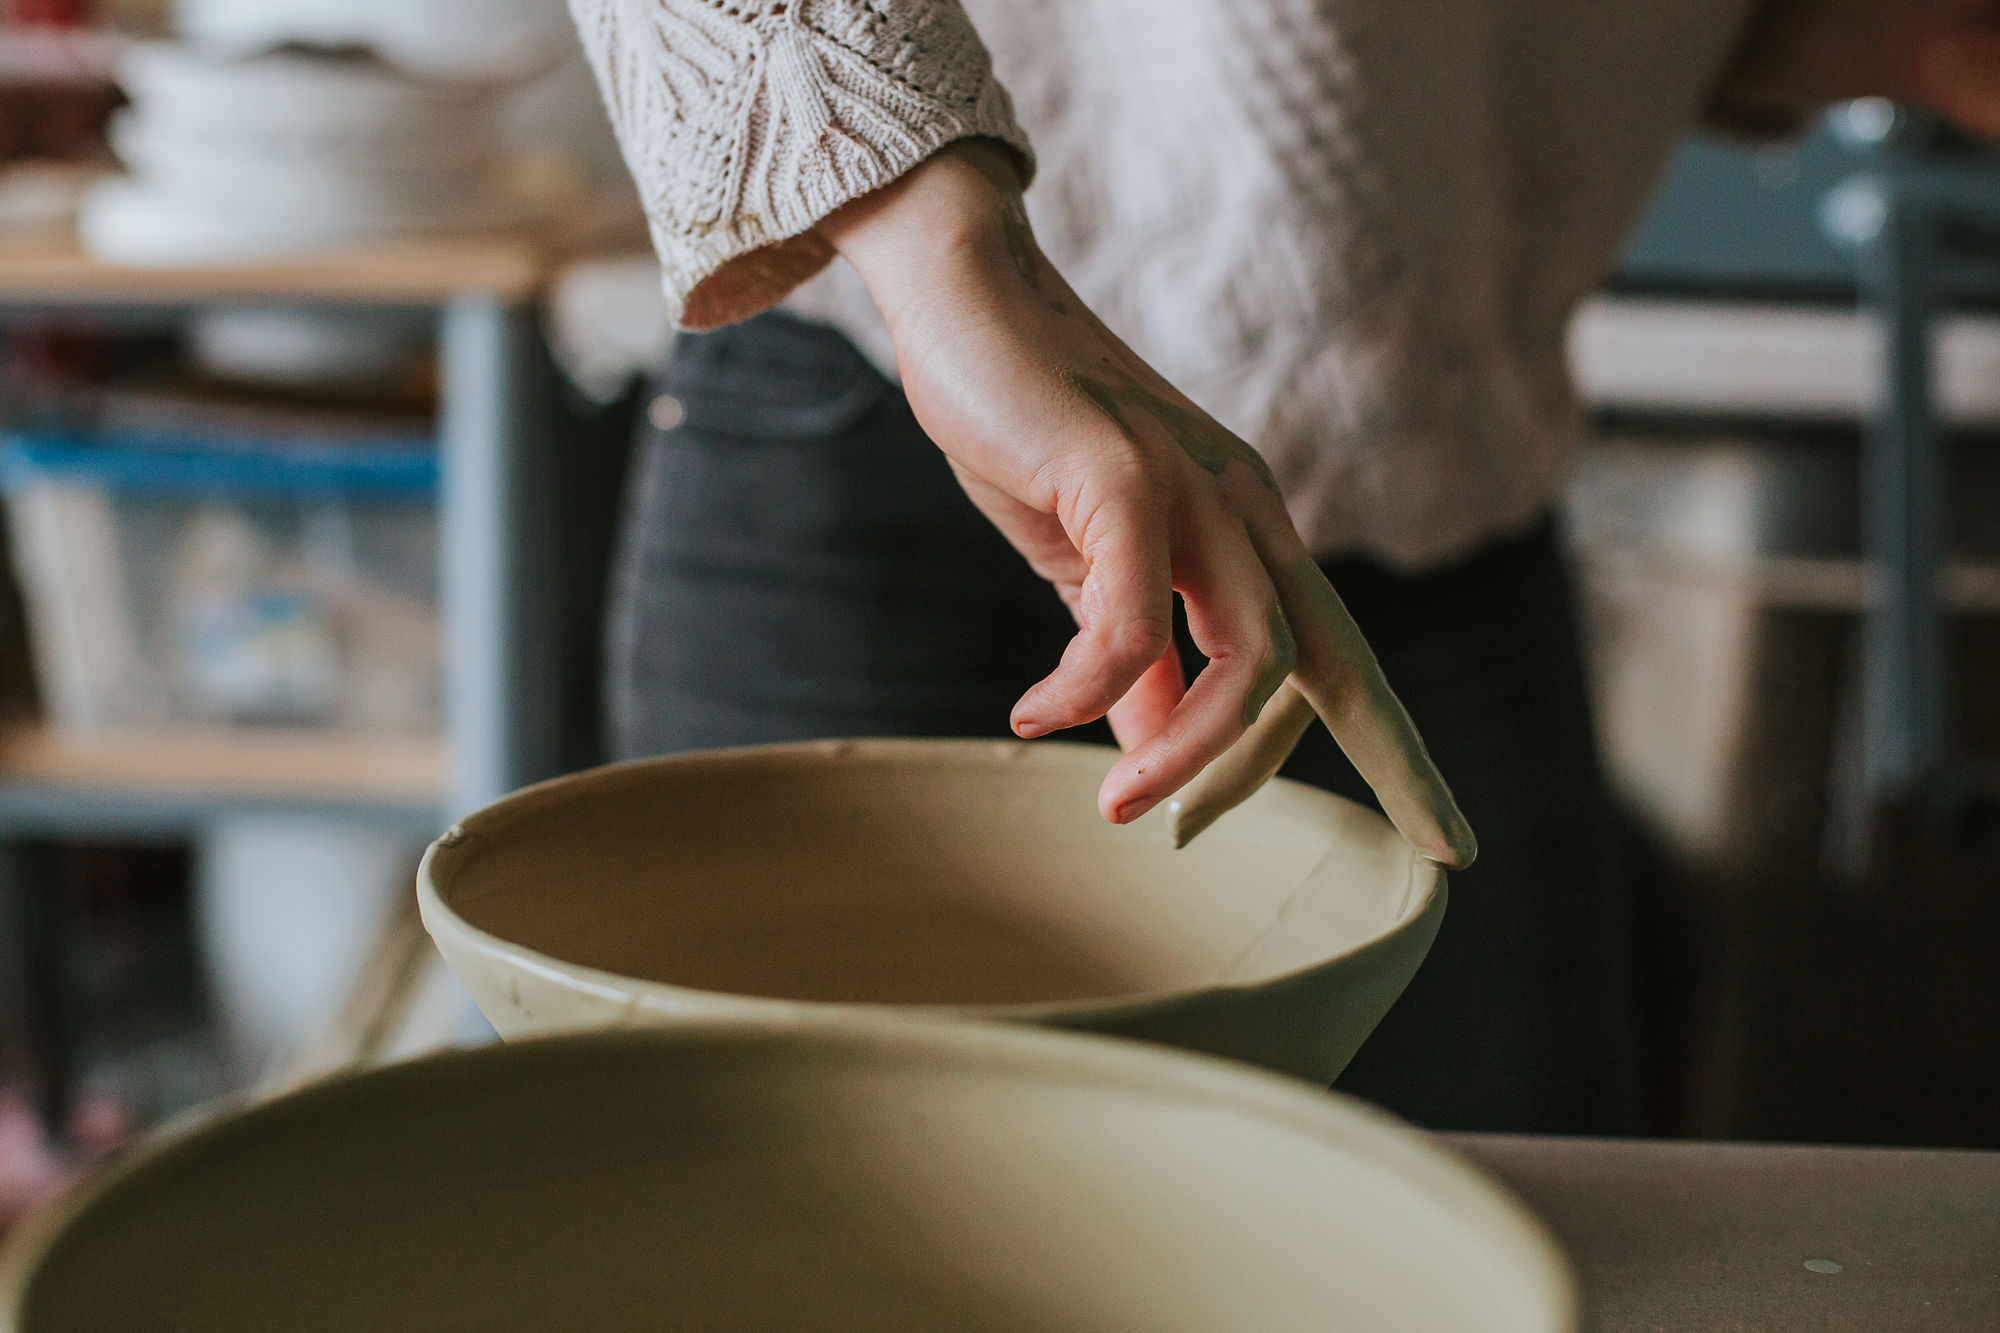
Step 5: attaching
After the piece is trimmed on the wheel and while it is still leather-hard, handles, spouts or decorative additions are made. In this photo a spout is about to be attached to a teapot. The holes are punched out and then slip (clay slurry) is used like glue to stick the spout onto the form. The attachment seams are then smoothed out and cleaned up with a sponge. This same method will be used for a handle before it is finalized and left to dry slowly.

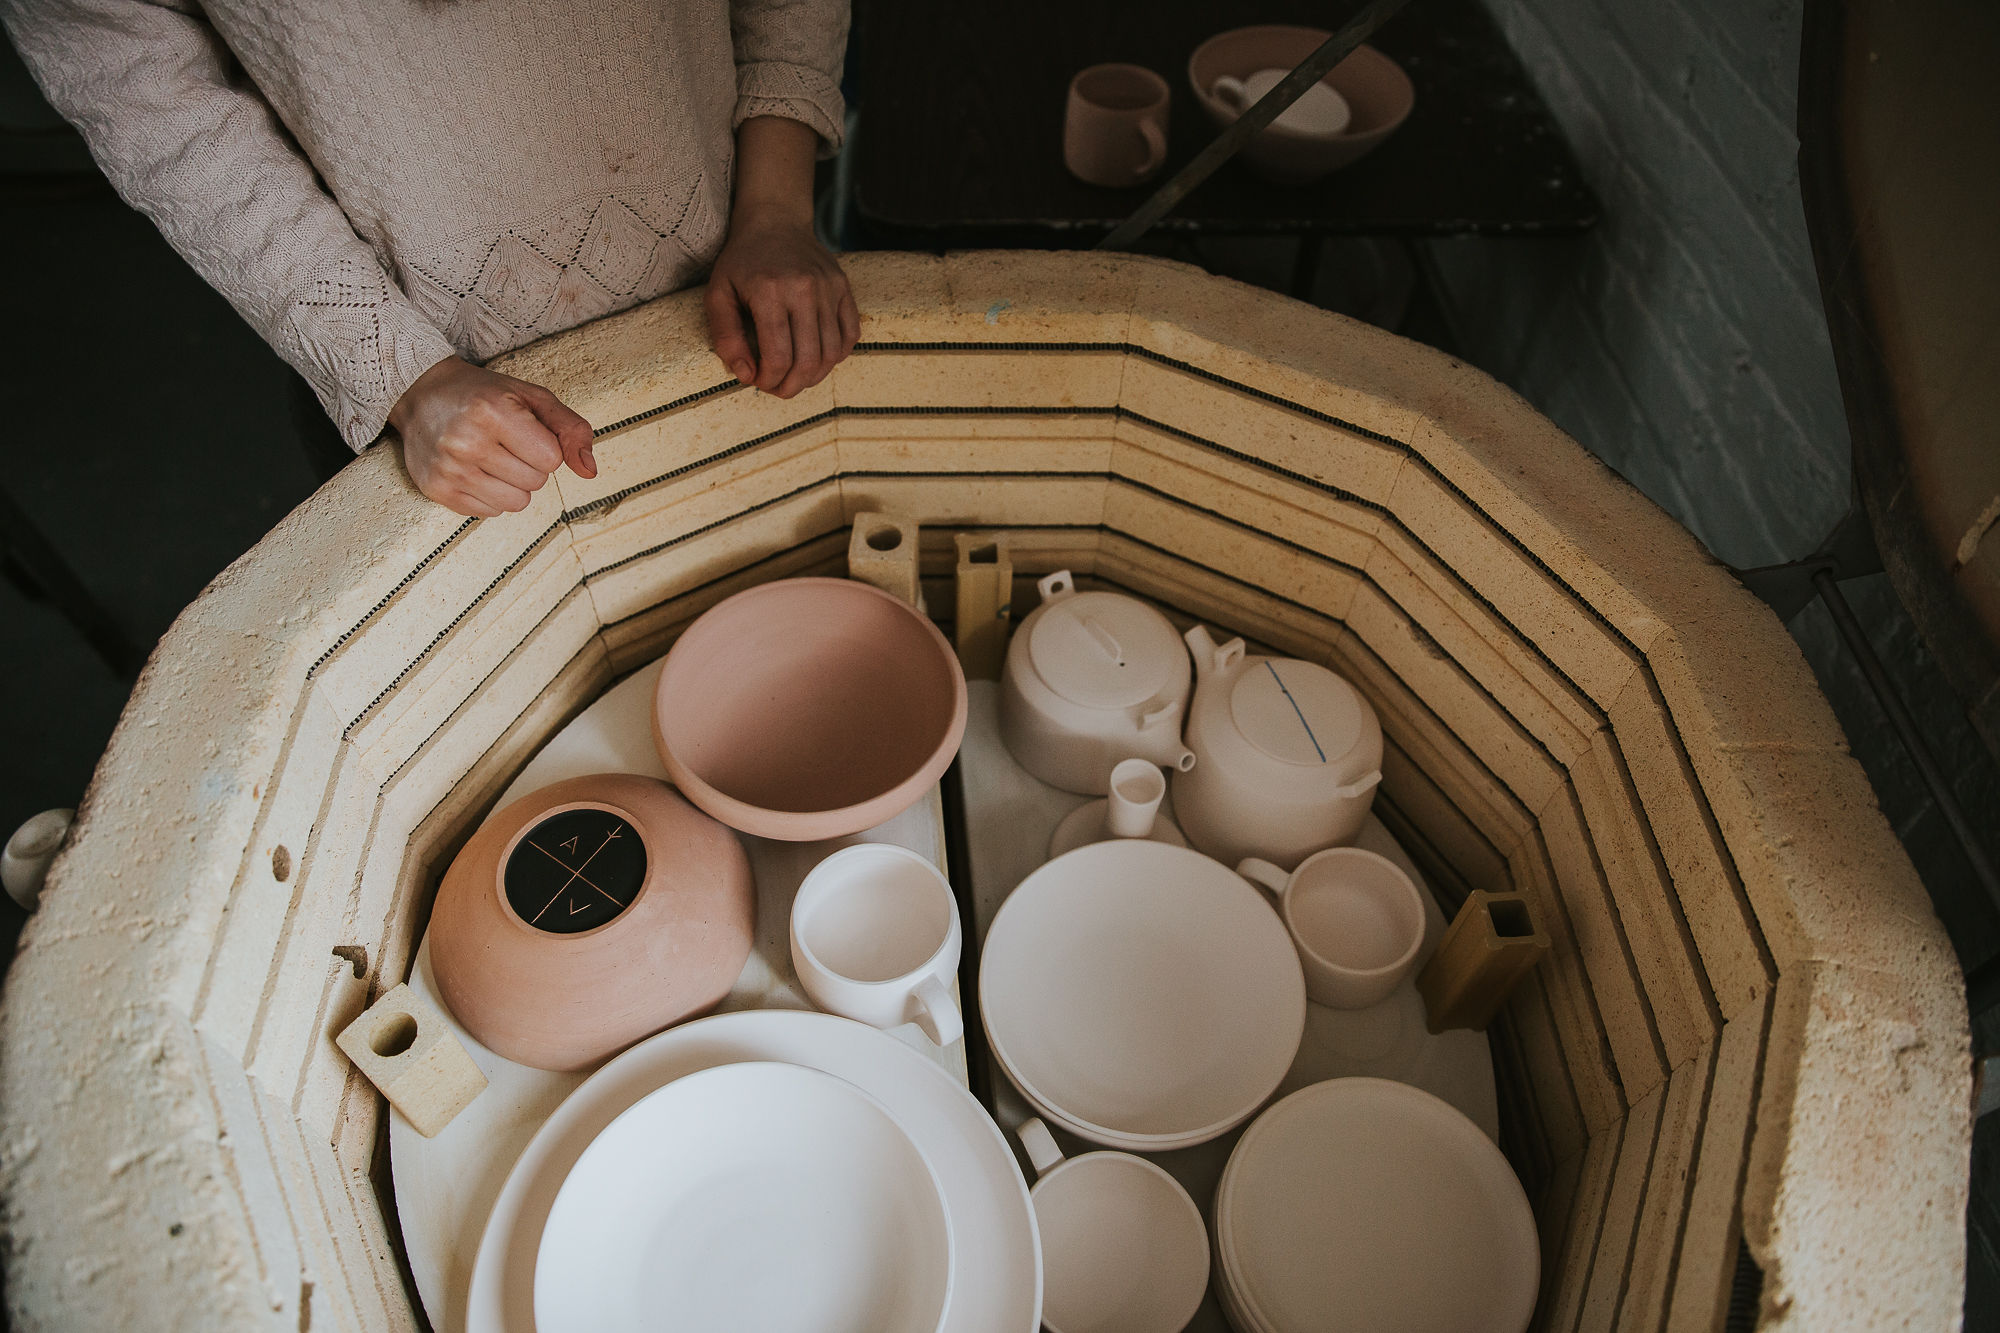
Step 6: bisque firing
After a minimum of 2 days of drying , when there is no longer any moisture in the clay and it feels bone dry it is ready for the first firing. The pieces are carefully loaded into an electric kiln and strategically stacked for a safe and efficient firing. The kiln is then programmed to fire for 12-13 hours, slowly climbing to a max temperature of 1888 degrees. The kiln then slowly cools for an additional 18-24 hours depending on how fully it is packed. This phase takes about 2 and a half days from start to finish.

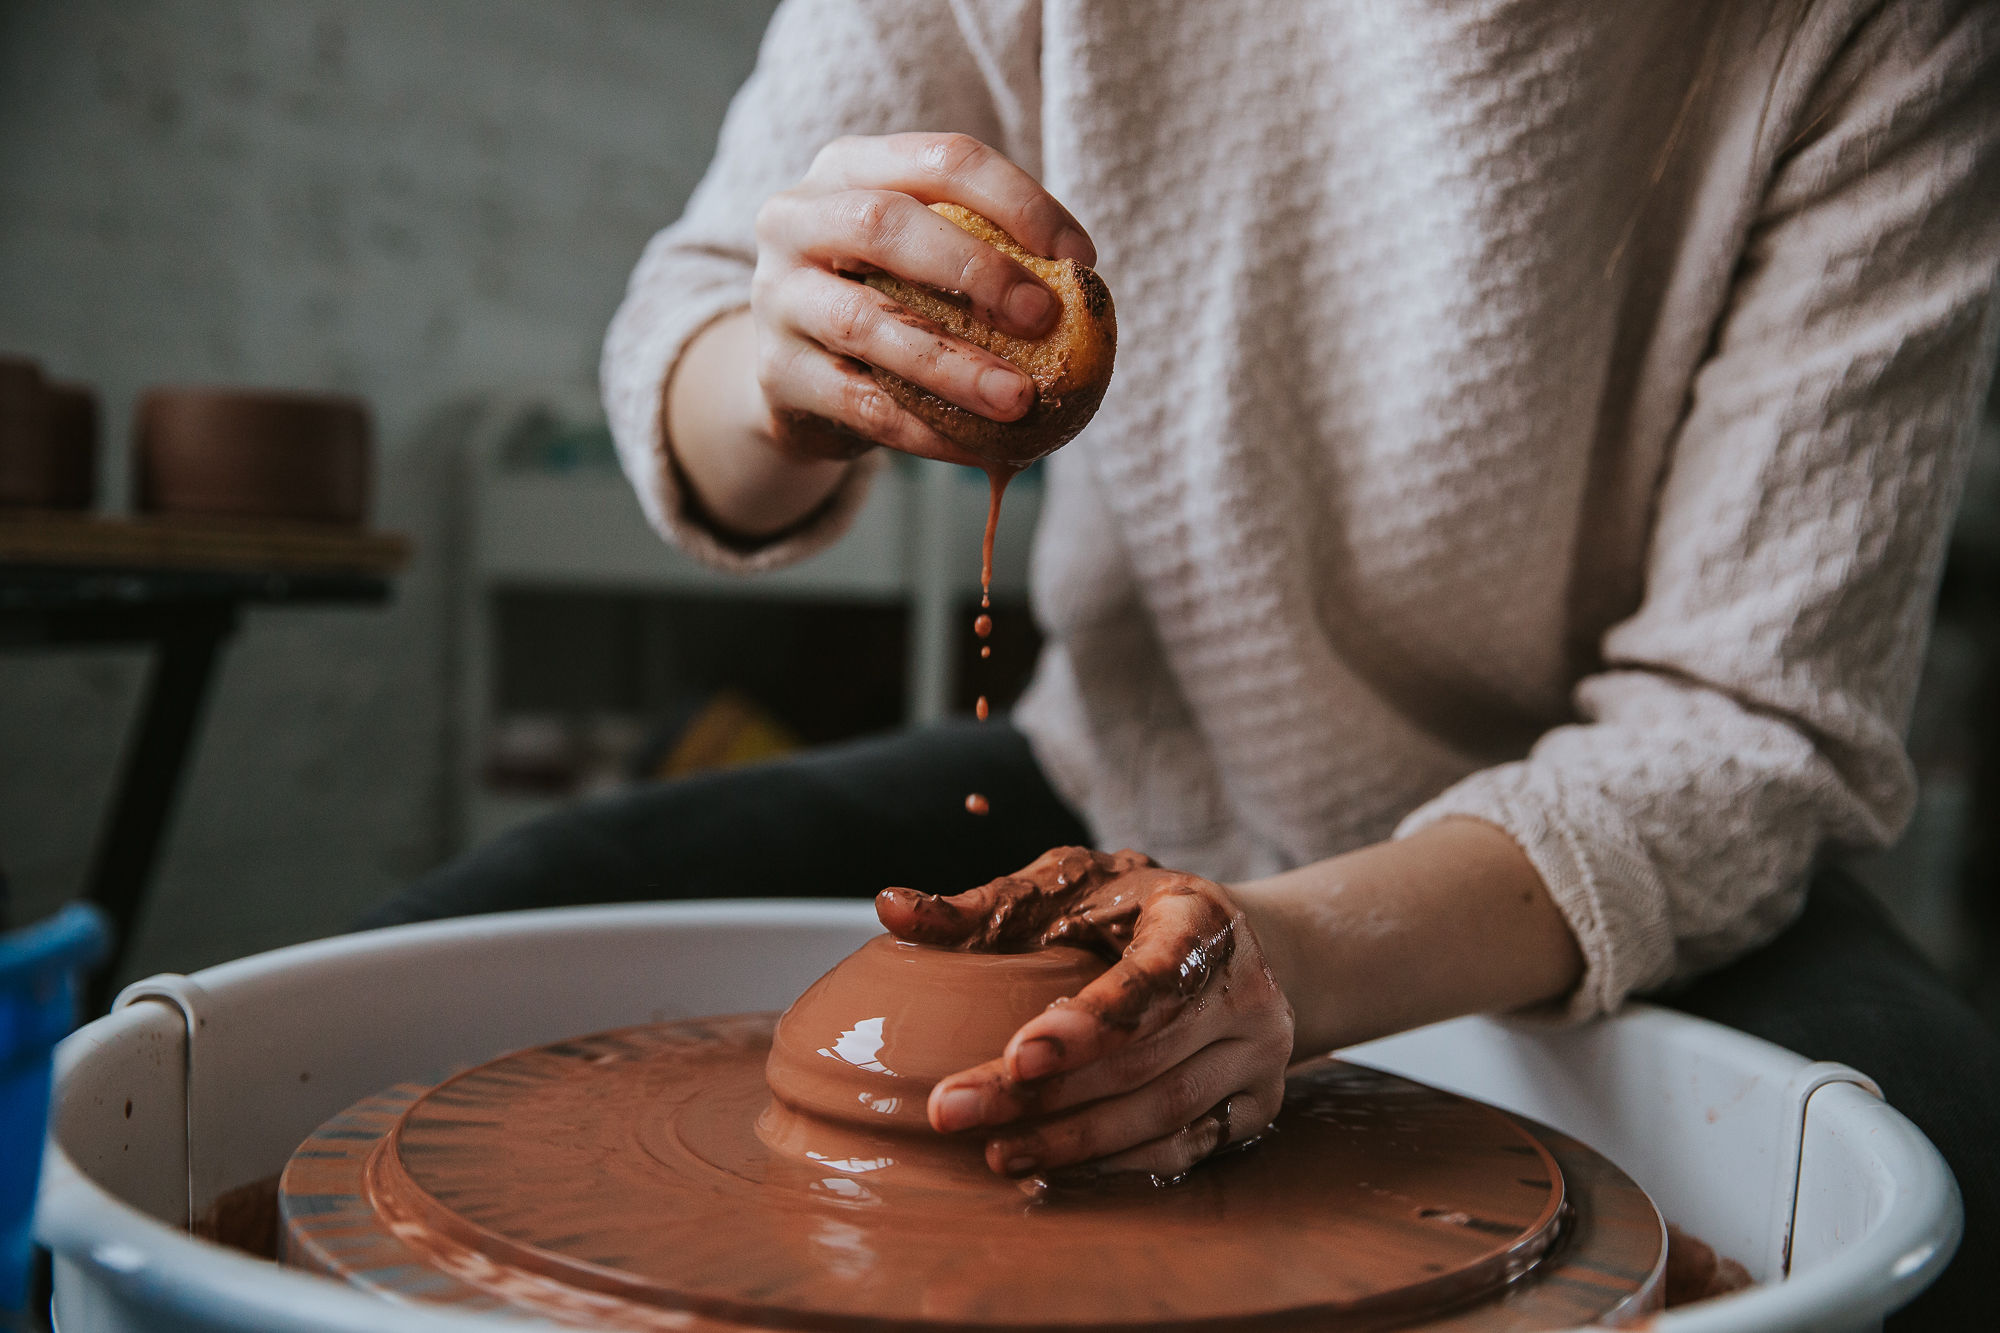
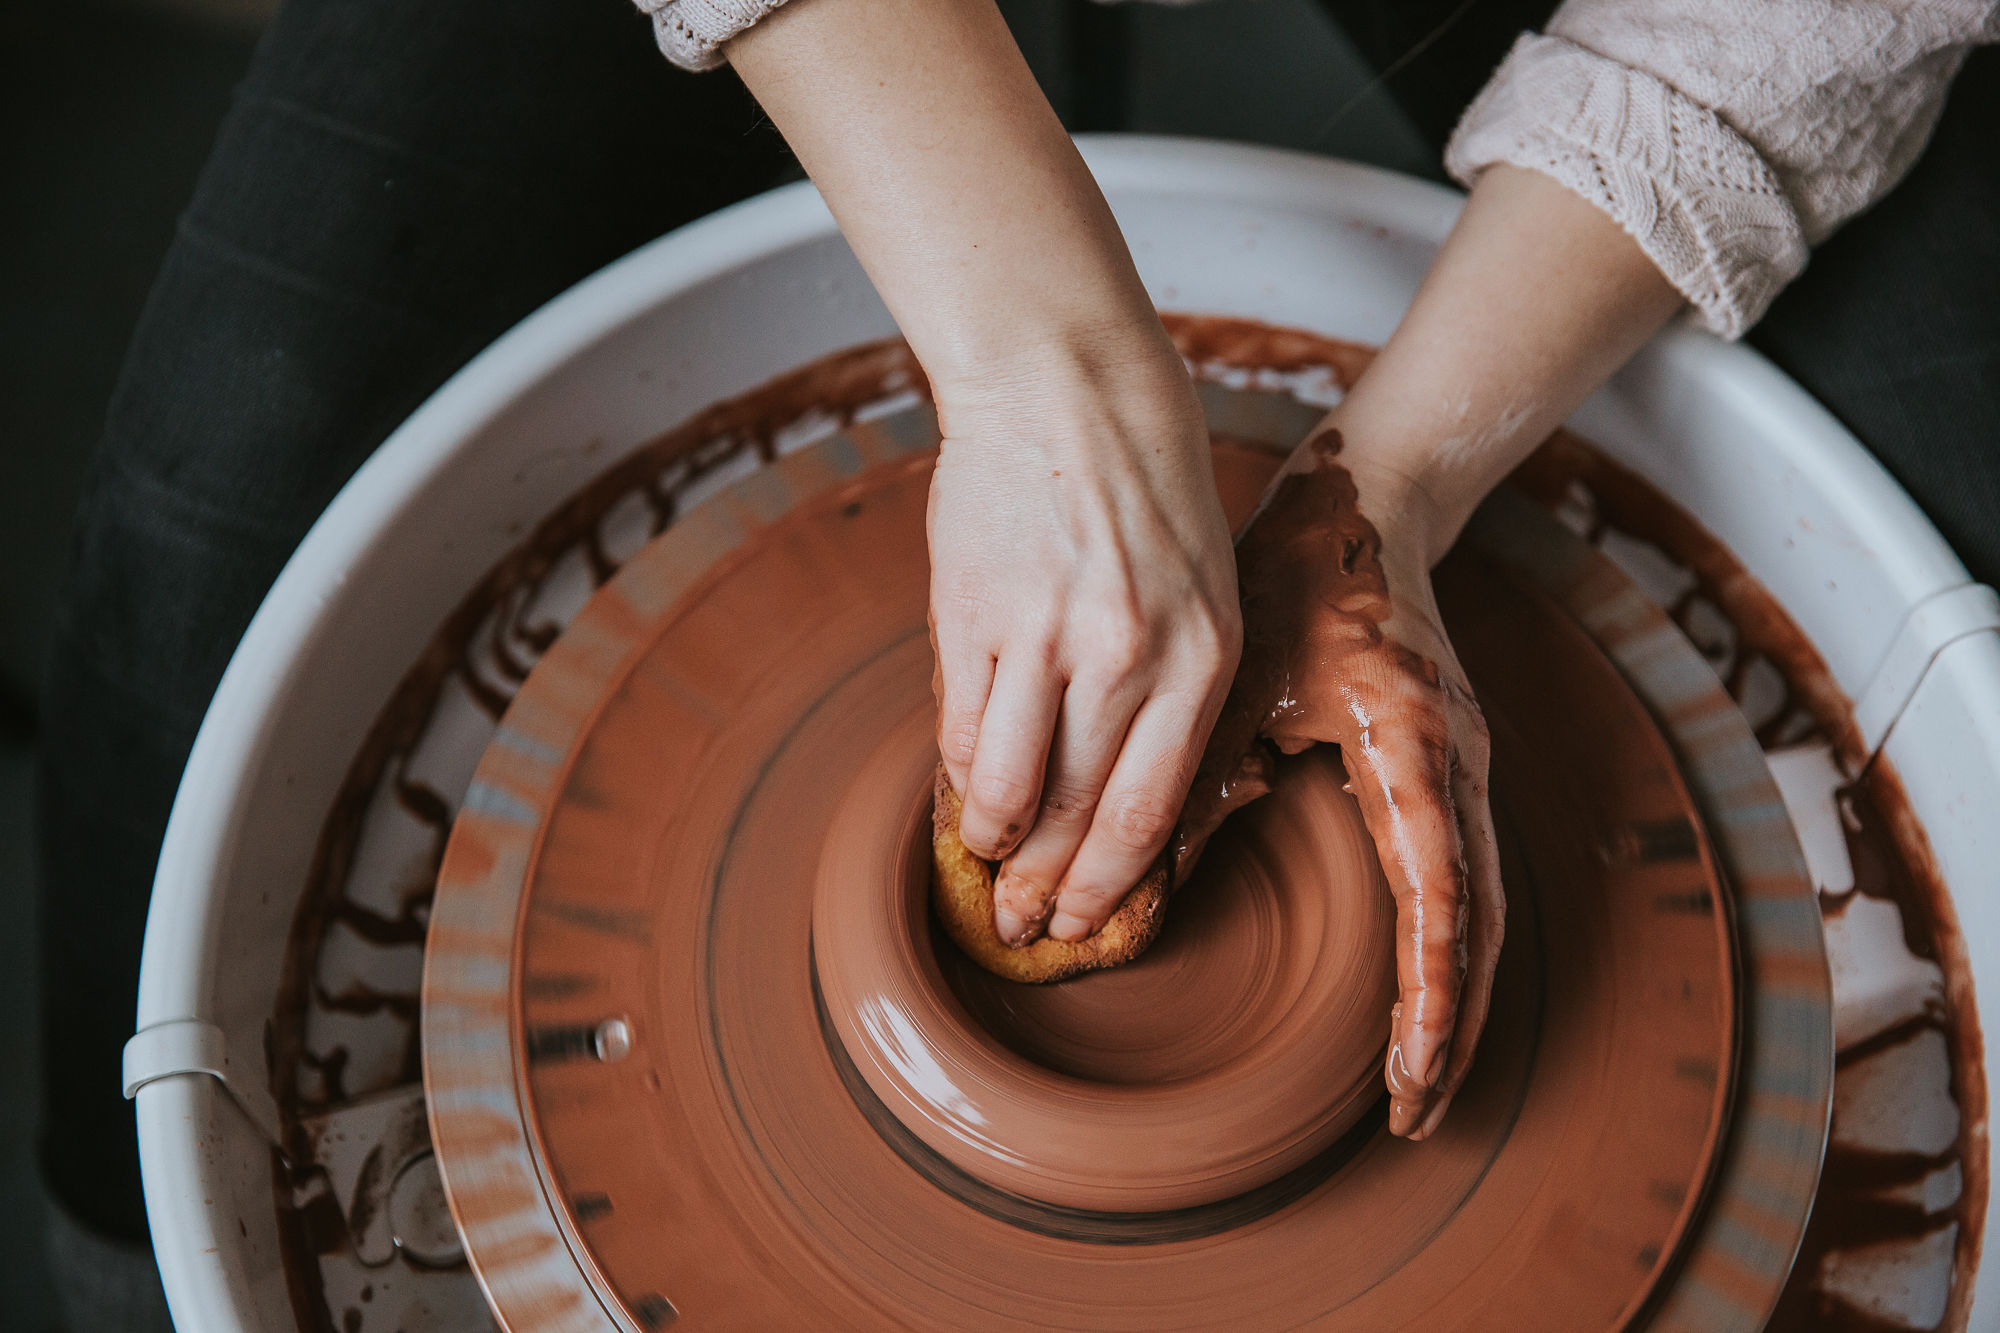
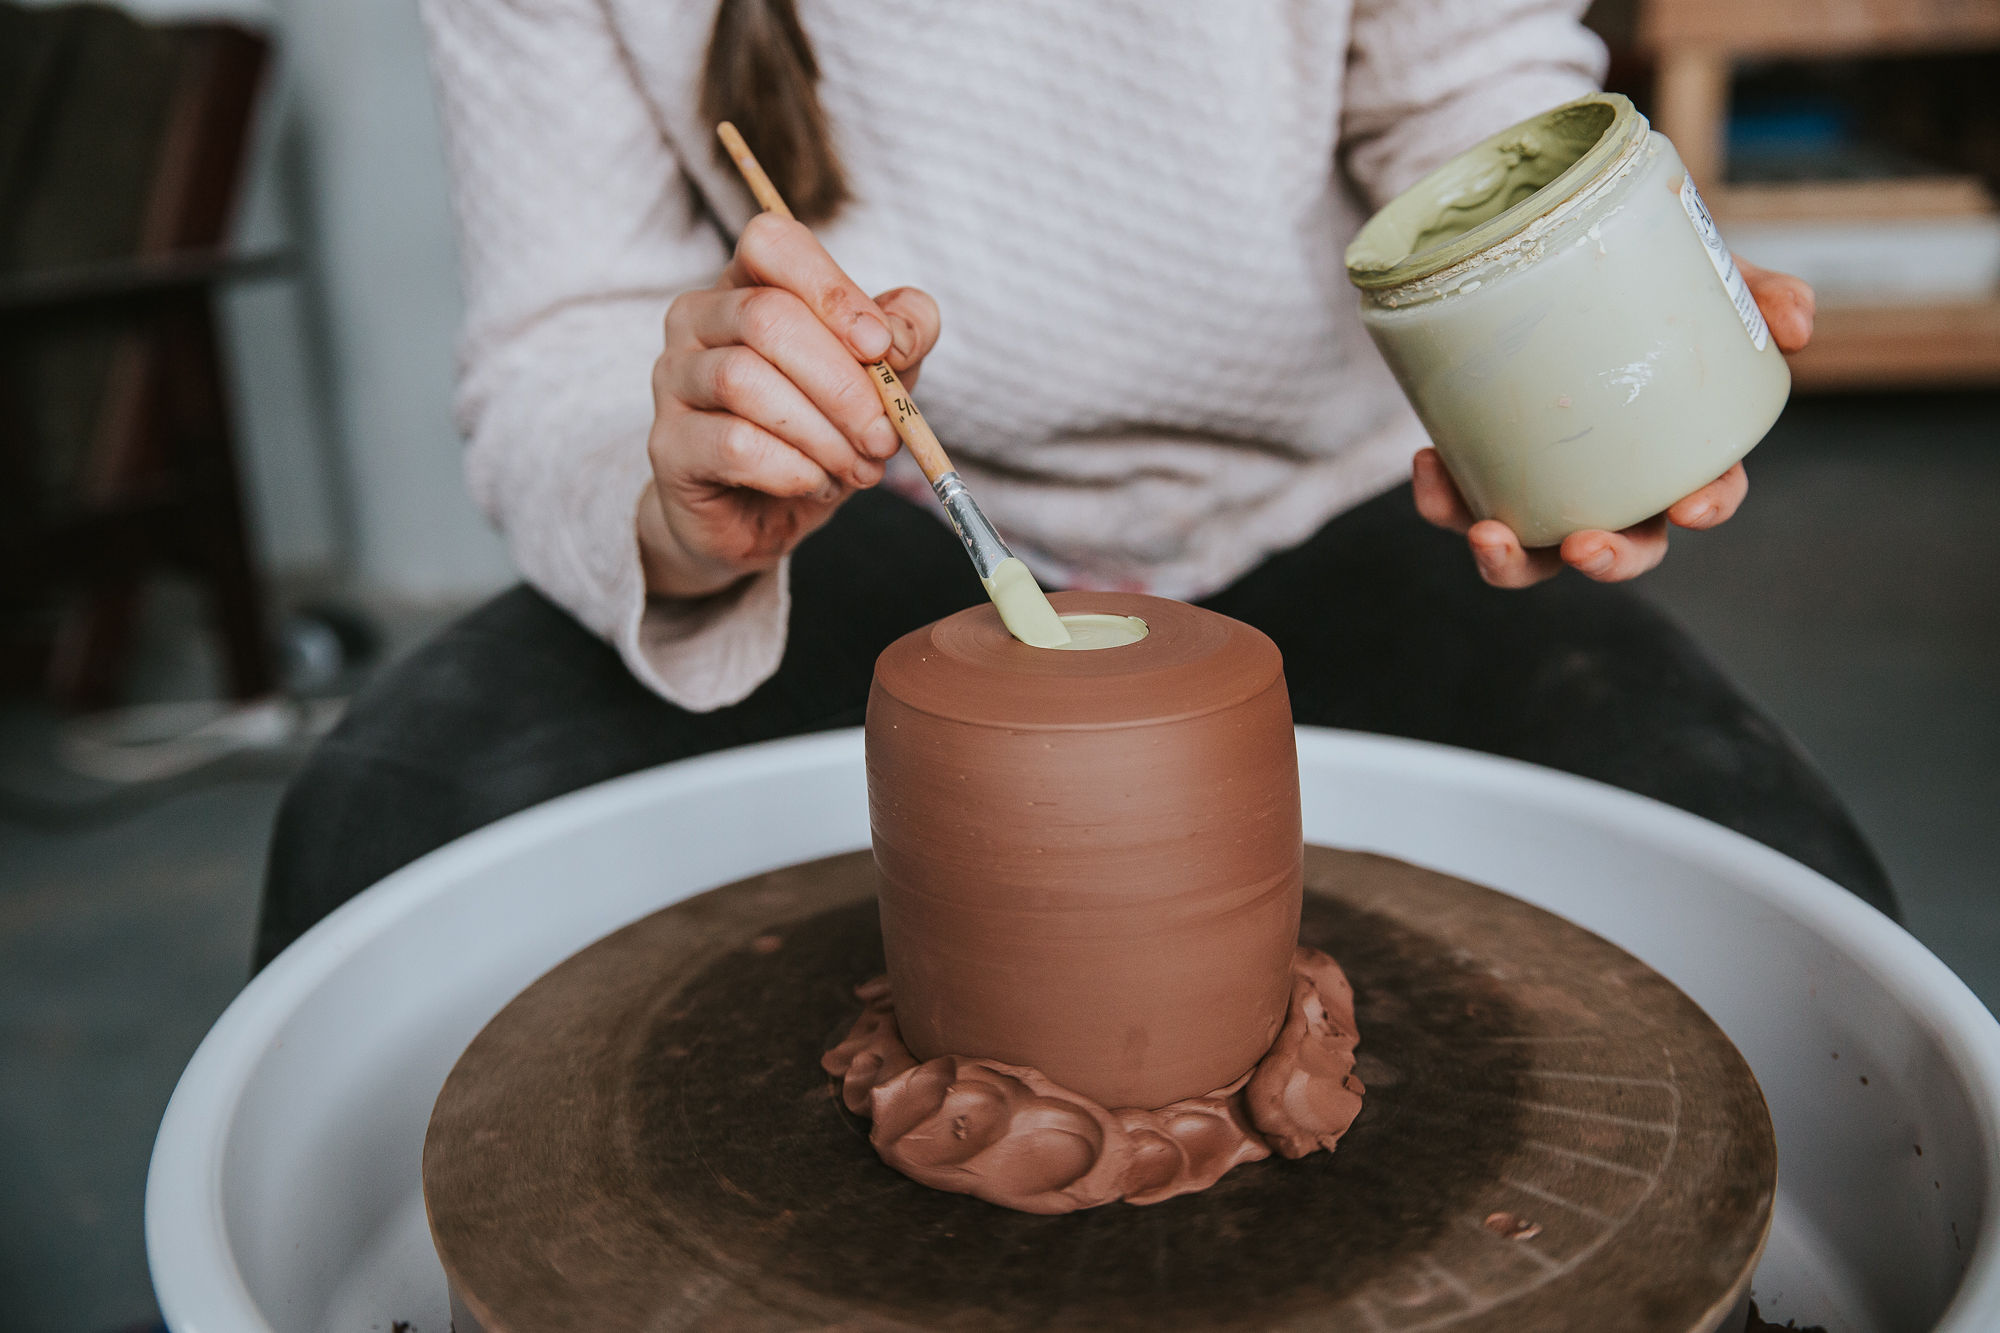
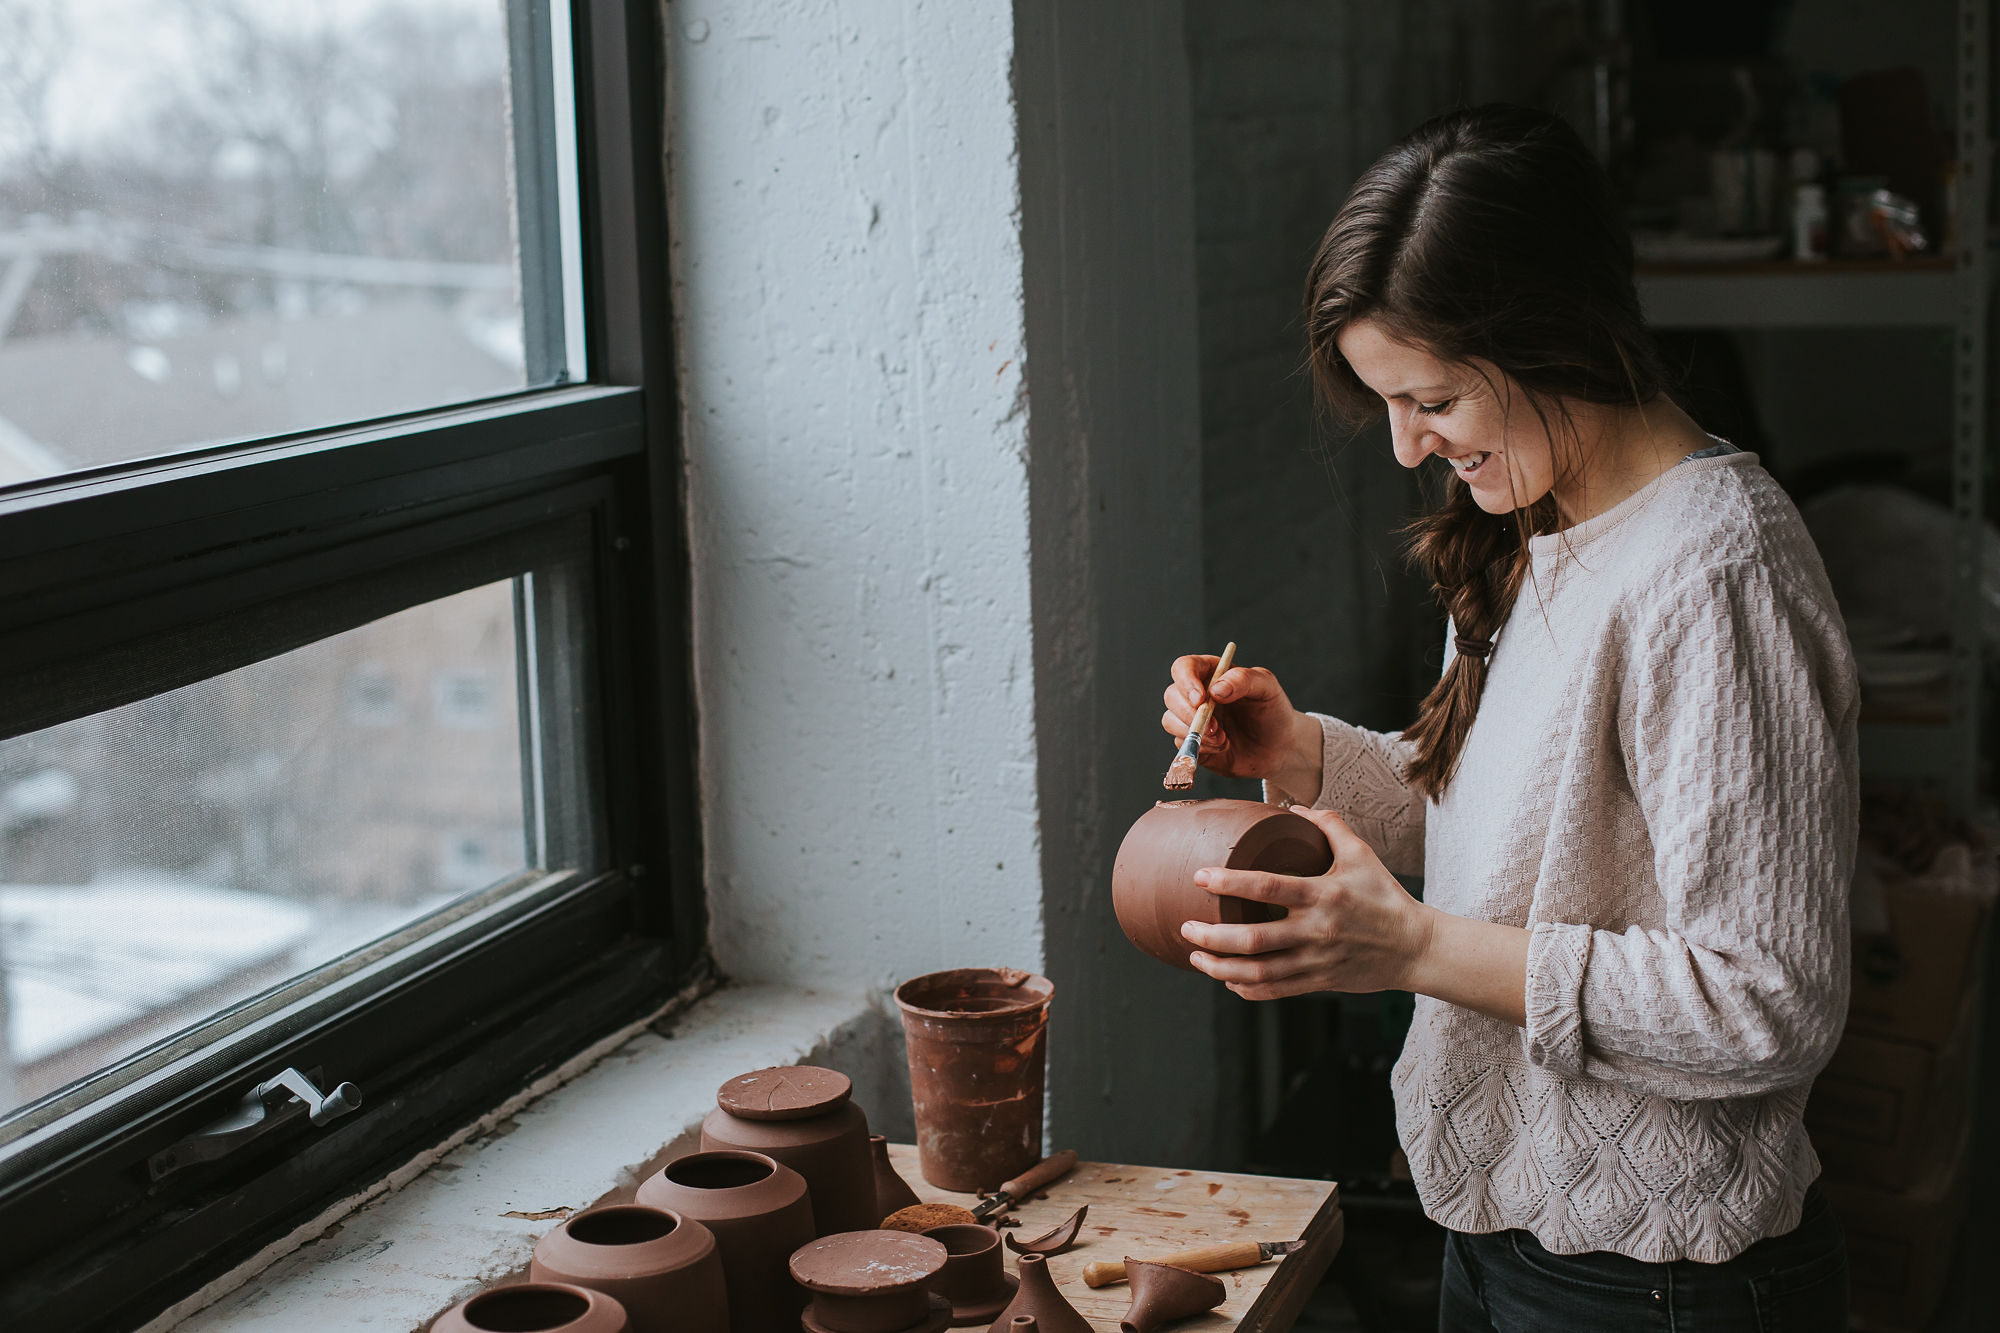
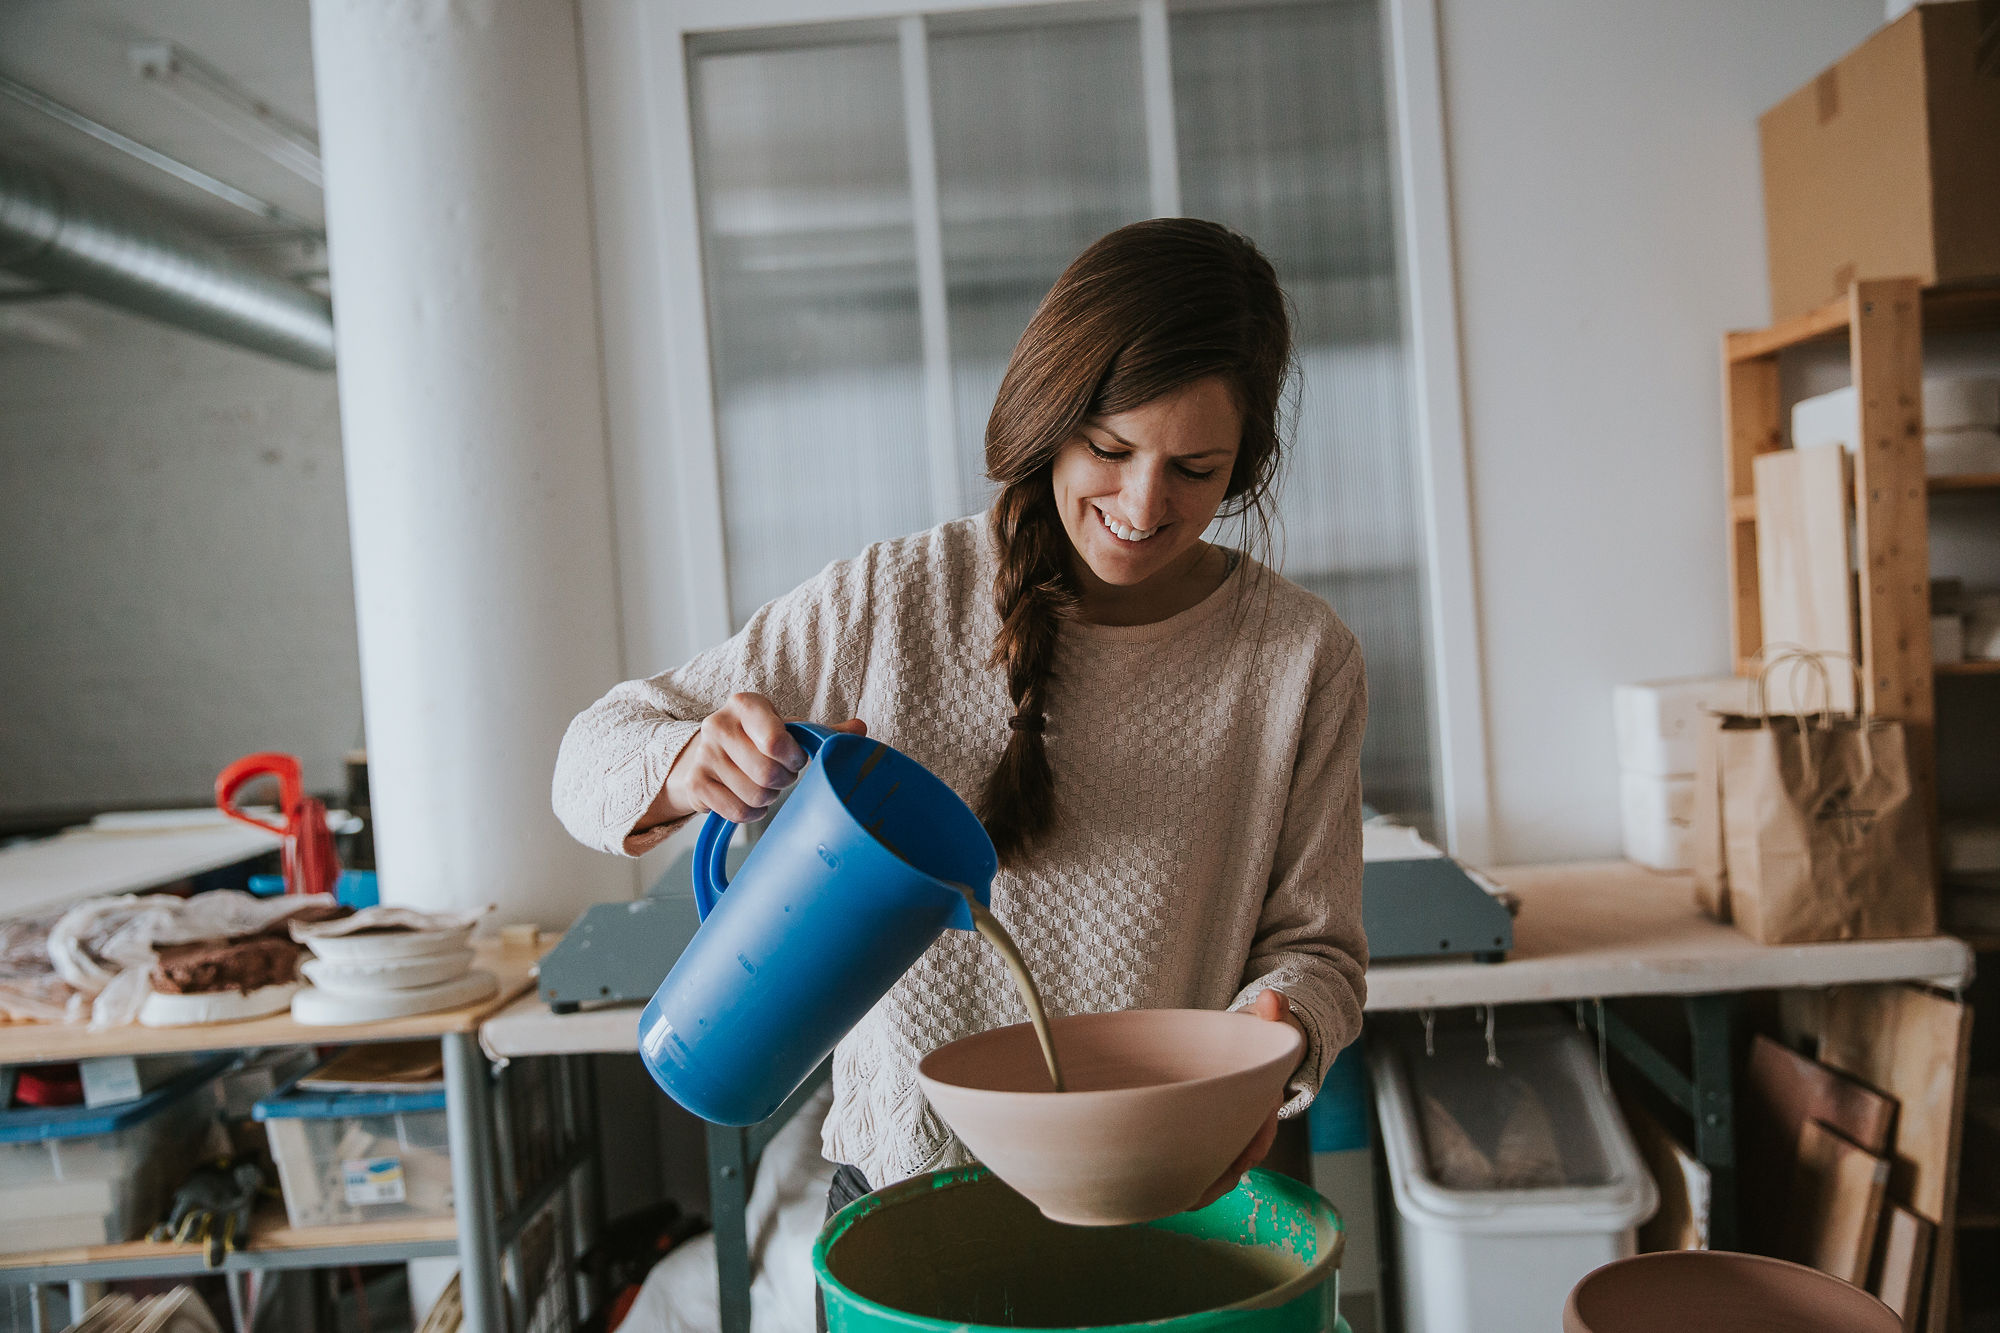
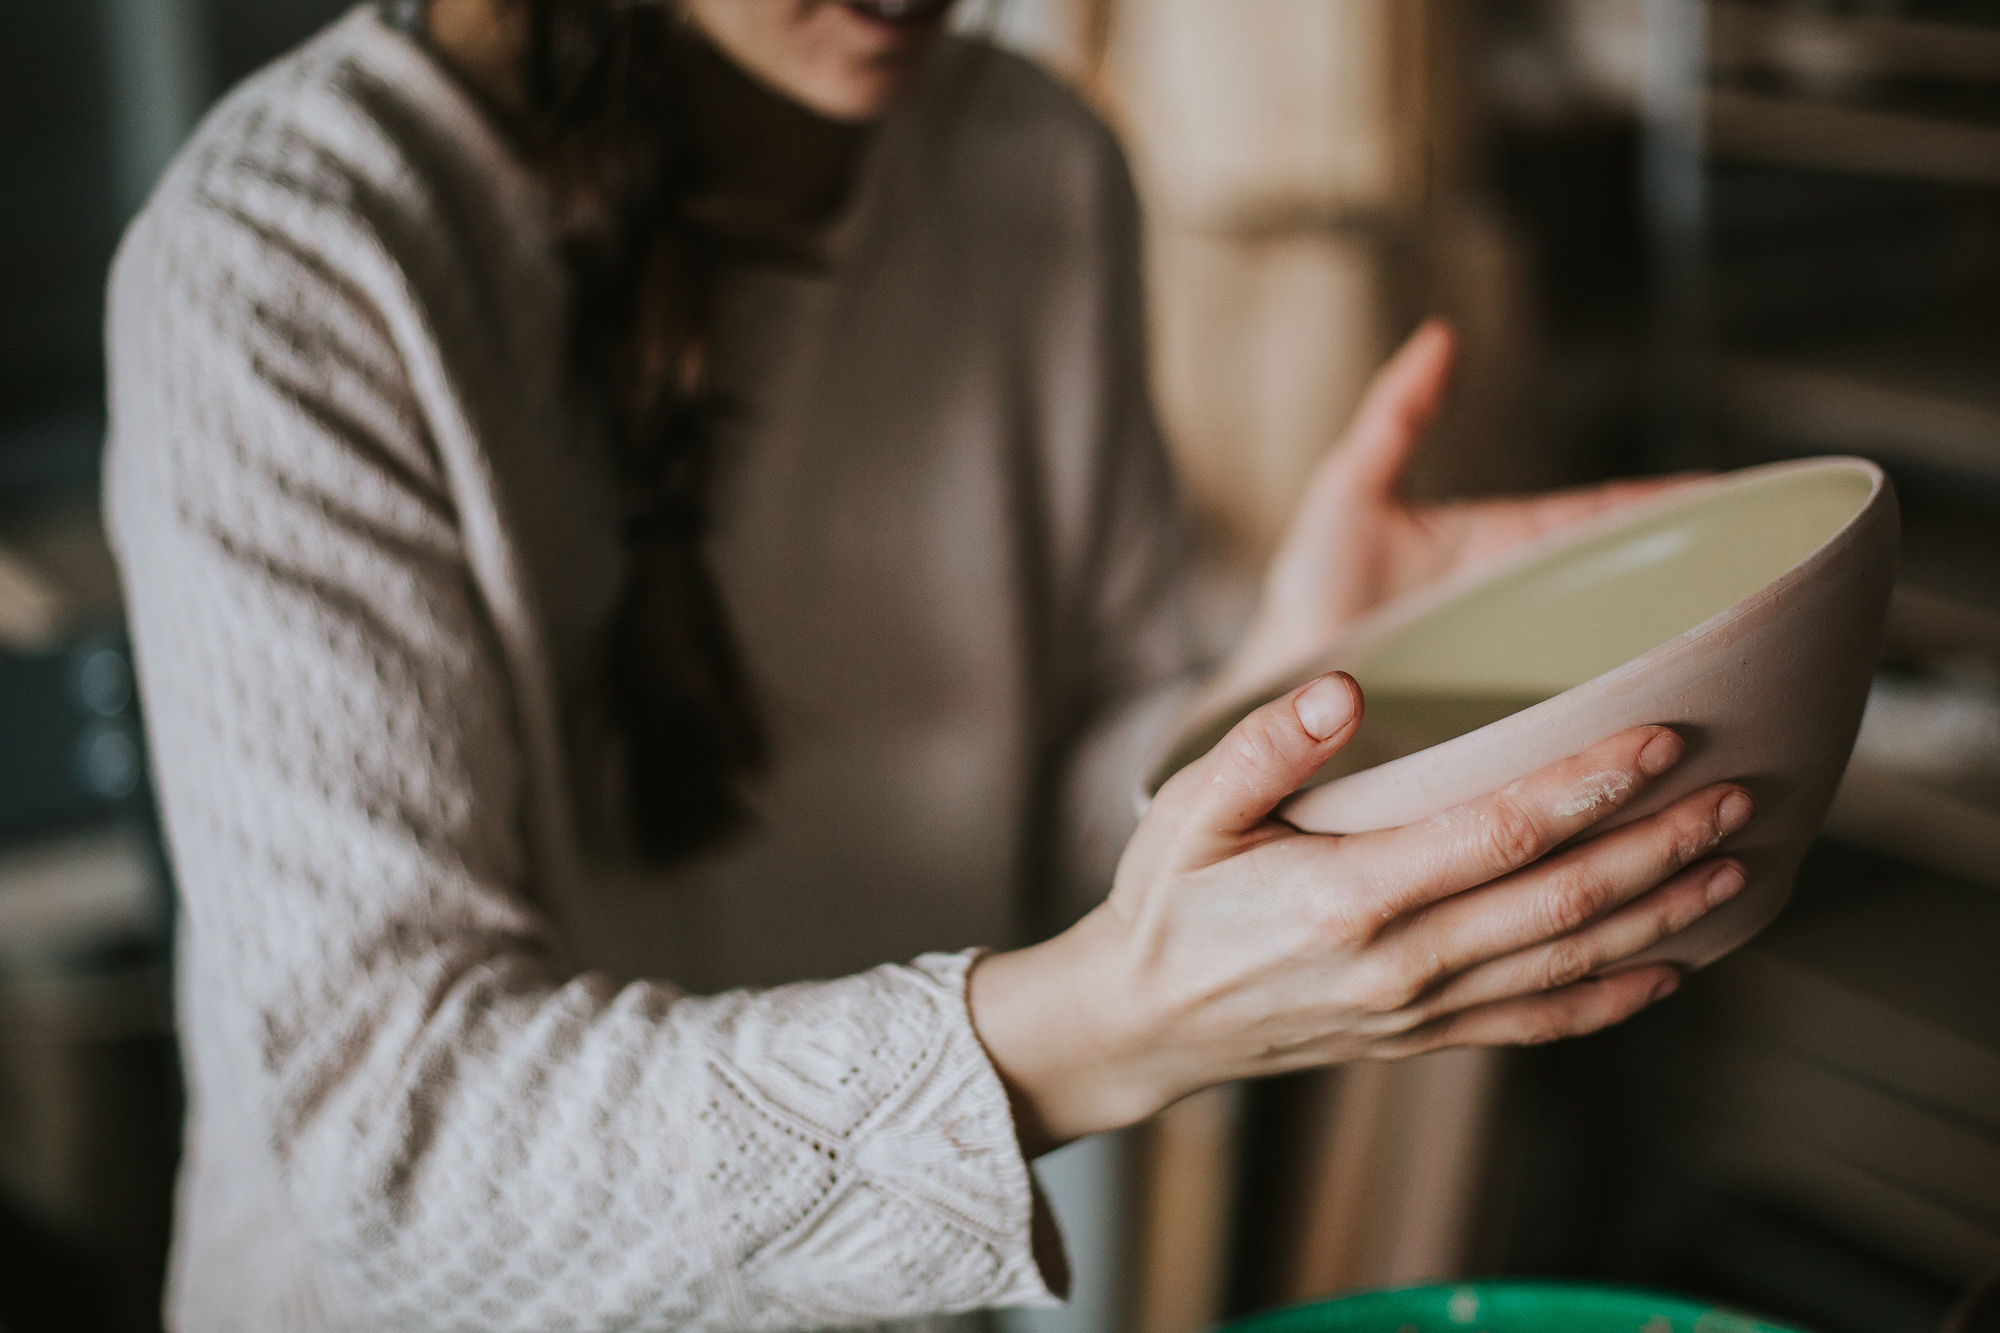
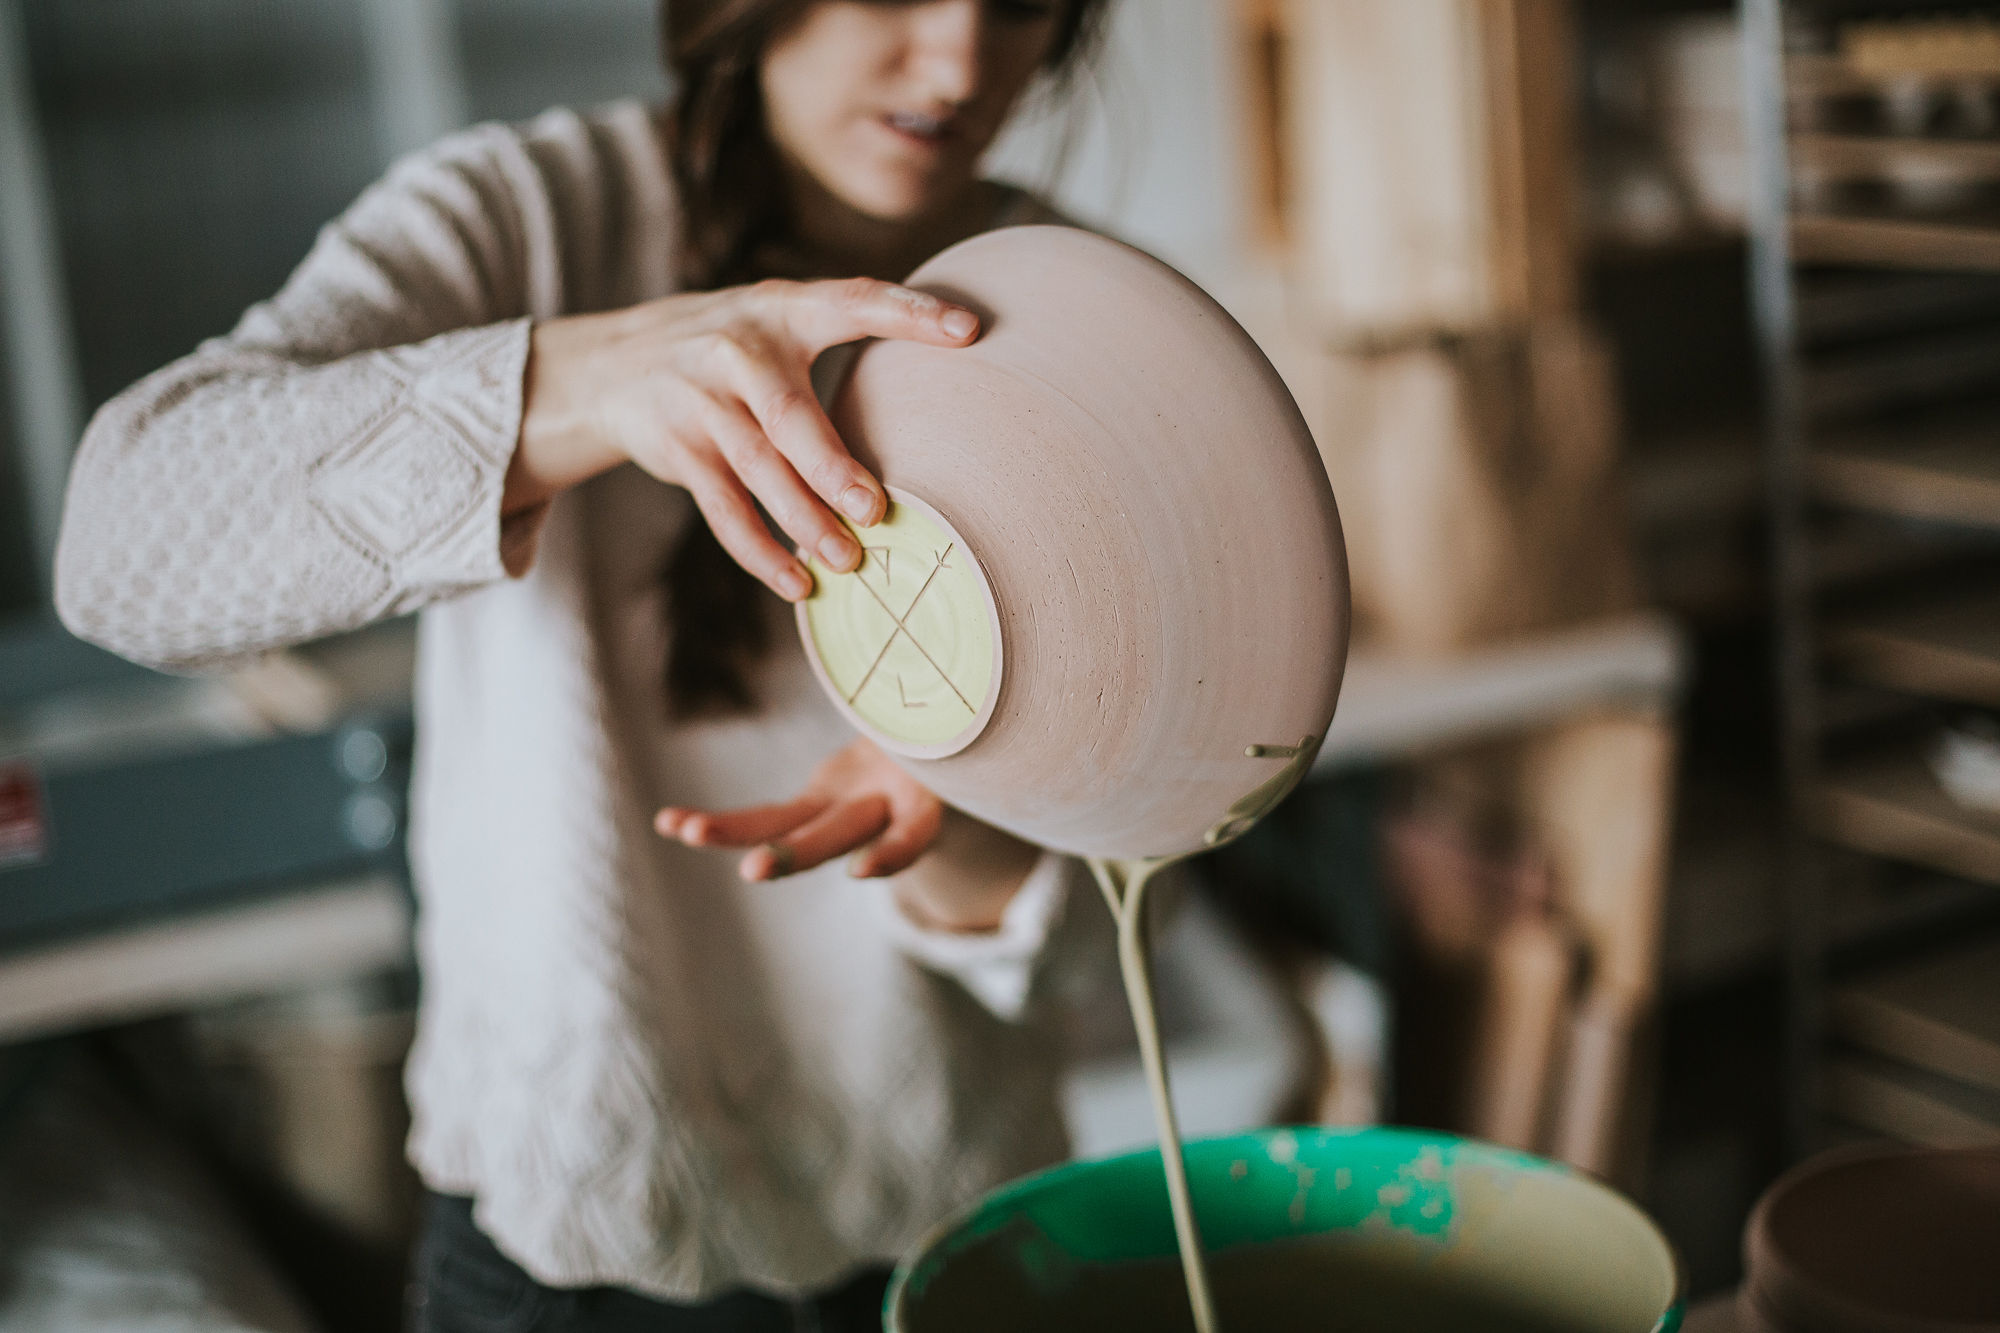
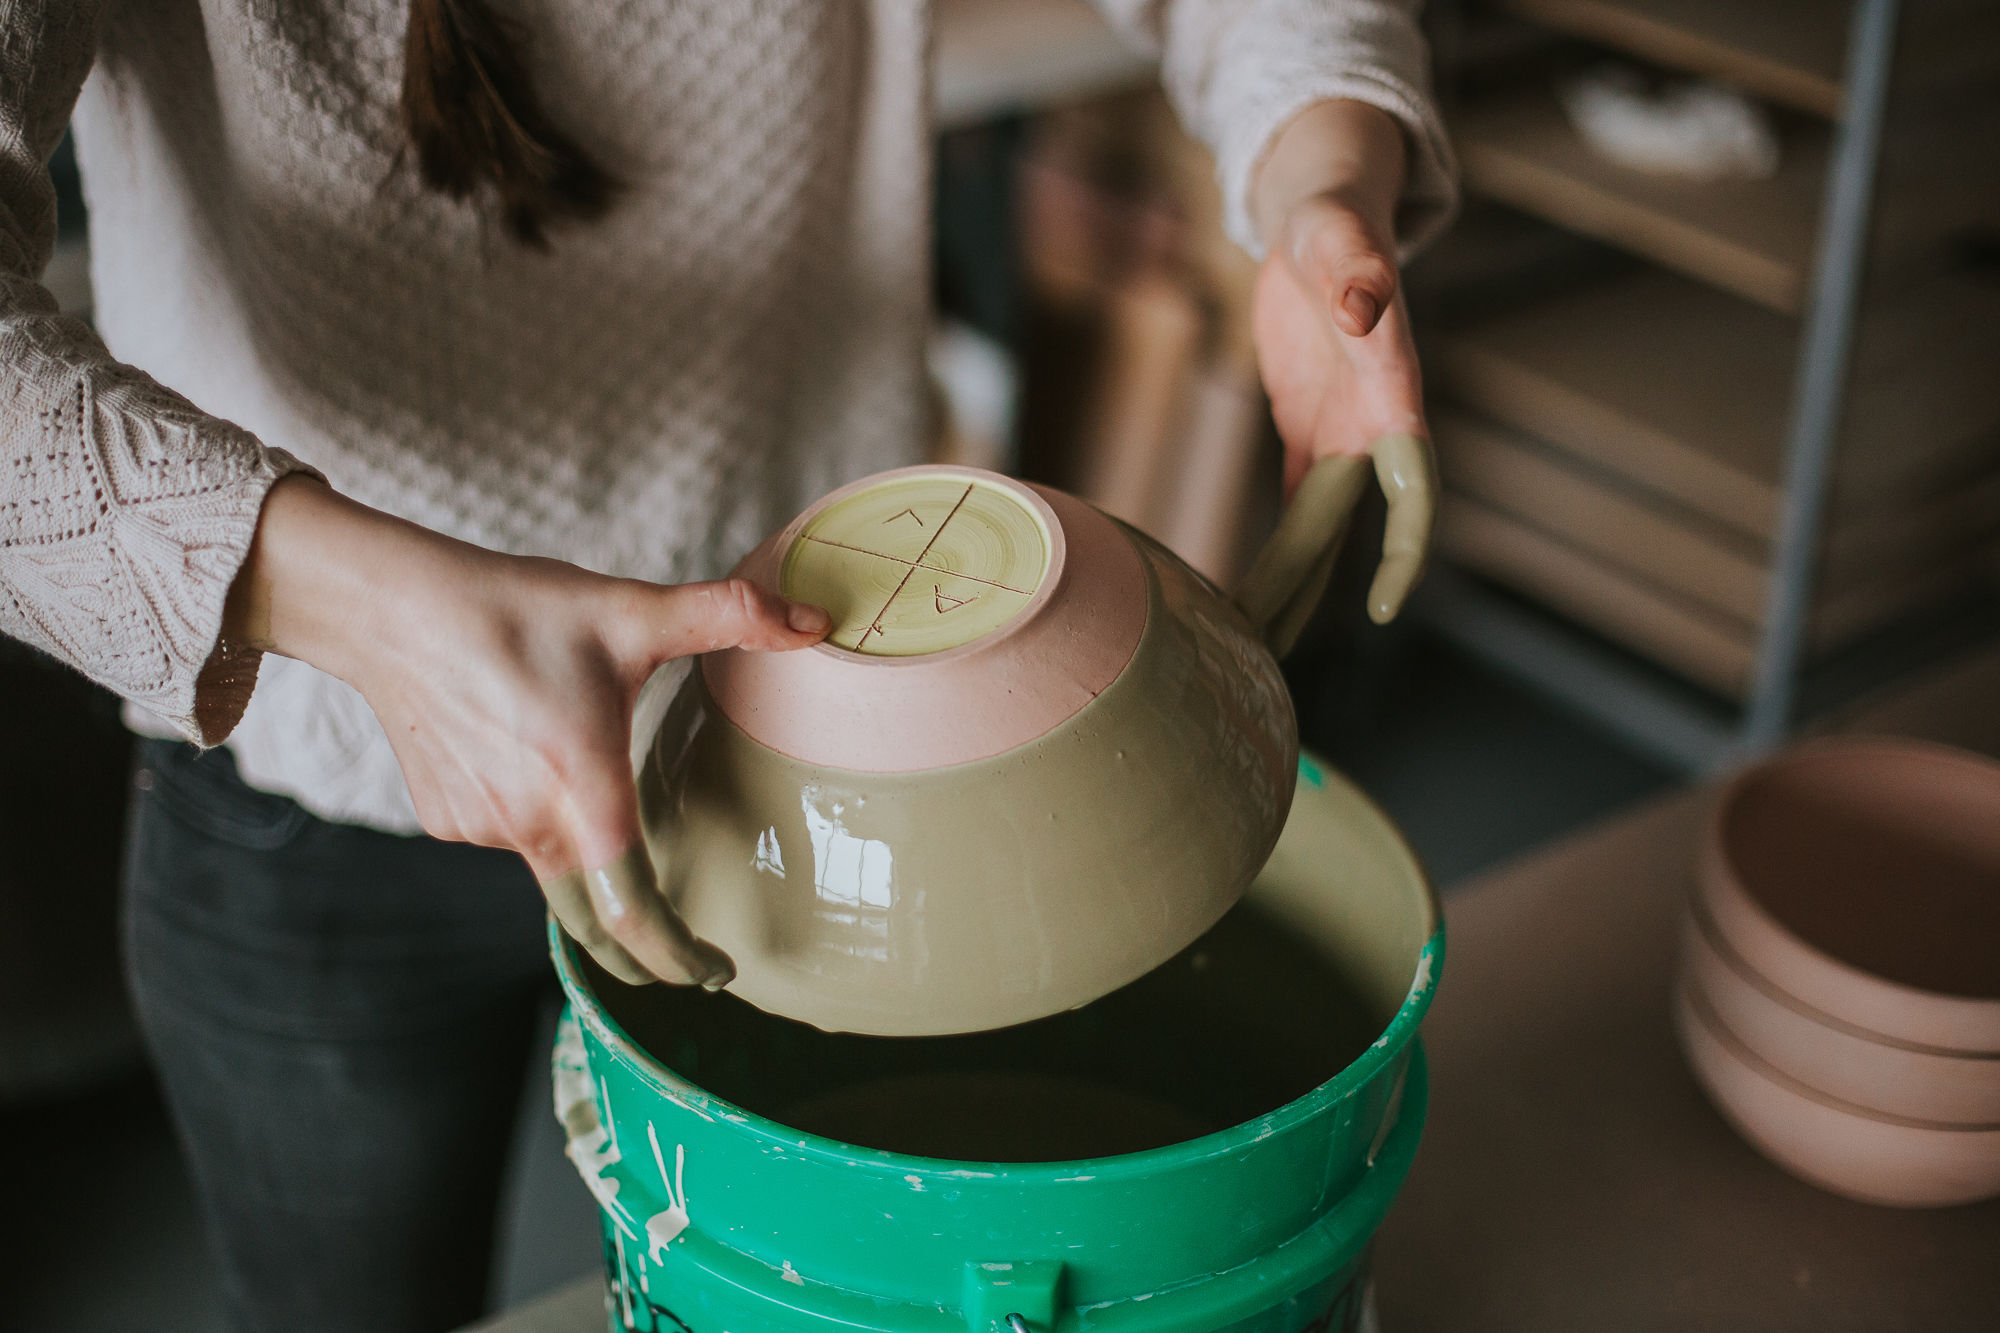
Step 7: glazing
Bisque-ware is now sturdy enough to handle, but porous enough to receive glaze onto its surface. Glaze is raw material mixed in combinations where chemical reactions occur at high temperatures and the material fuses to the clay becoming vitreous (glass-like). In order to apply the glaze it needs to be wet (at a consistency like heavy whipping cream). Here, the potter expresses their style through application techniques like dipping, pouring, spraying, brushing, sponging, and color choice.

Glaze firing
When the raw glaze has completely dried onto the surface of the bisqued piece it is finally ready for the last (and most exciting/unpredictable) phase. The pieces are loaded back into the electric kiln , this time without stacking or touching them together so they don’t fuse together at high temperatures. The kiln is programmed to reach a temperature of 2165 degrees over 8 hours where chemical reactions create beautiful colors and textures and a vitrified, functional piece. It takes about 2-3 weeks to complete the entire process.


all photos in this series were taken by Jill Fager